Concept Iterations & Research:
It took me a few weeks of researching, sketching, material testing, and prototyping until I landed on my final concept. I will take you through each step of that process below.
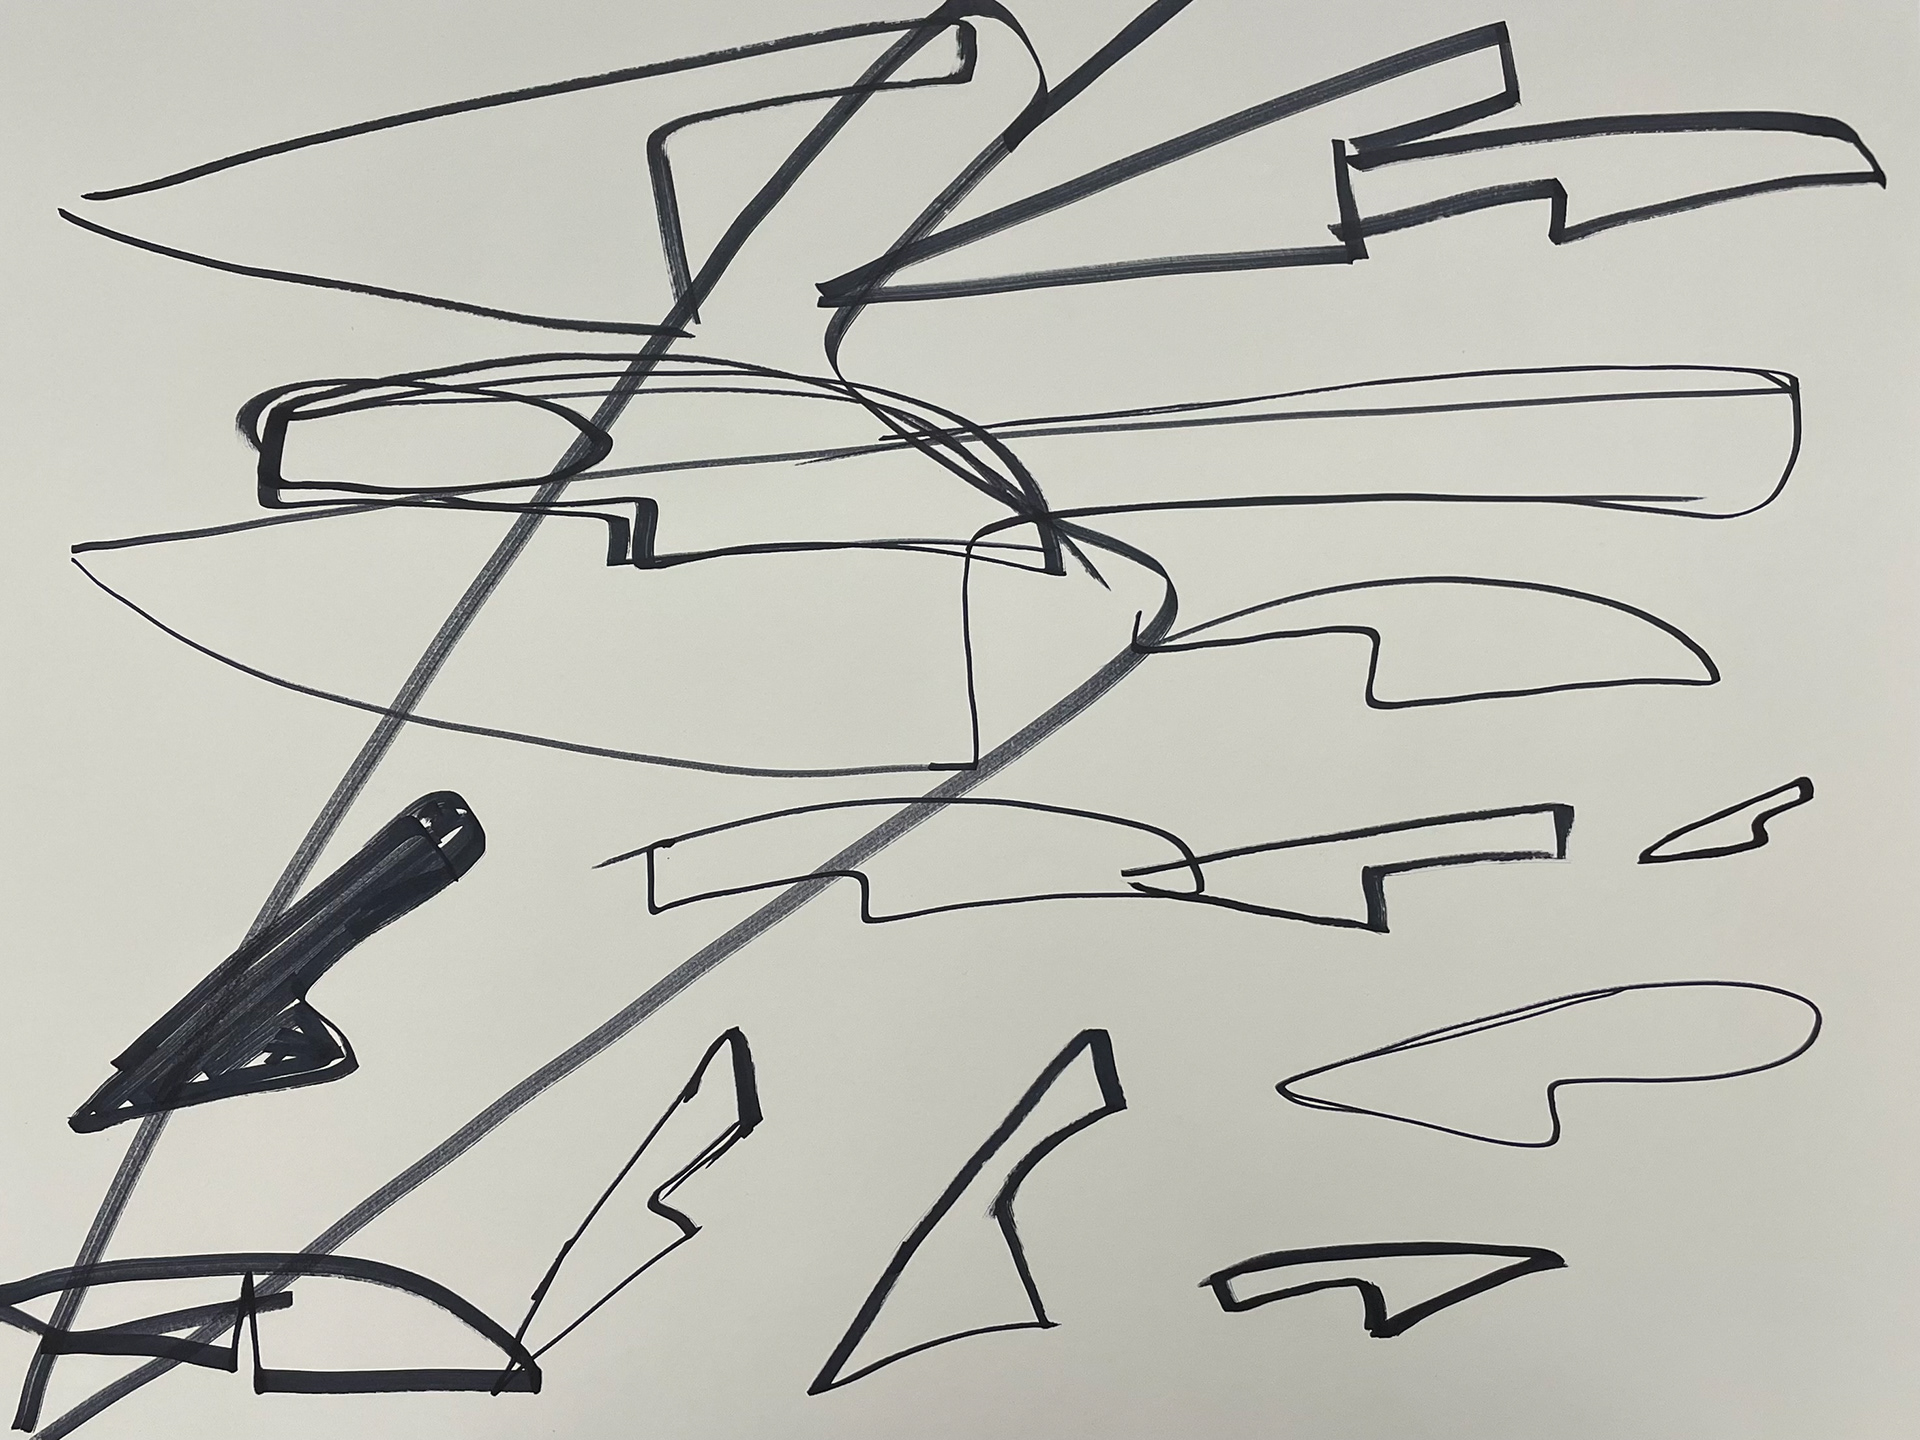
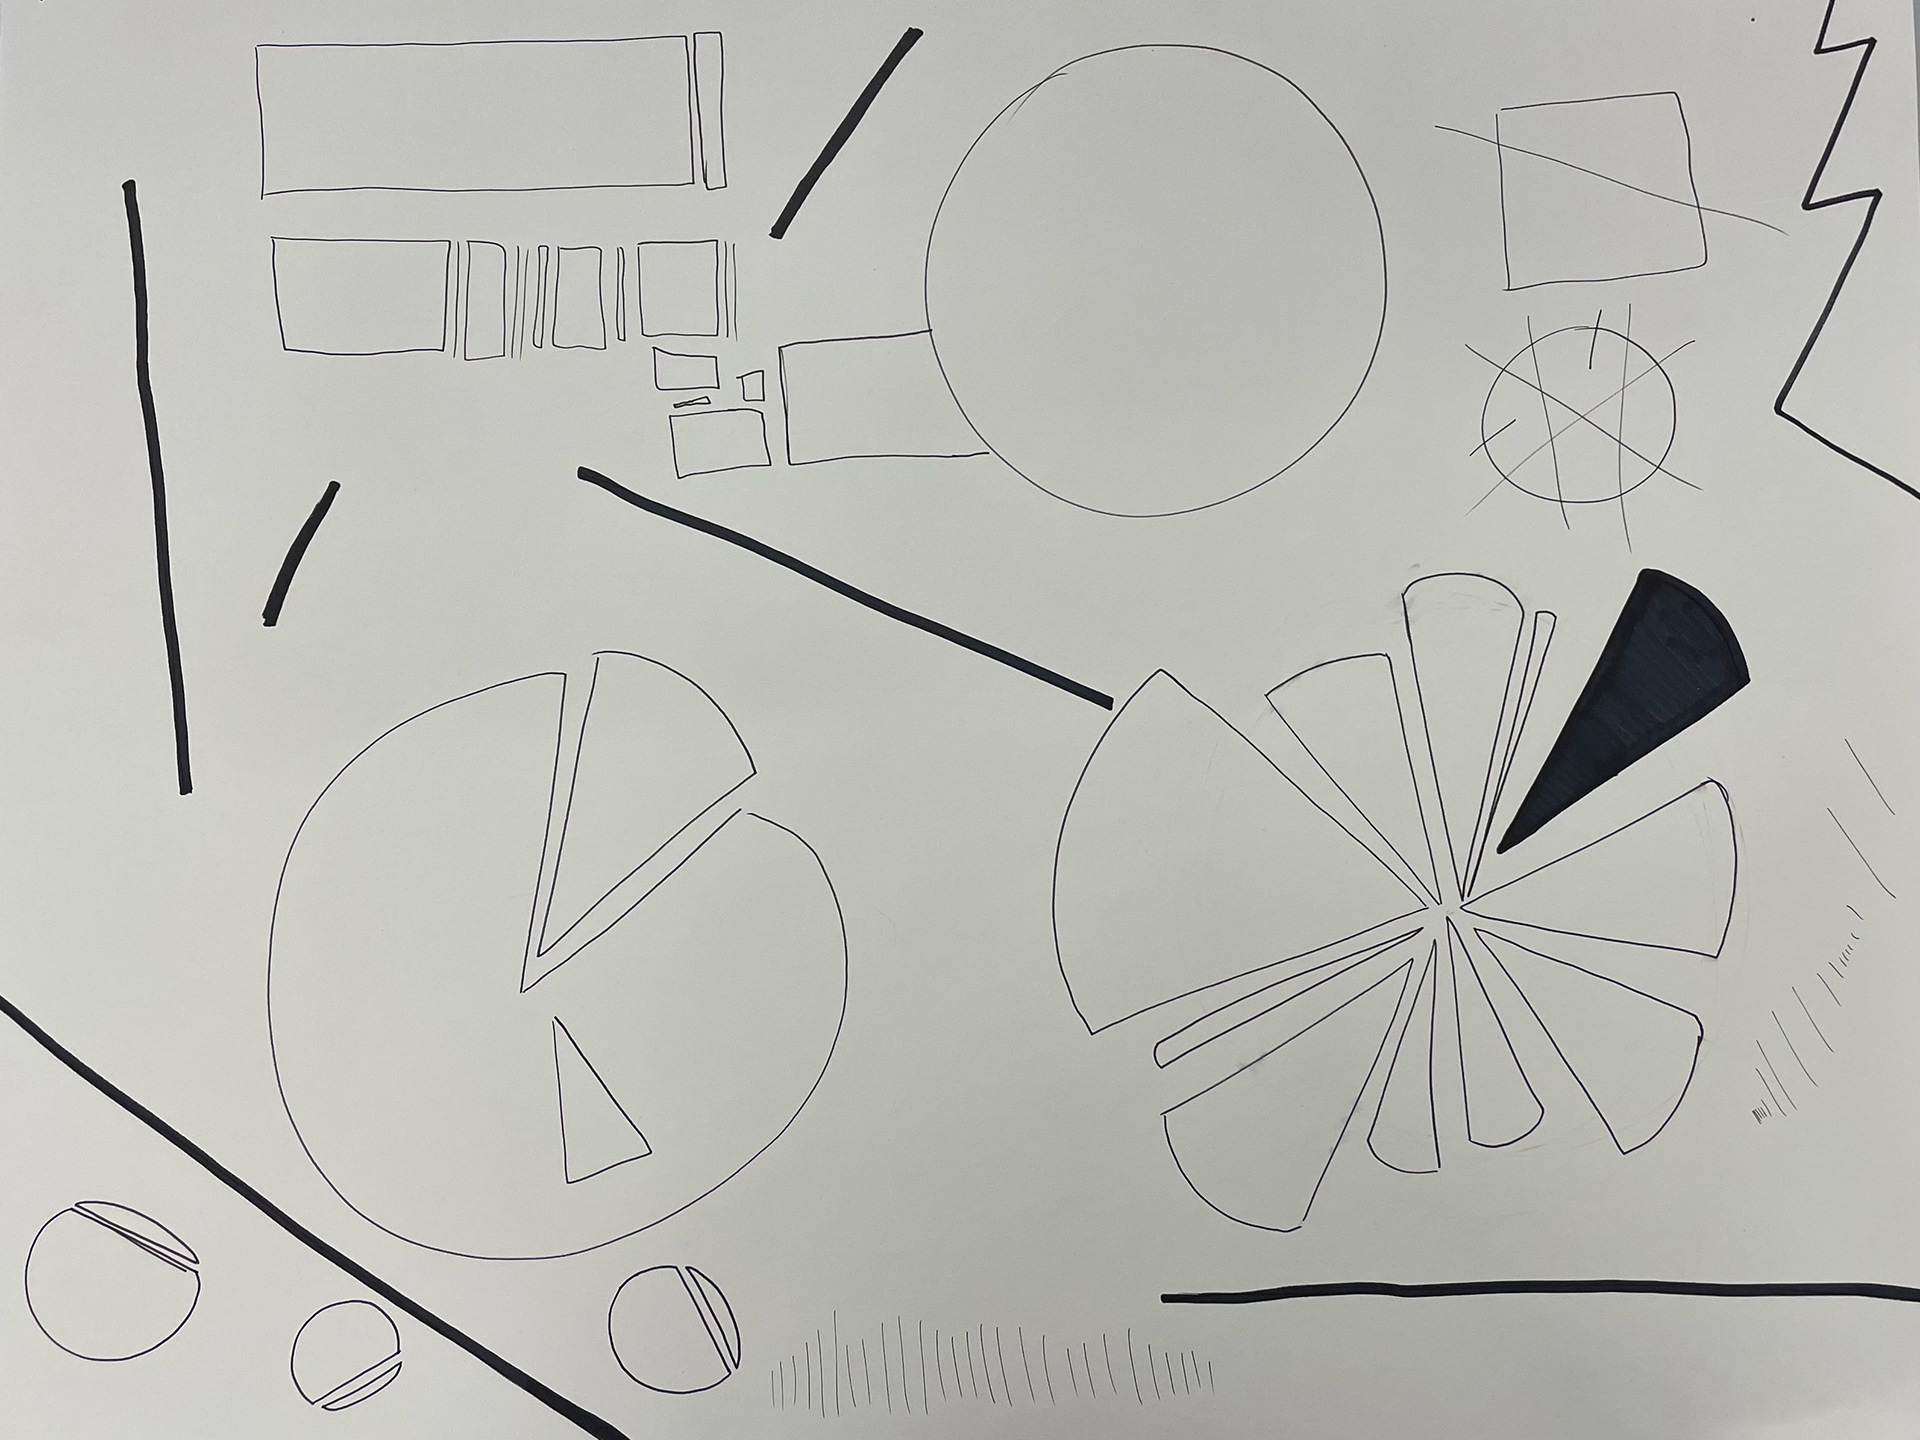
I began with an in-class assignment that aimed to help me get to know my object better. On the left, I was asked to draw my chef's knife over and over again, and I was given a varying increment of time for each drawing ( about 1-5 seconds). On the left, I had to choose a verb for my object and represent it visually. My verb was to slice. I was then able to dive into research.
Within my research stage, I laid out as much information as I could about my knife. Understanding the way my knife works was really helpful when creating a "container" that would best suit my object.
Above is an image of my initial concept idea sketches. As you can see, I was all over the place and was exploring many drastically different design routes.
I then began modeling and experimenting with materials. Because I was still unsure which concept I wanted to choose, I widely experimented. That process is displayed below.
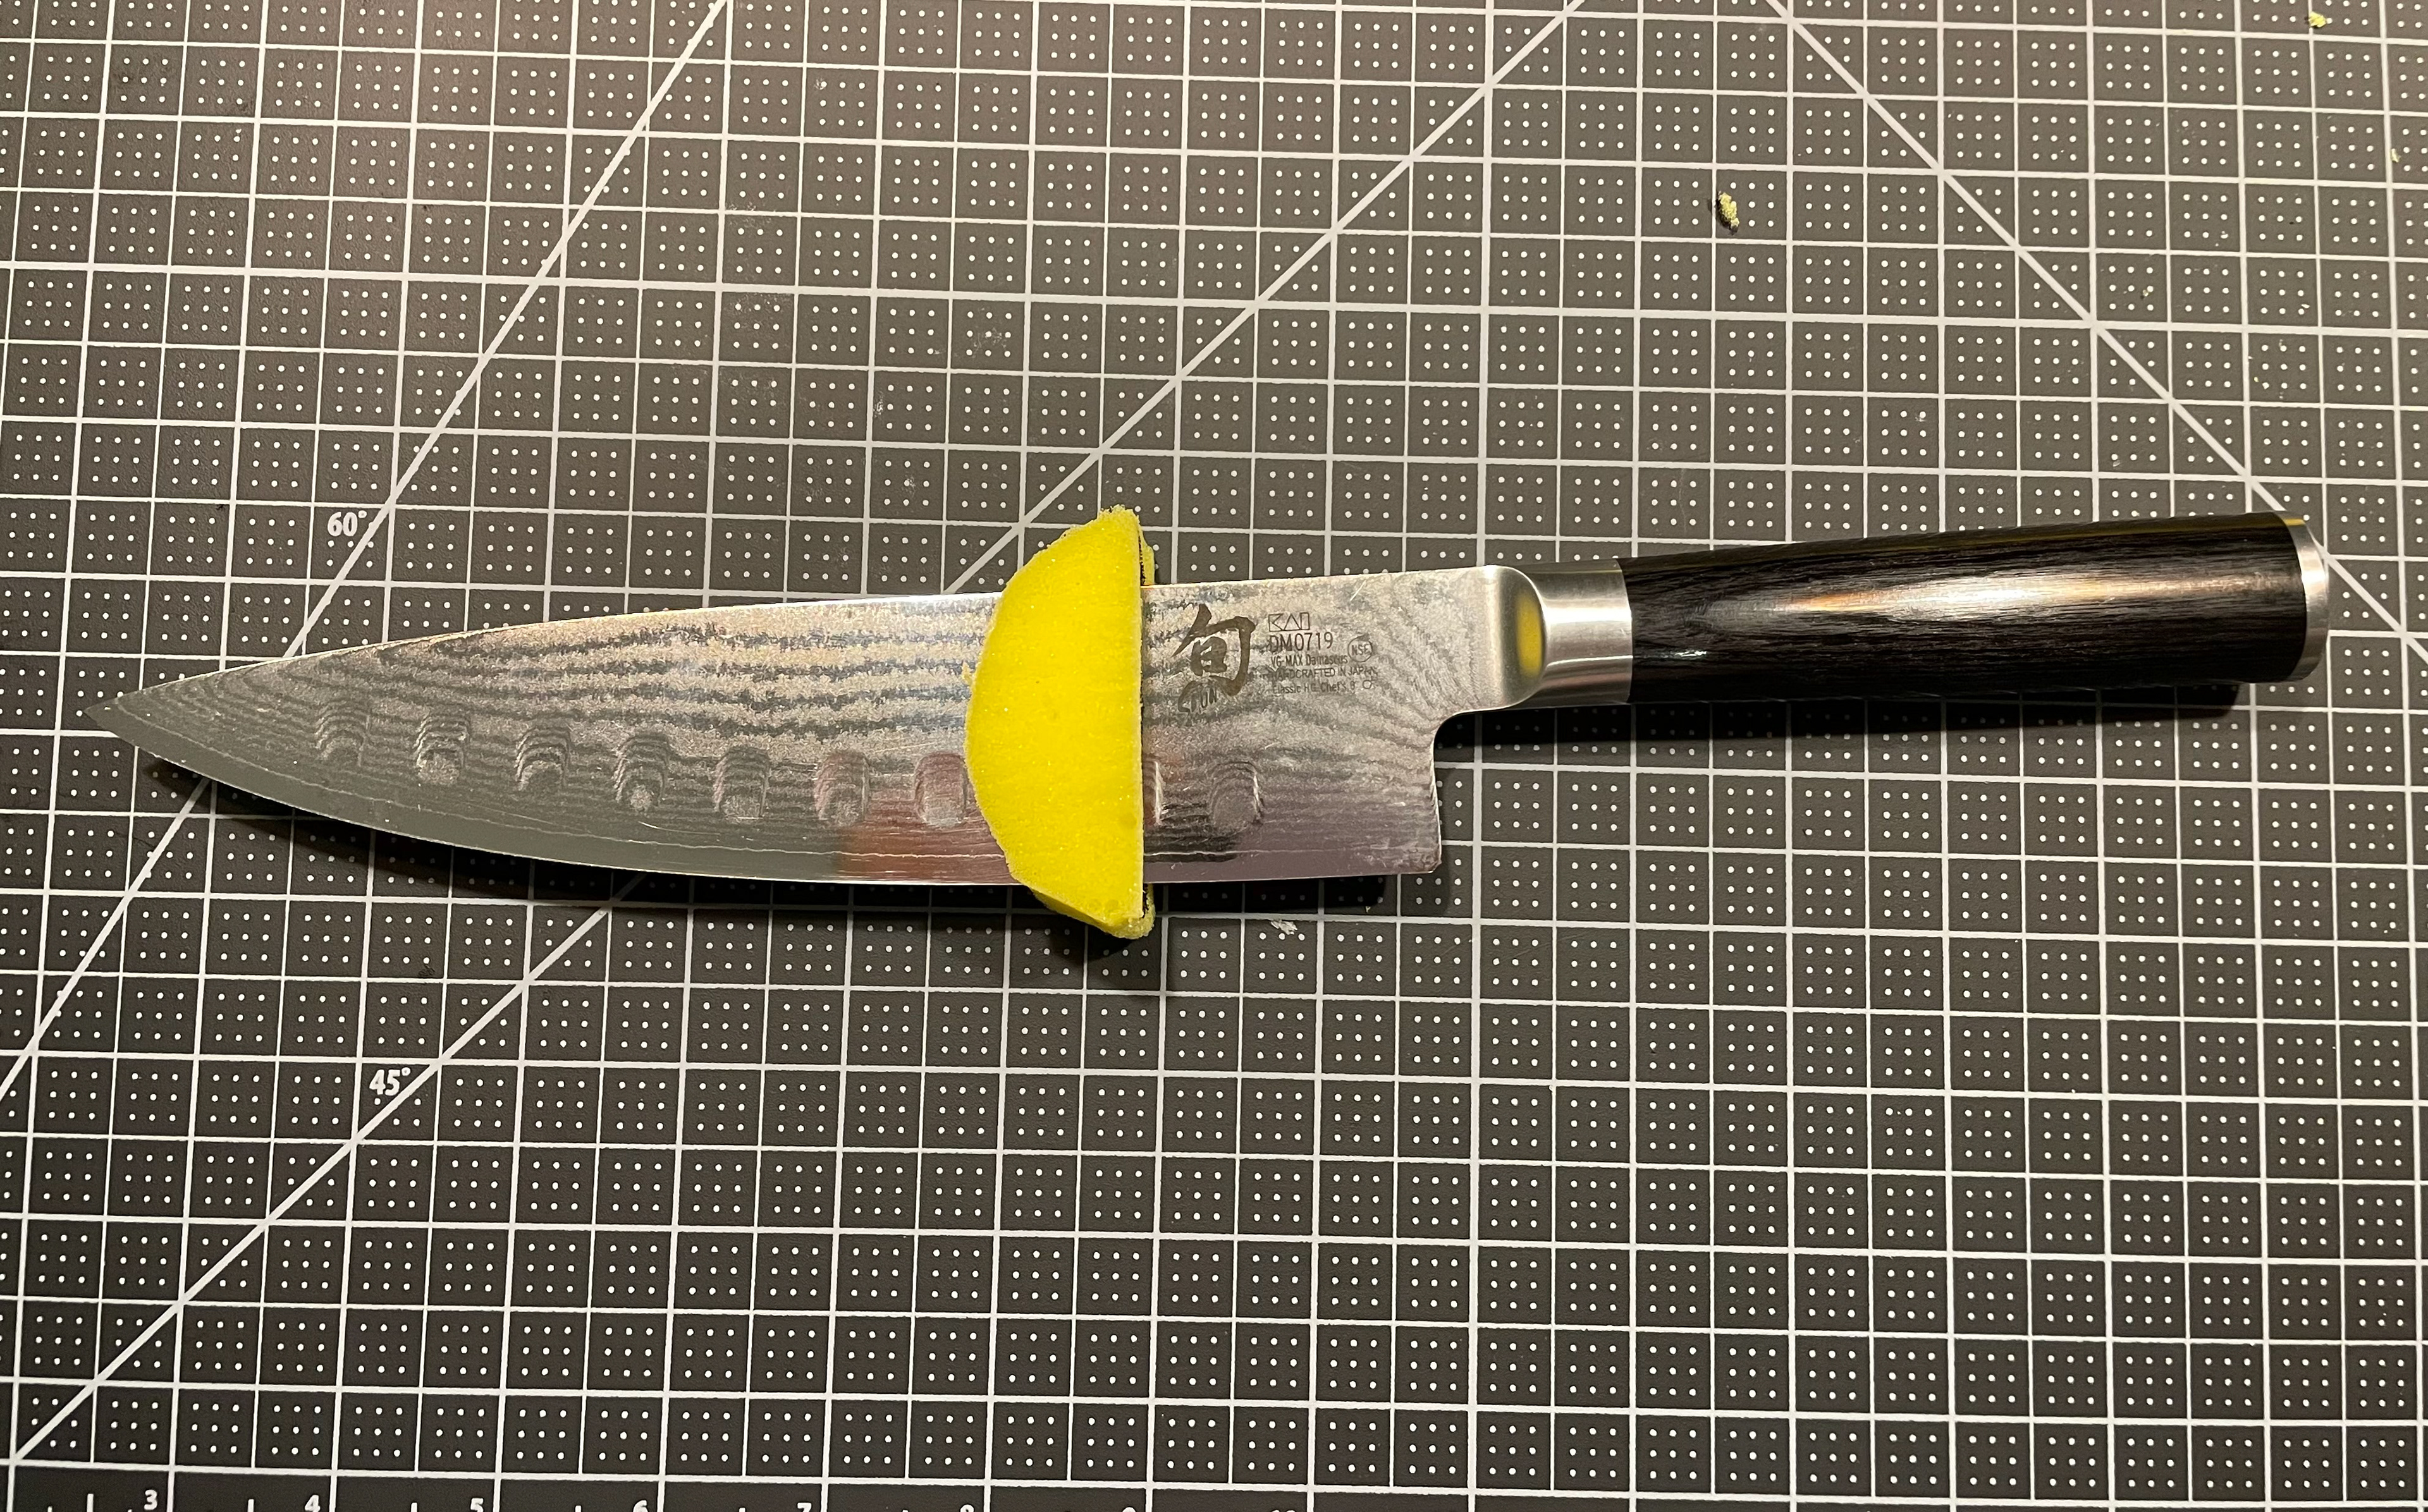
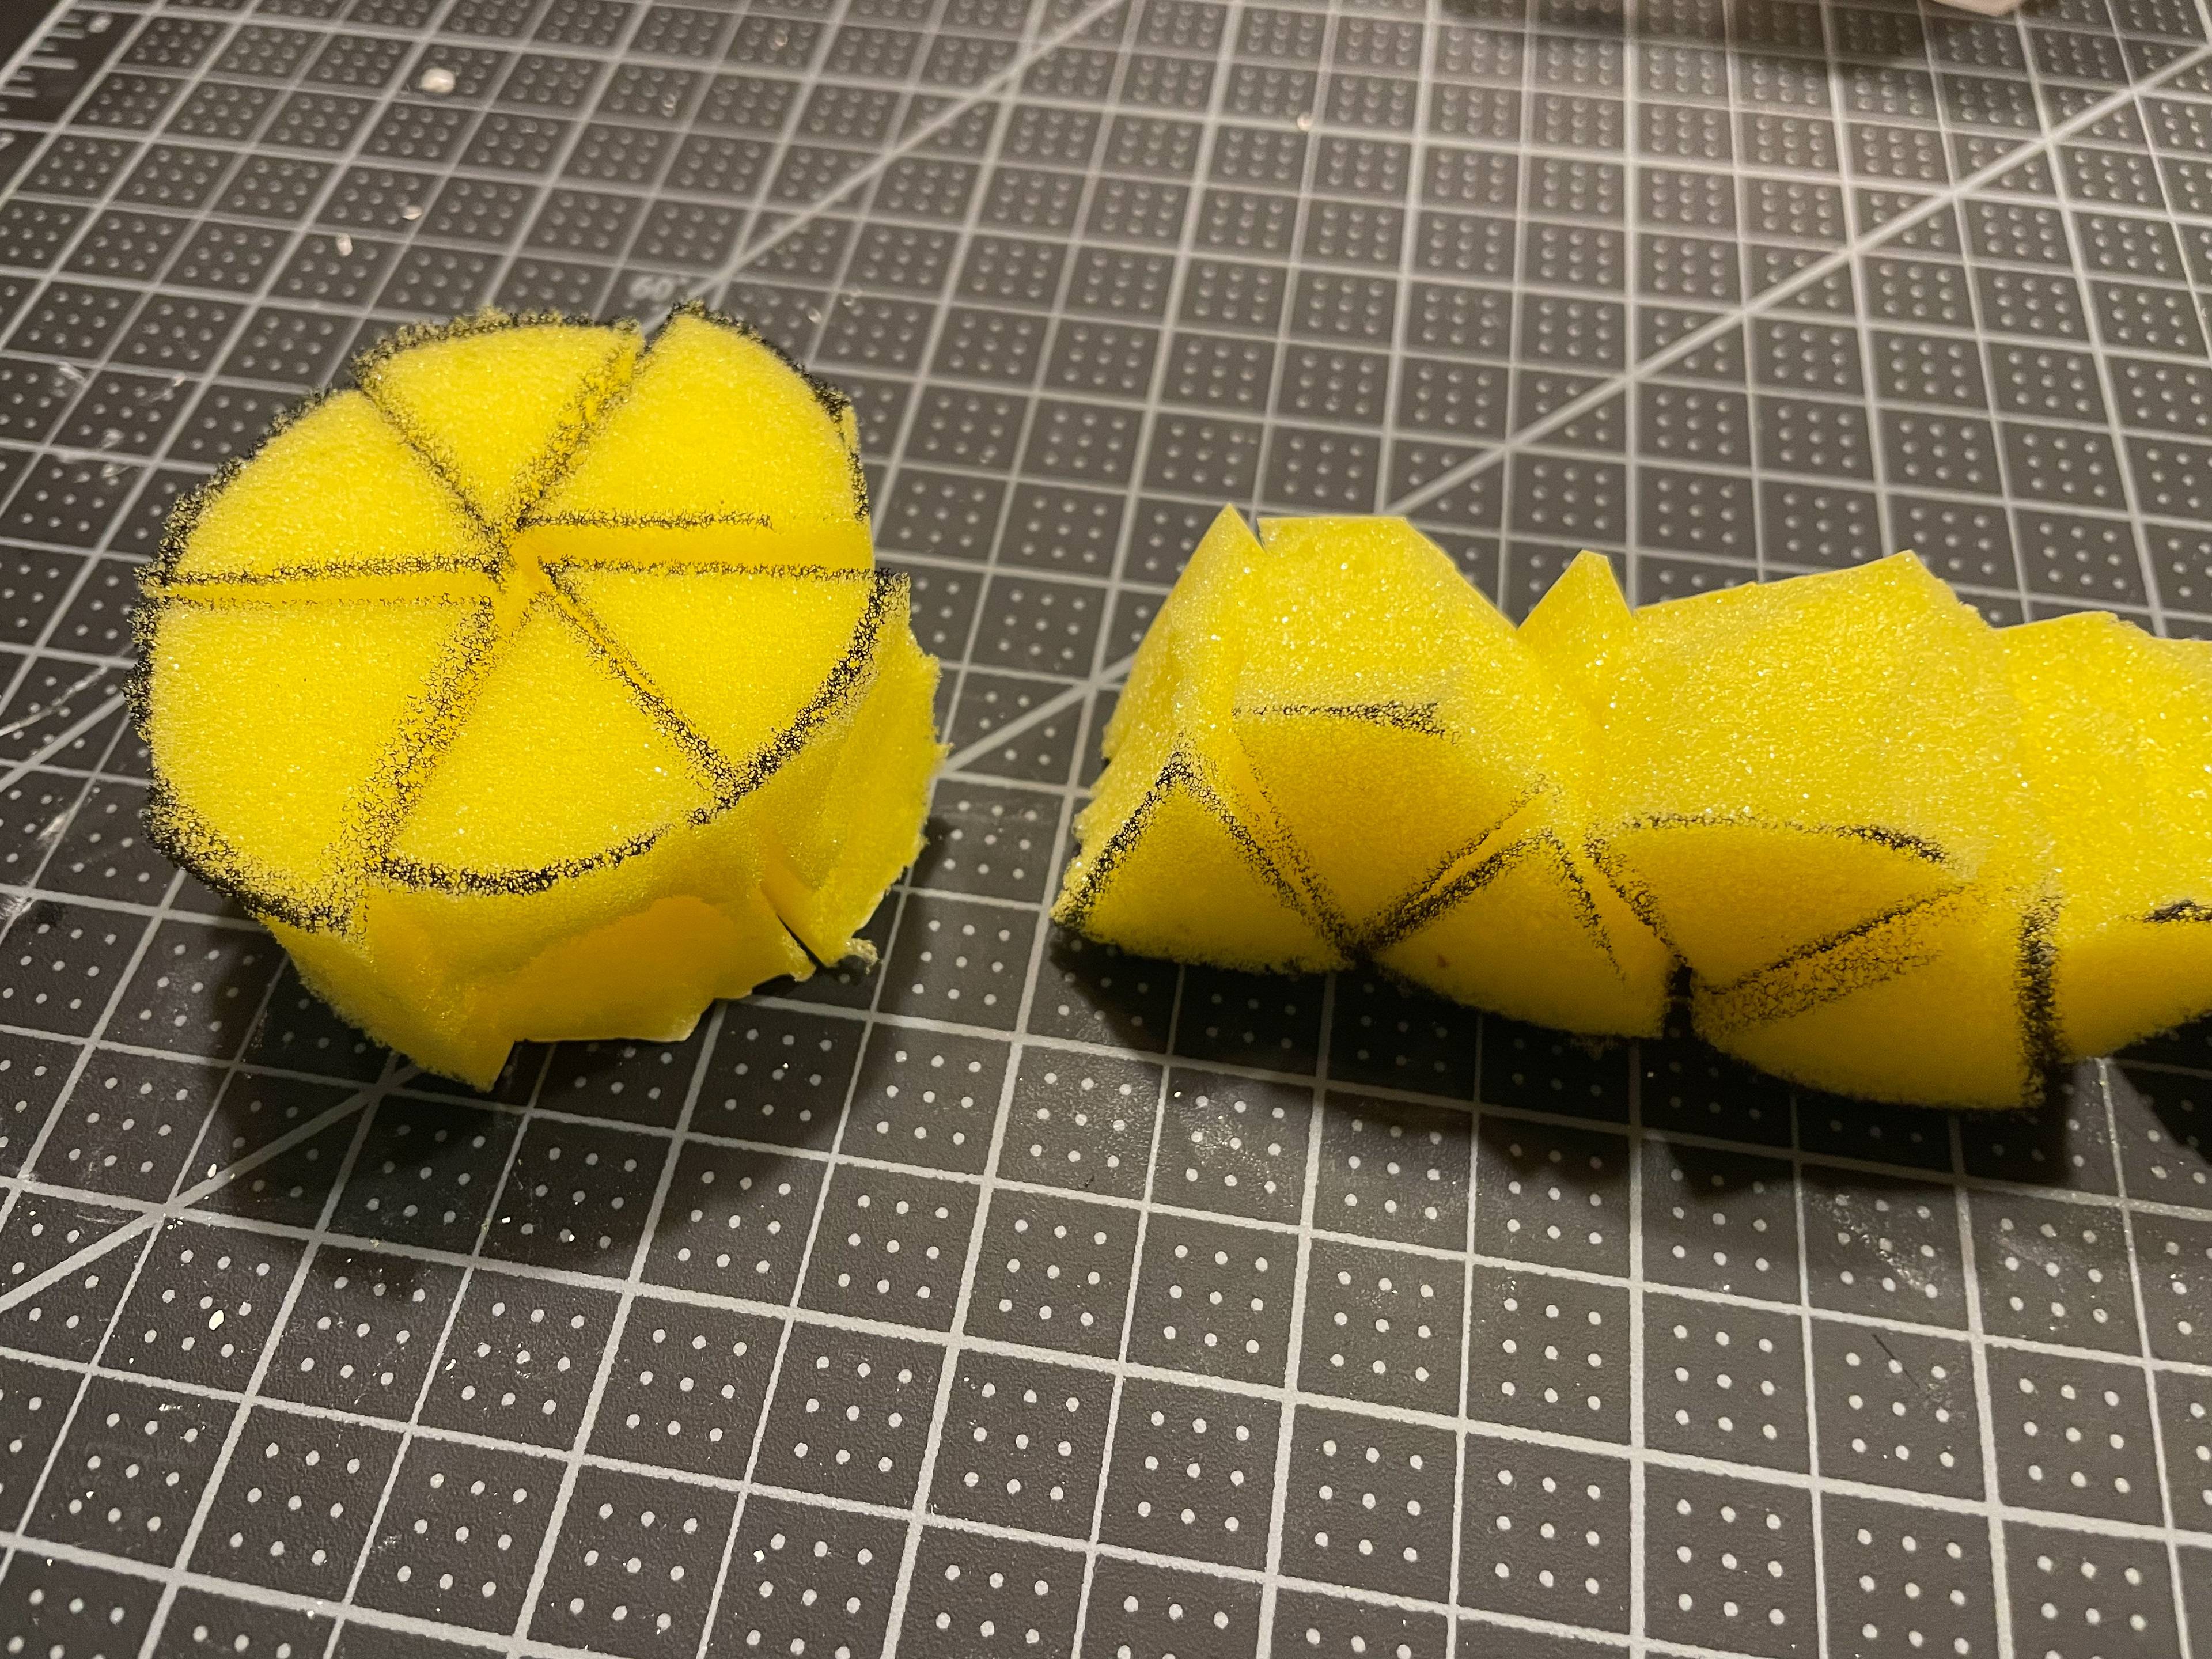
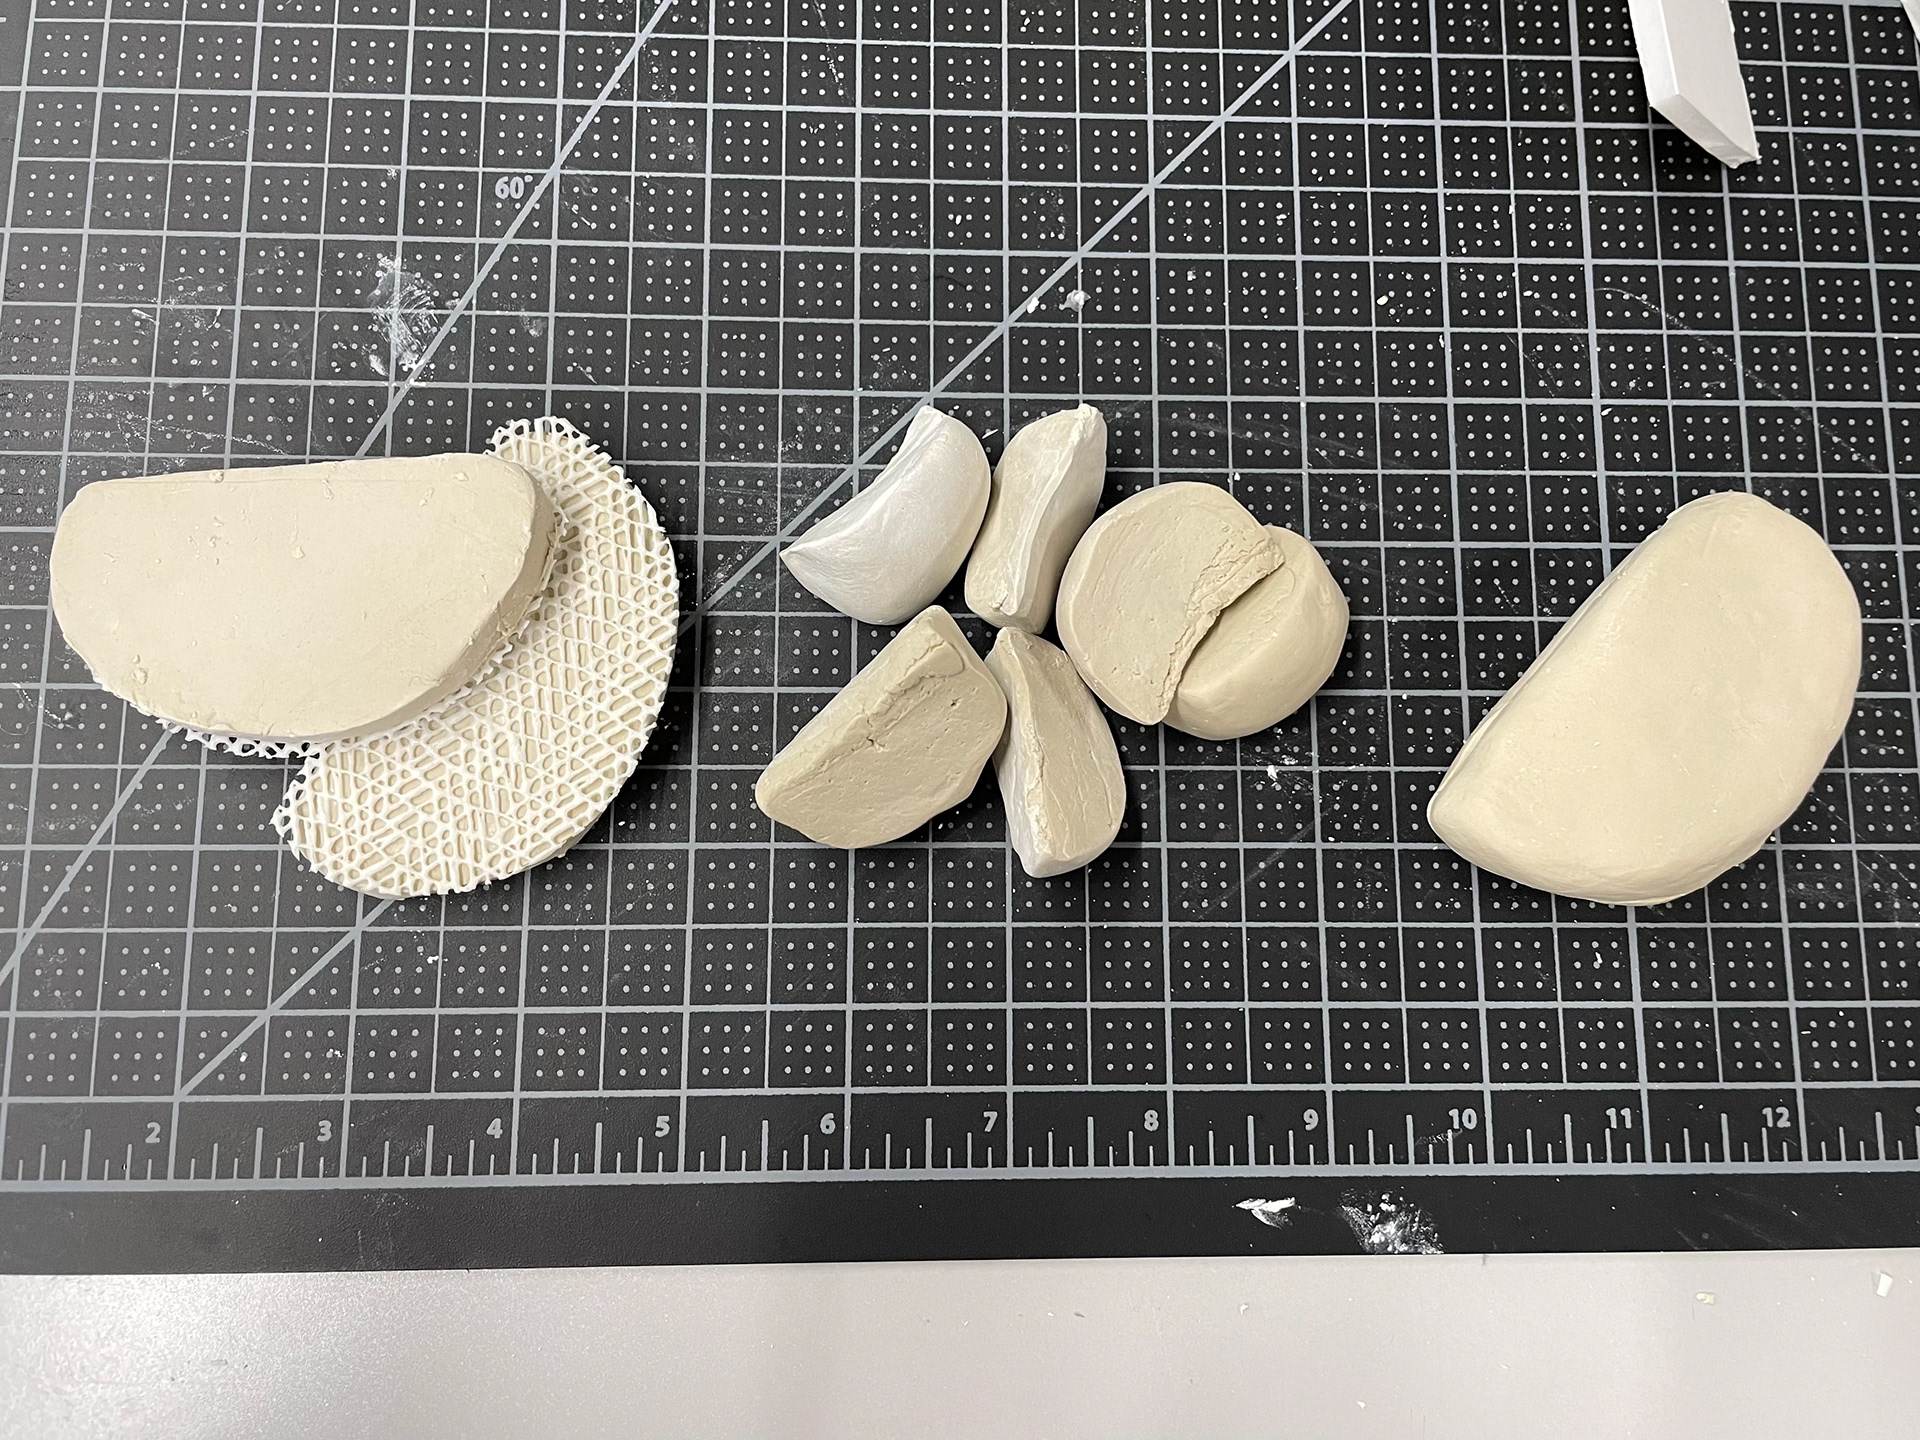
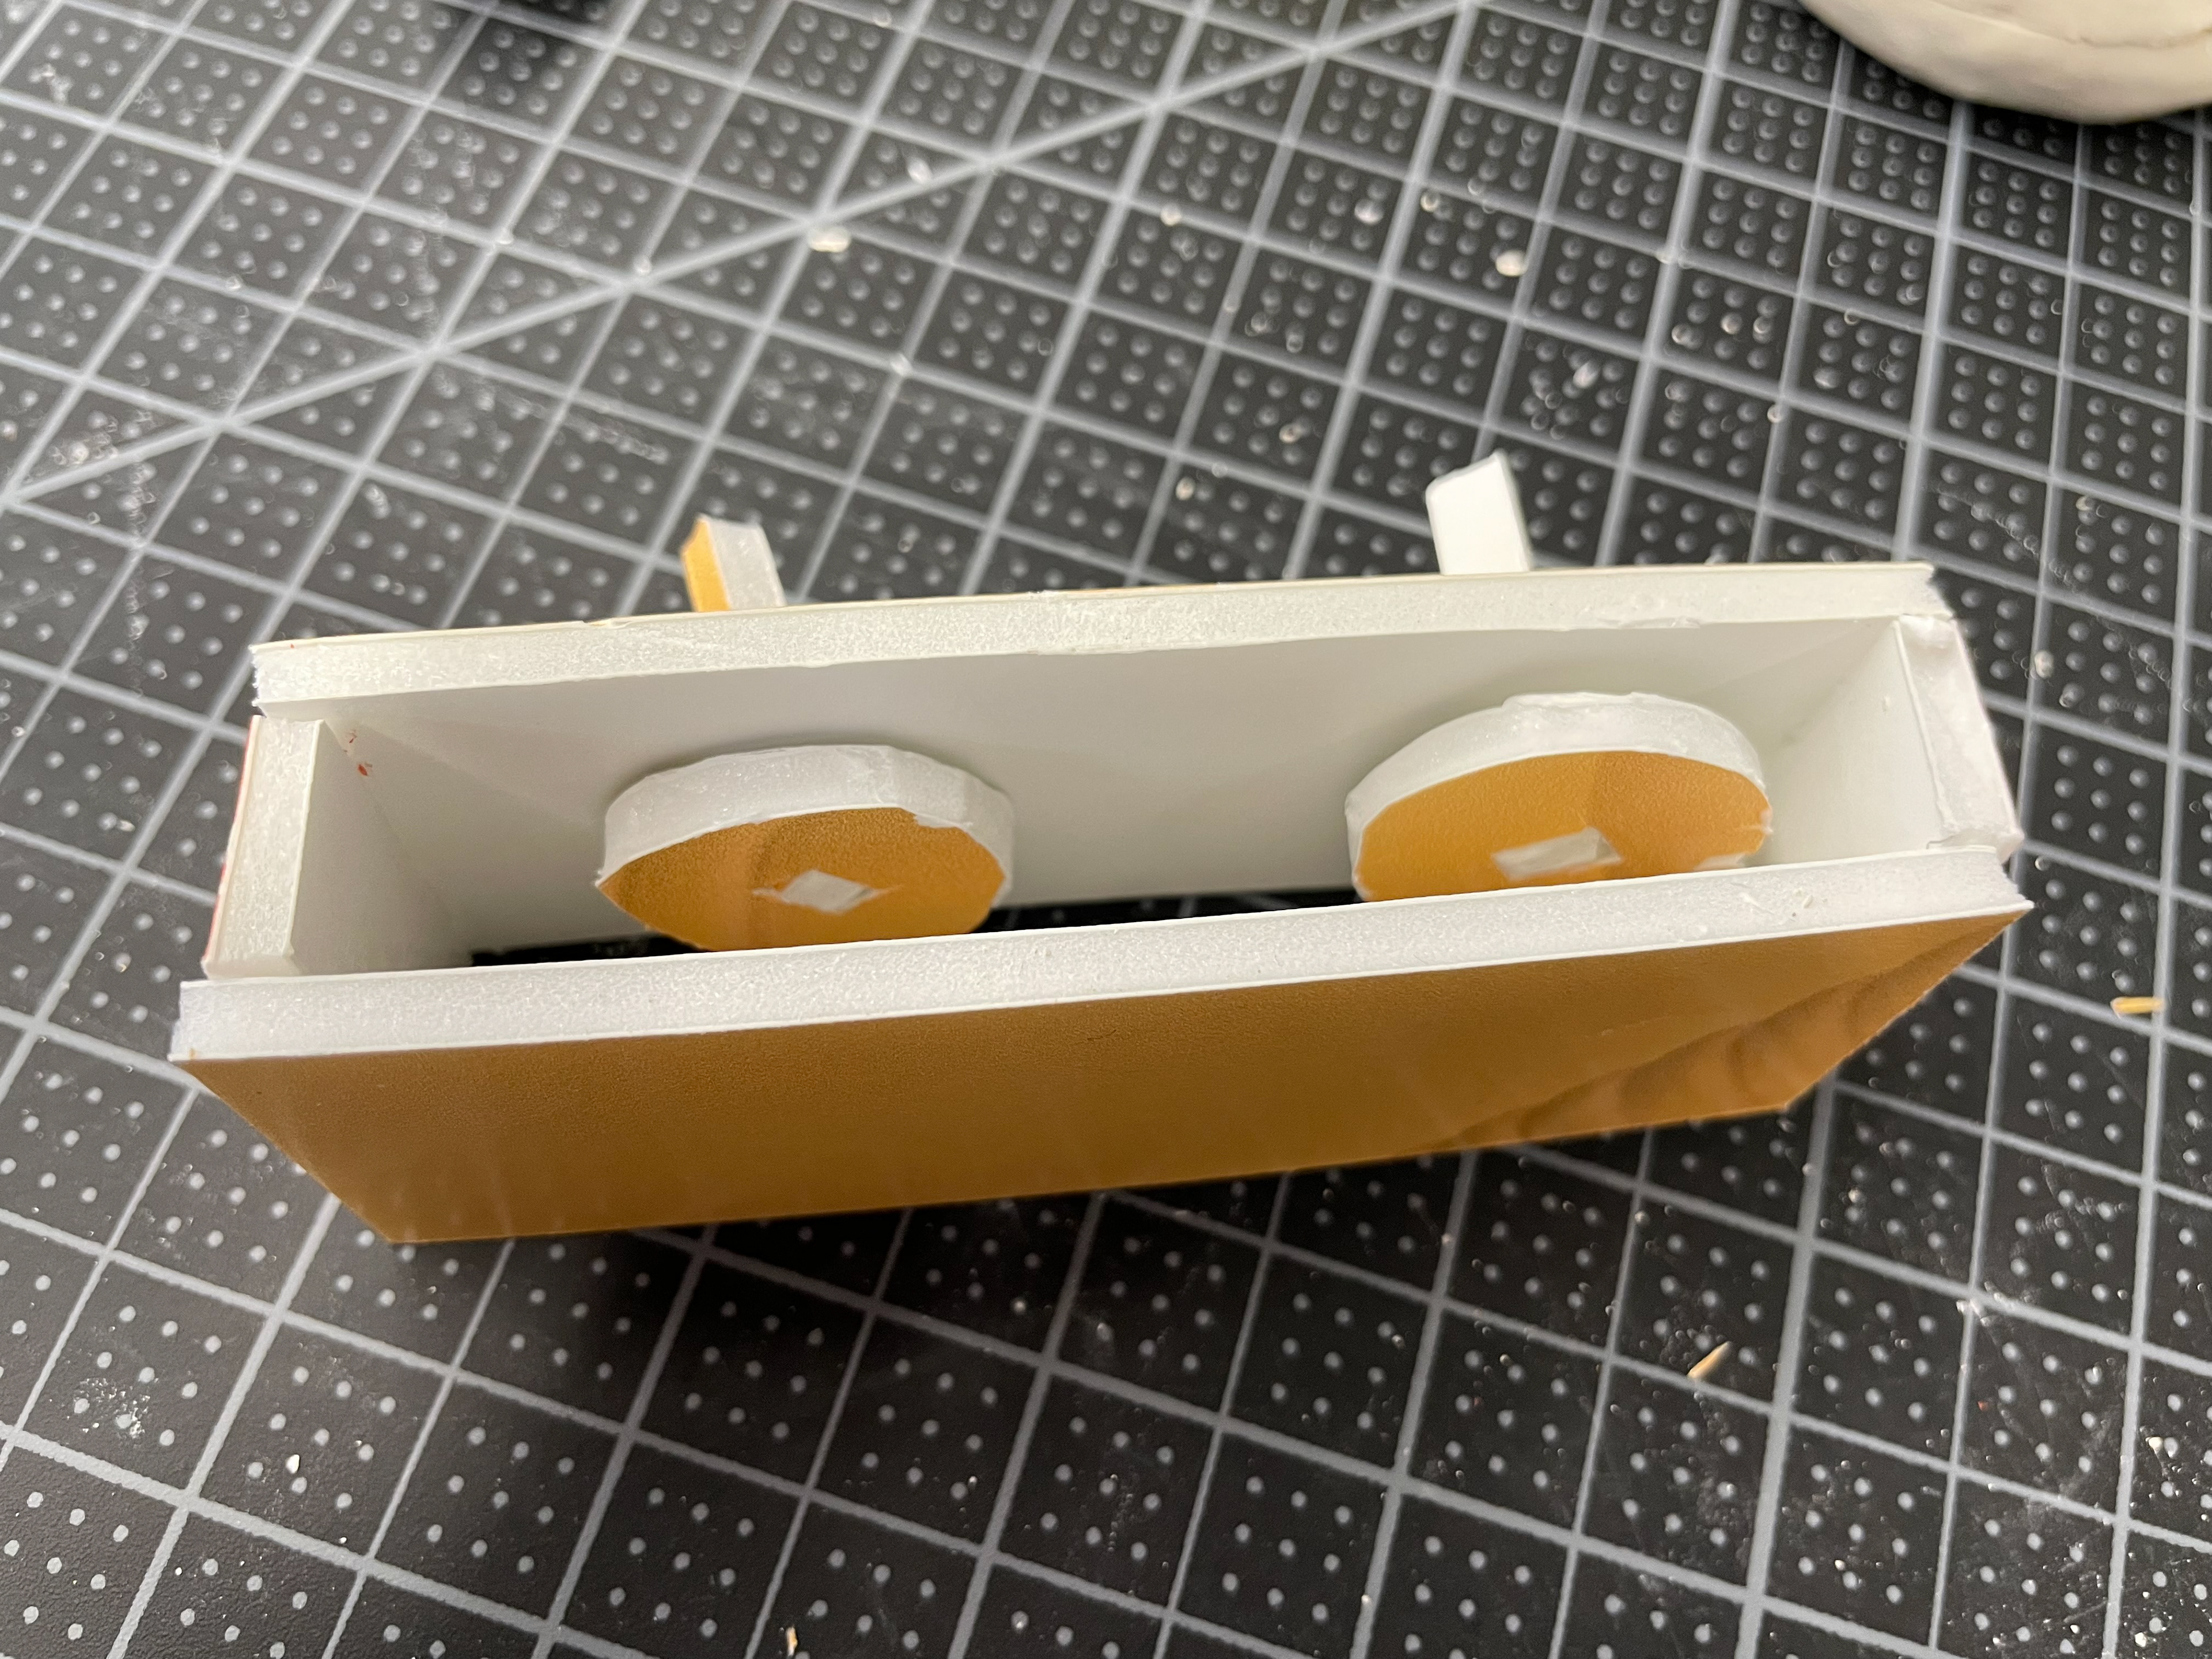
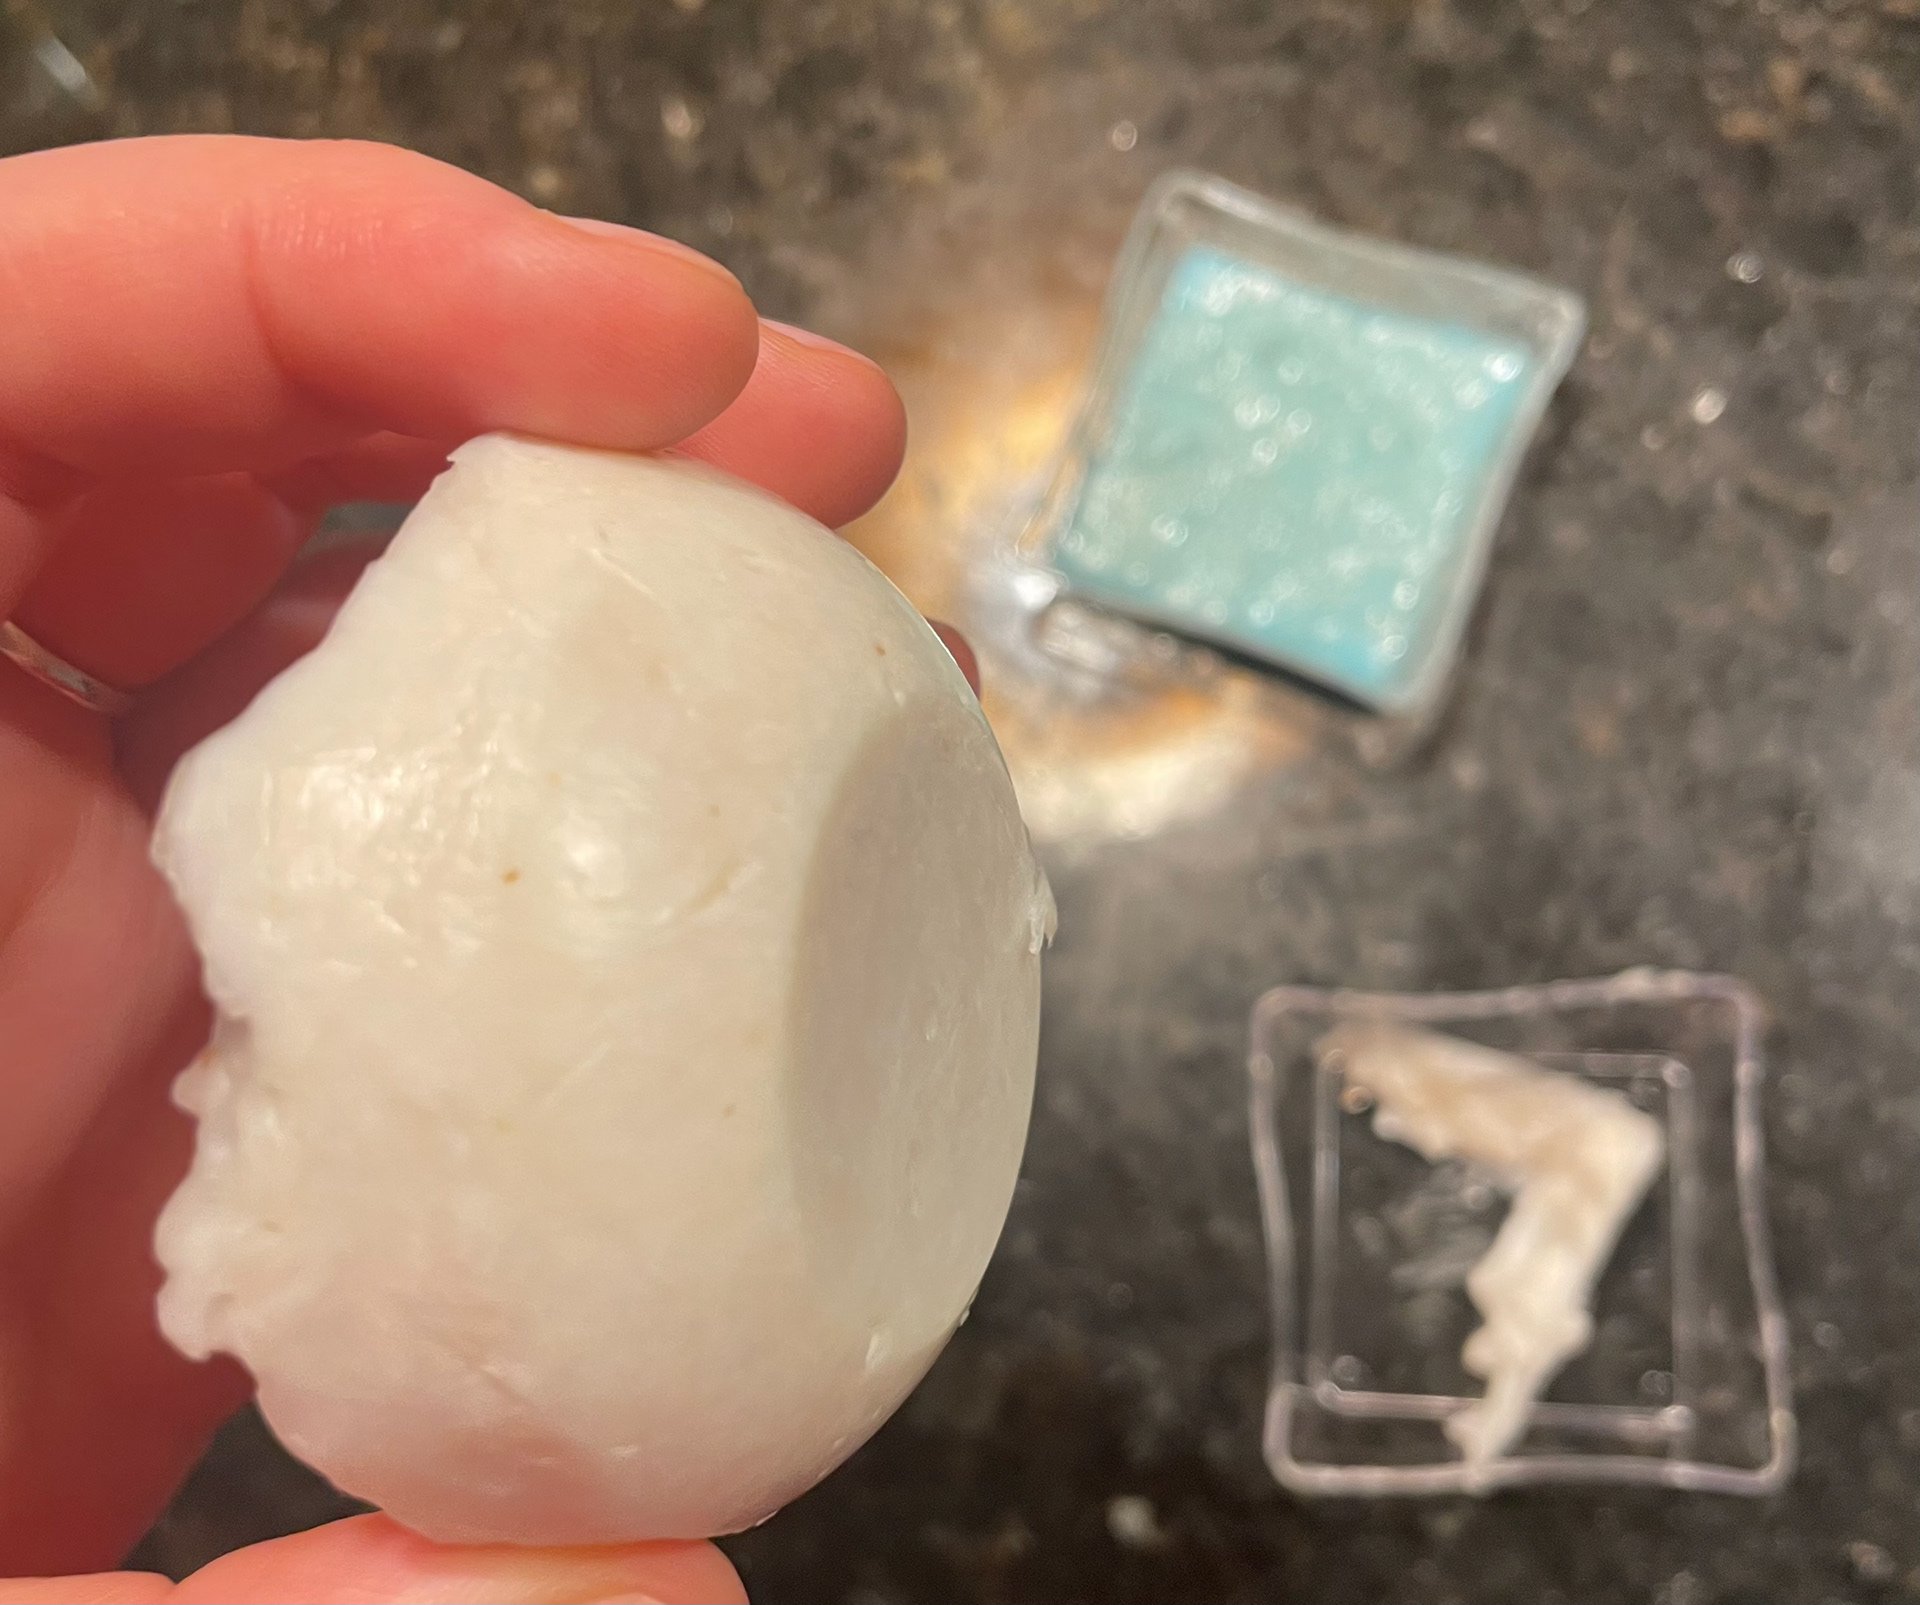
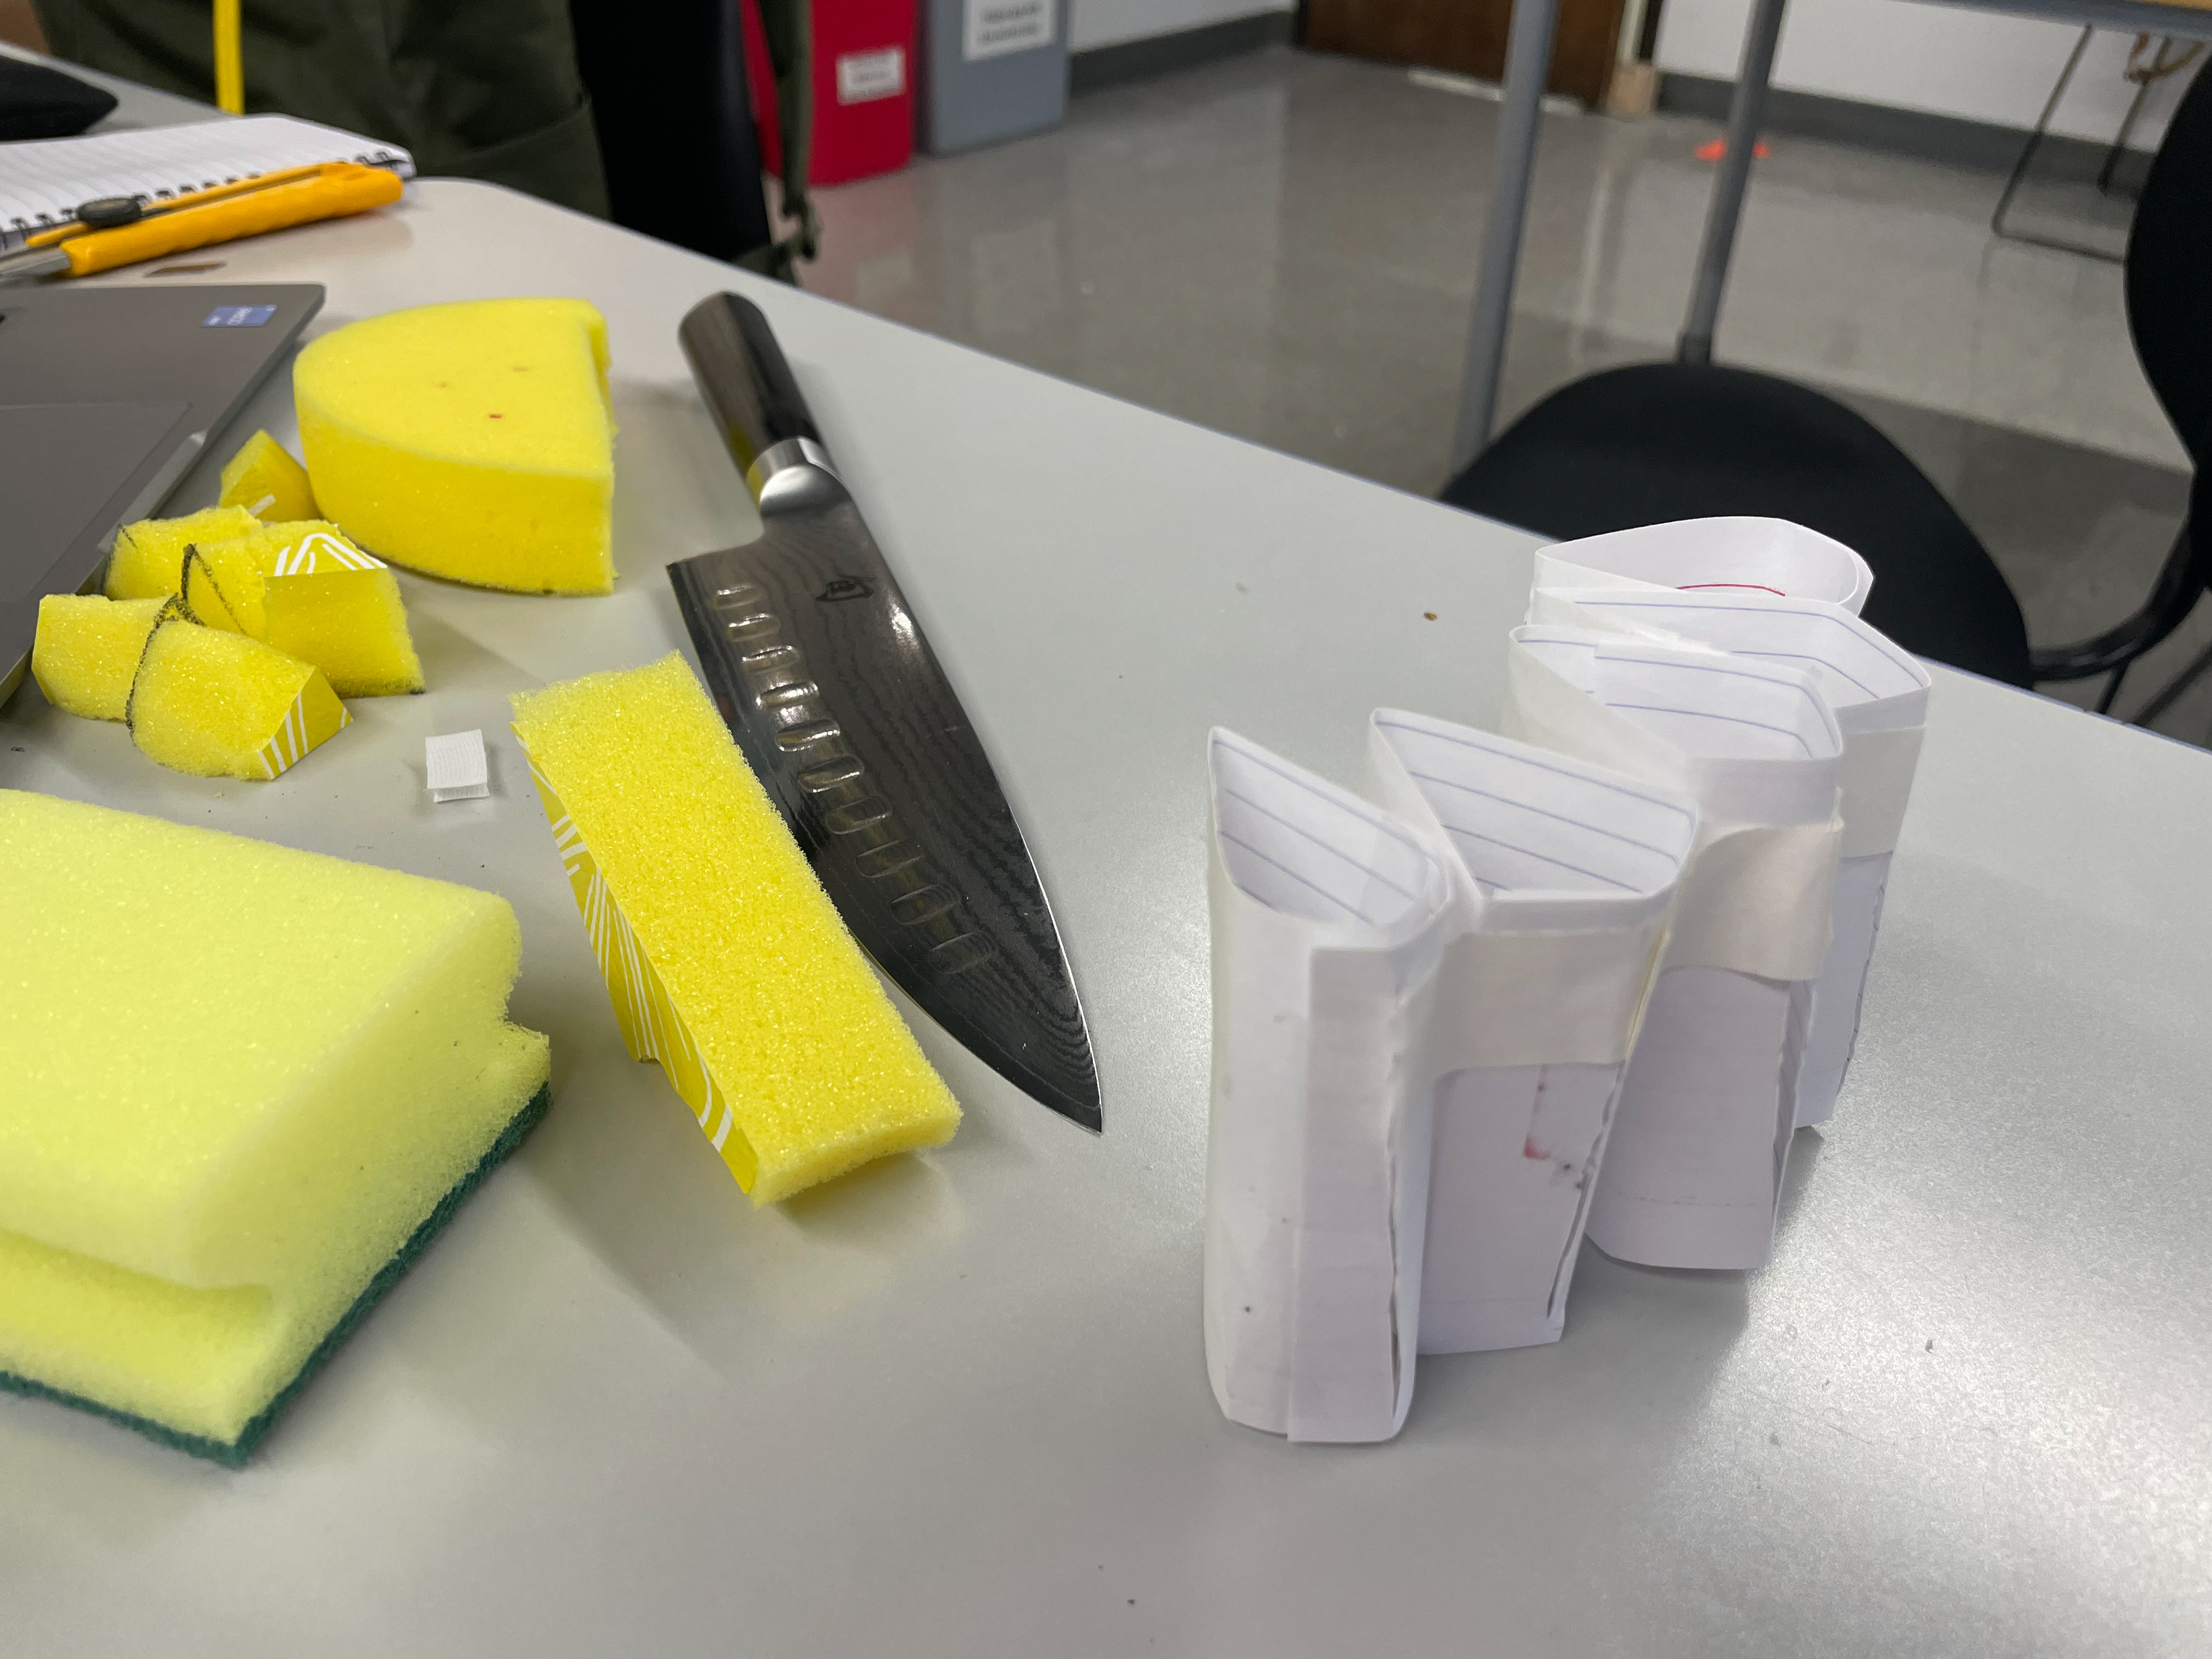
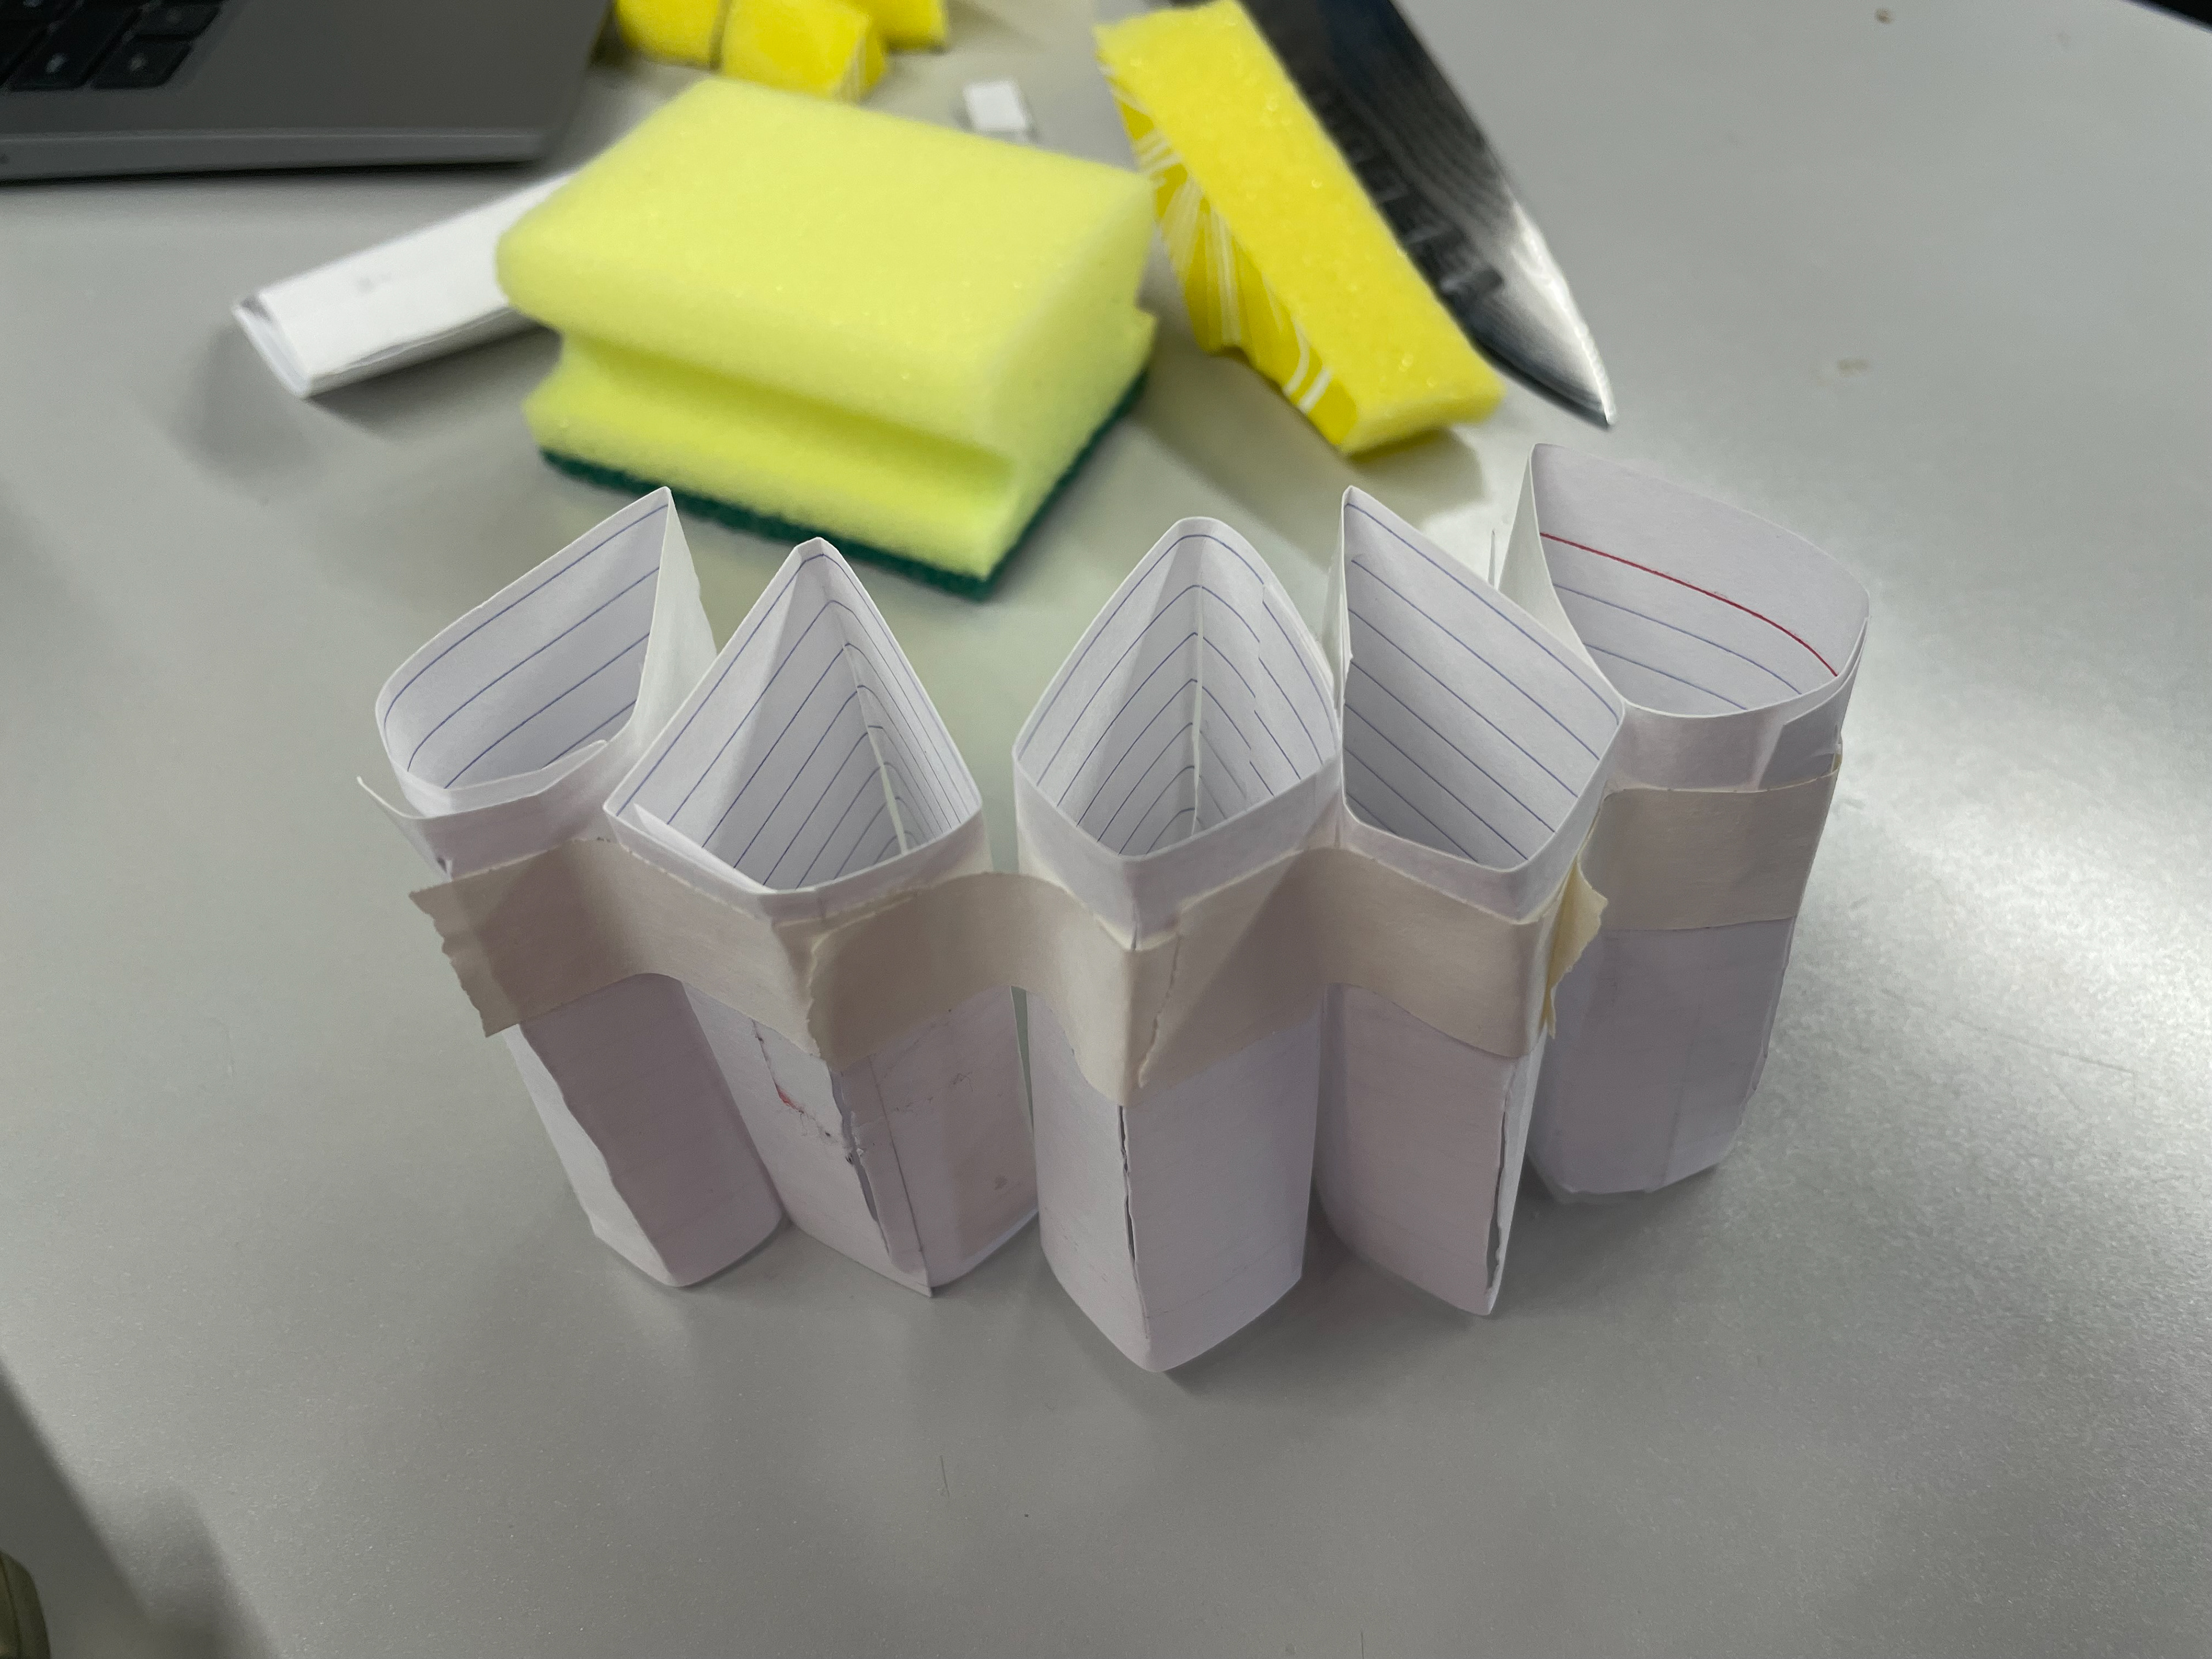
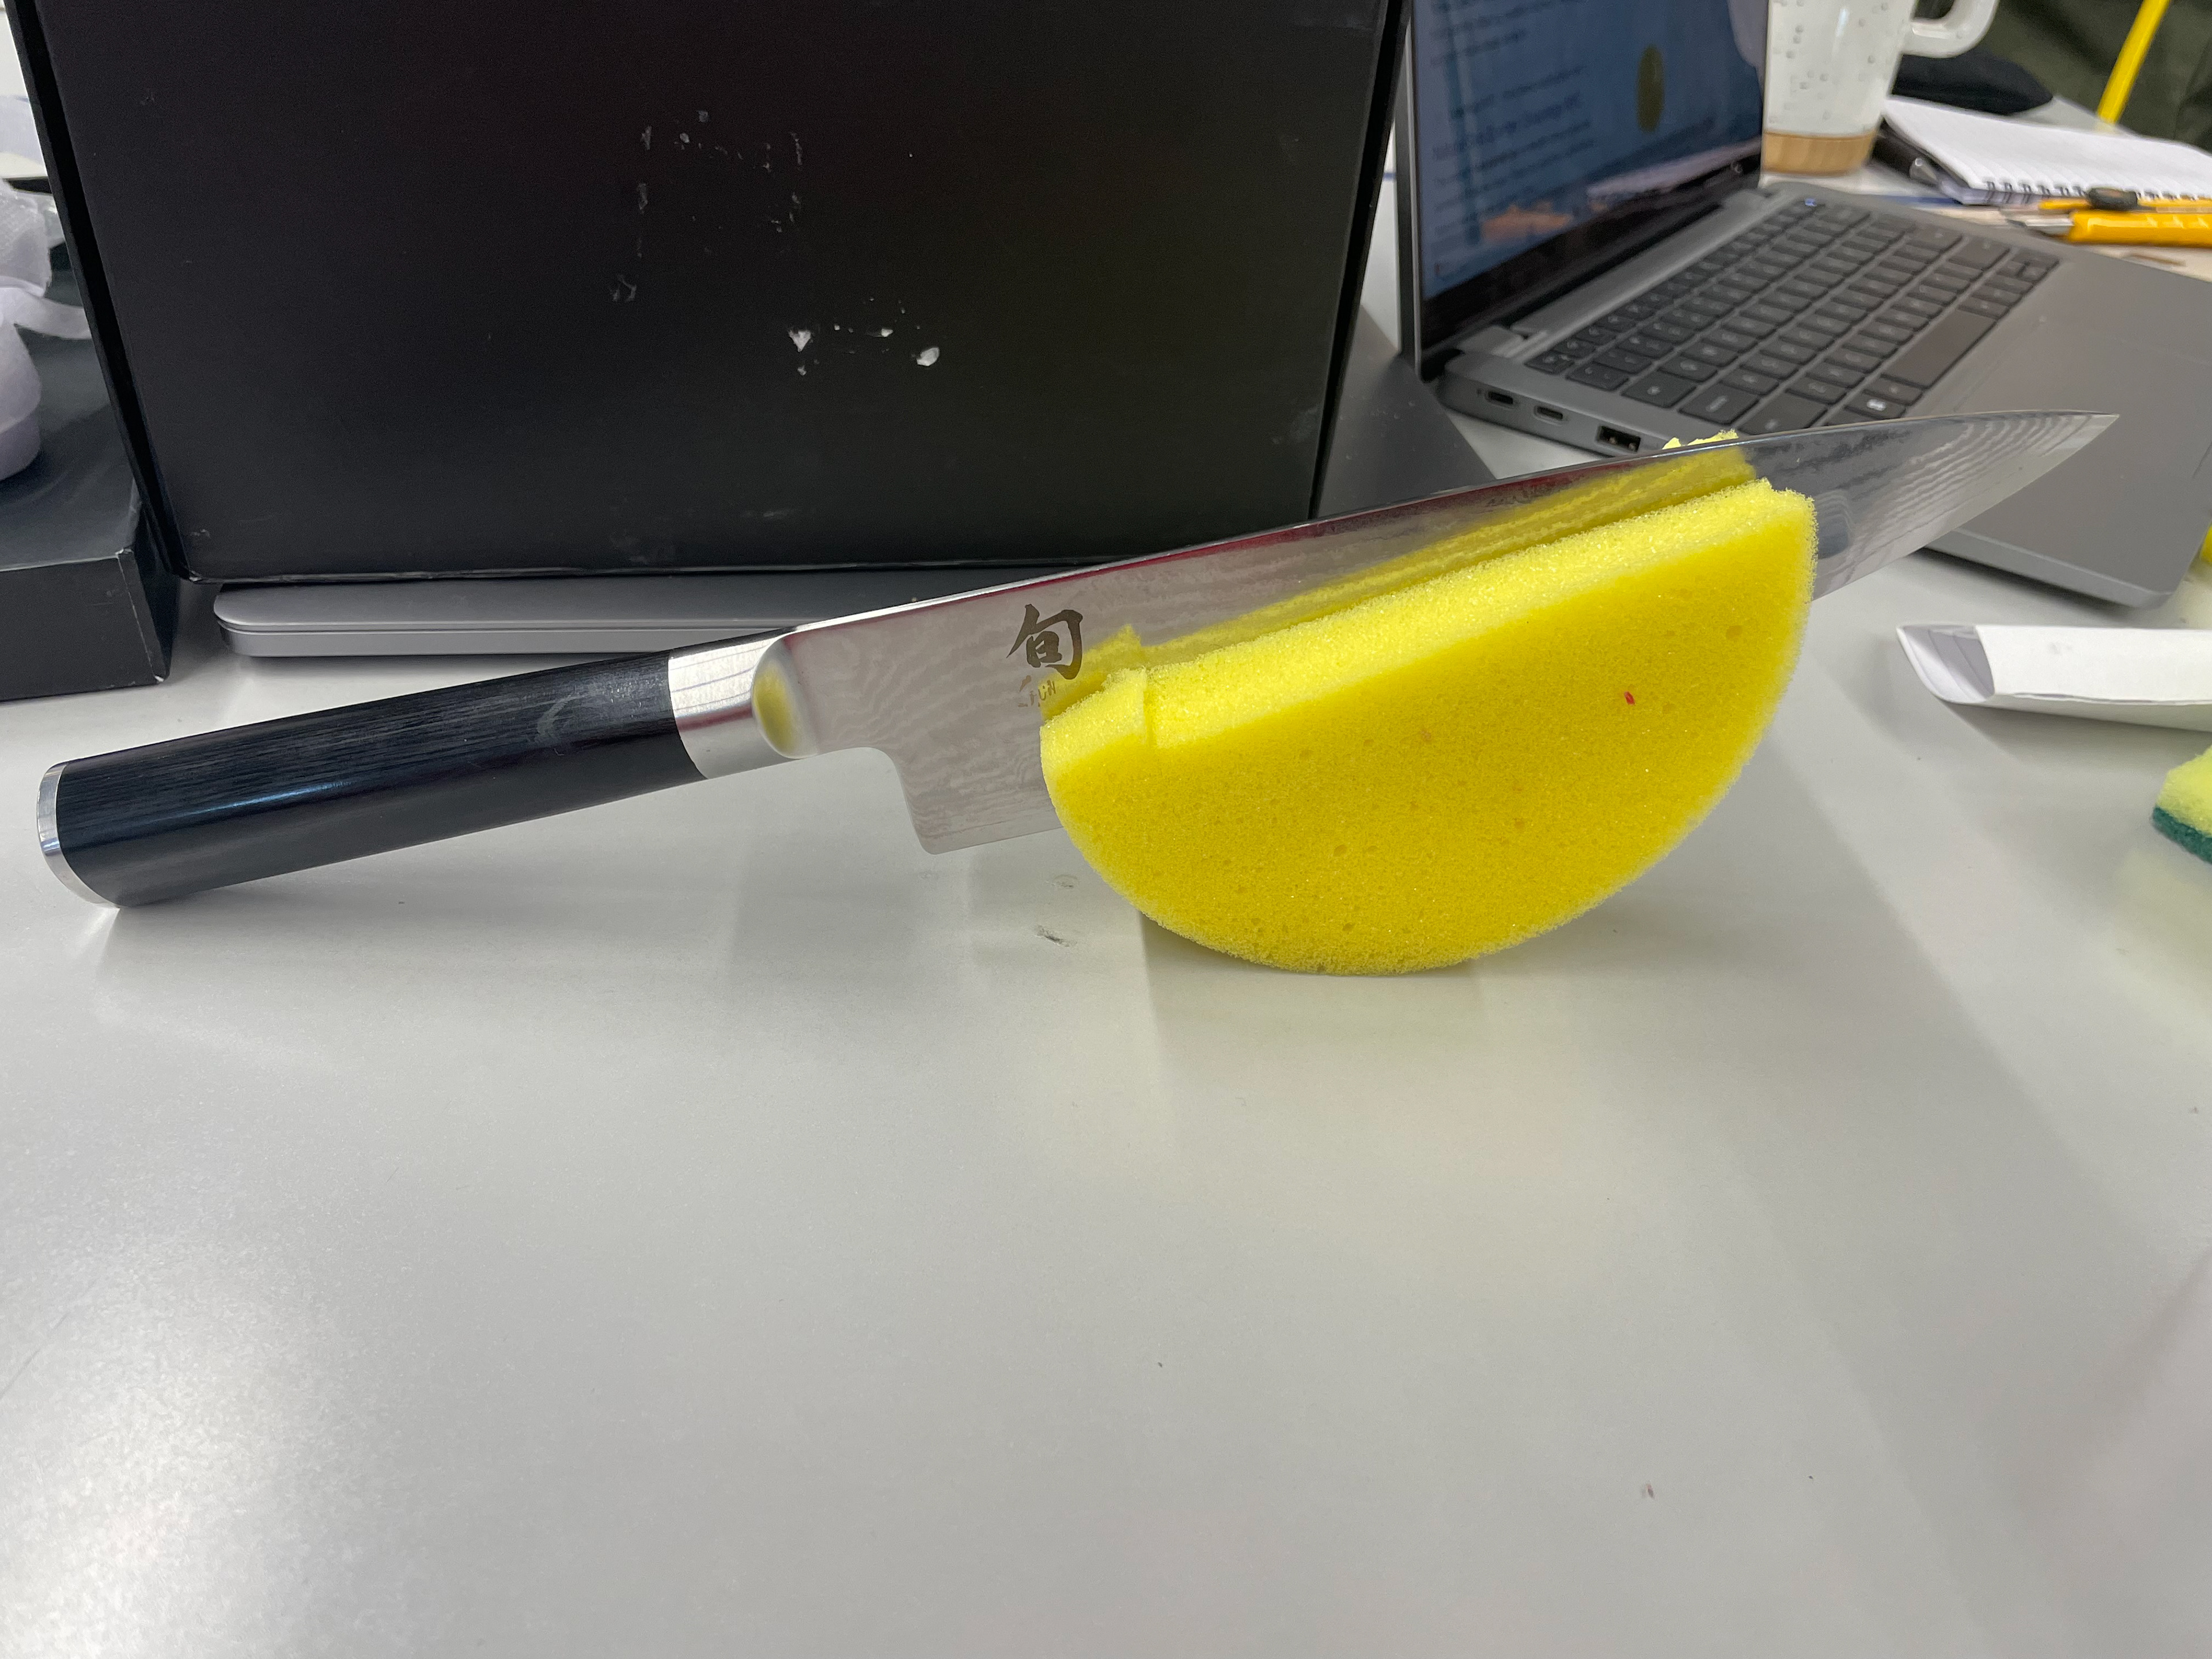
Above are some images of my ~20 material tests and concept experiments. I tested many of my initial ideas, and tested countless materials such as sponge, soap, foam core, clay, paper, wire, wood, acrylic, etc. The last image shown above inspired my final design. I made that out of sponge, and then immediately tested this with wood. Below are images from that wood shop session.
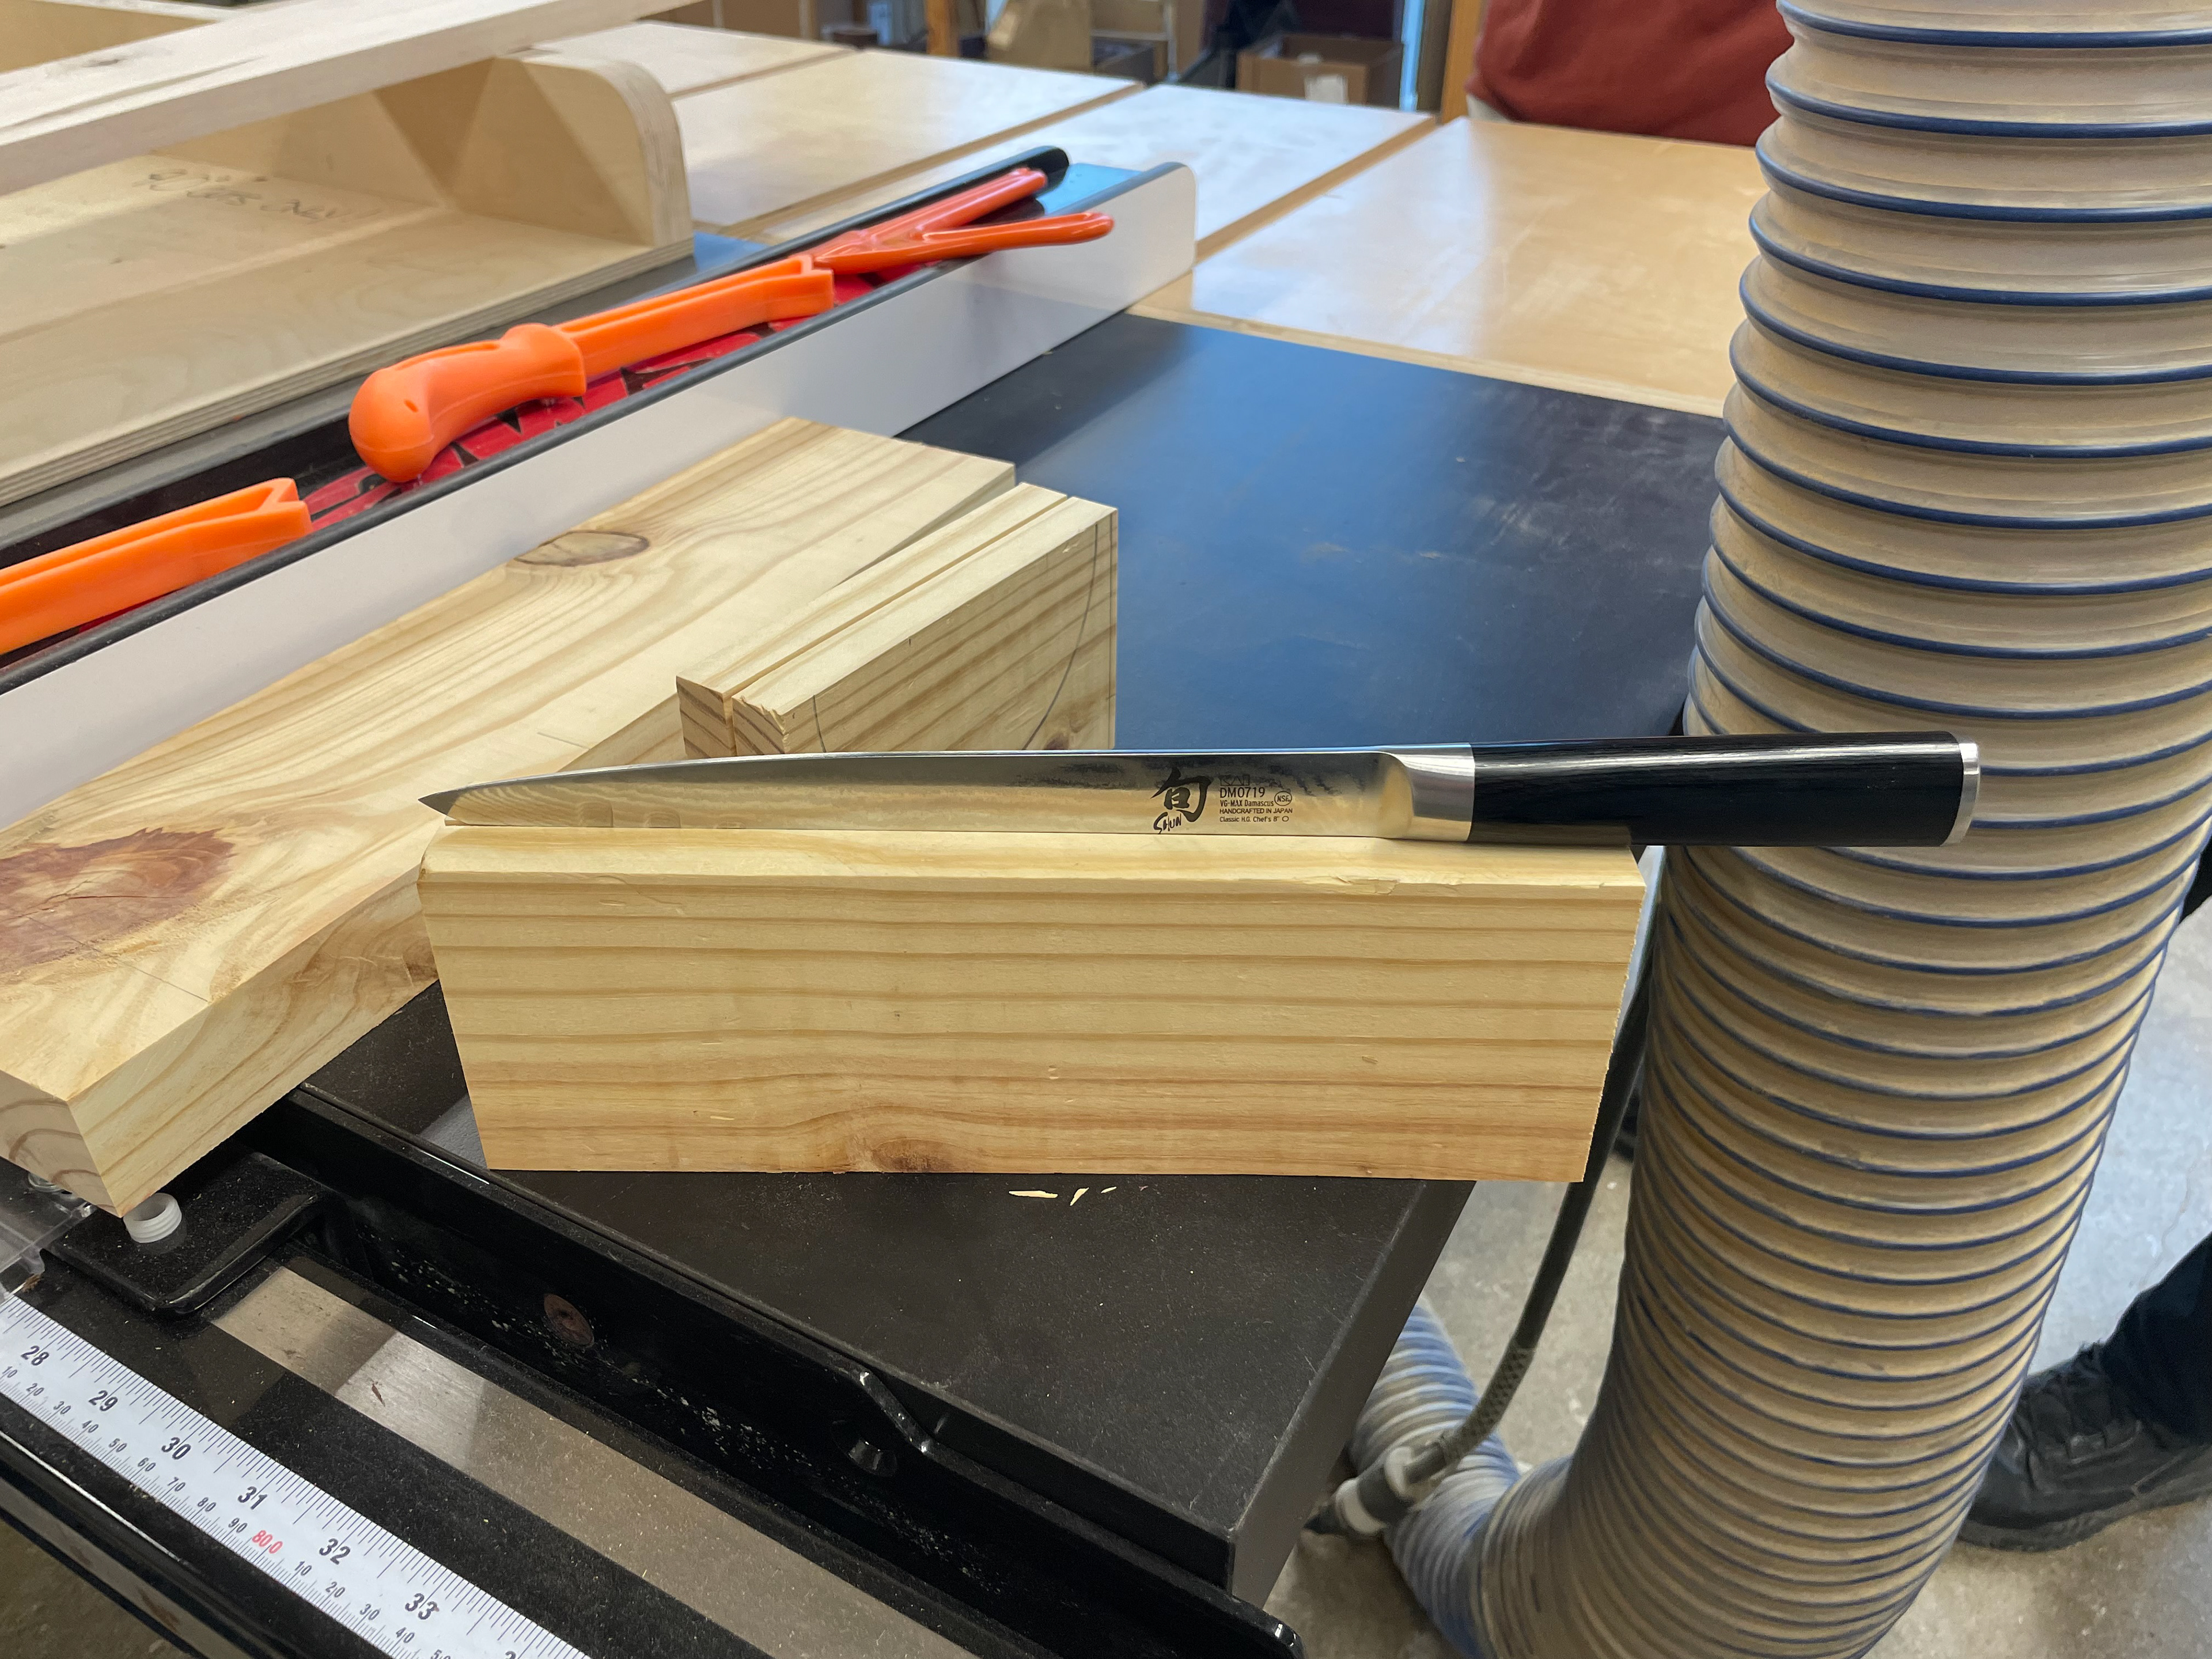
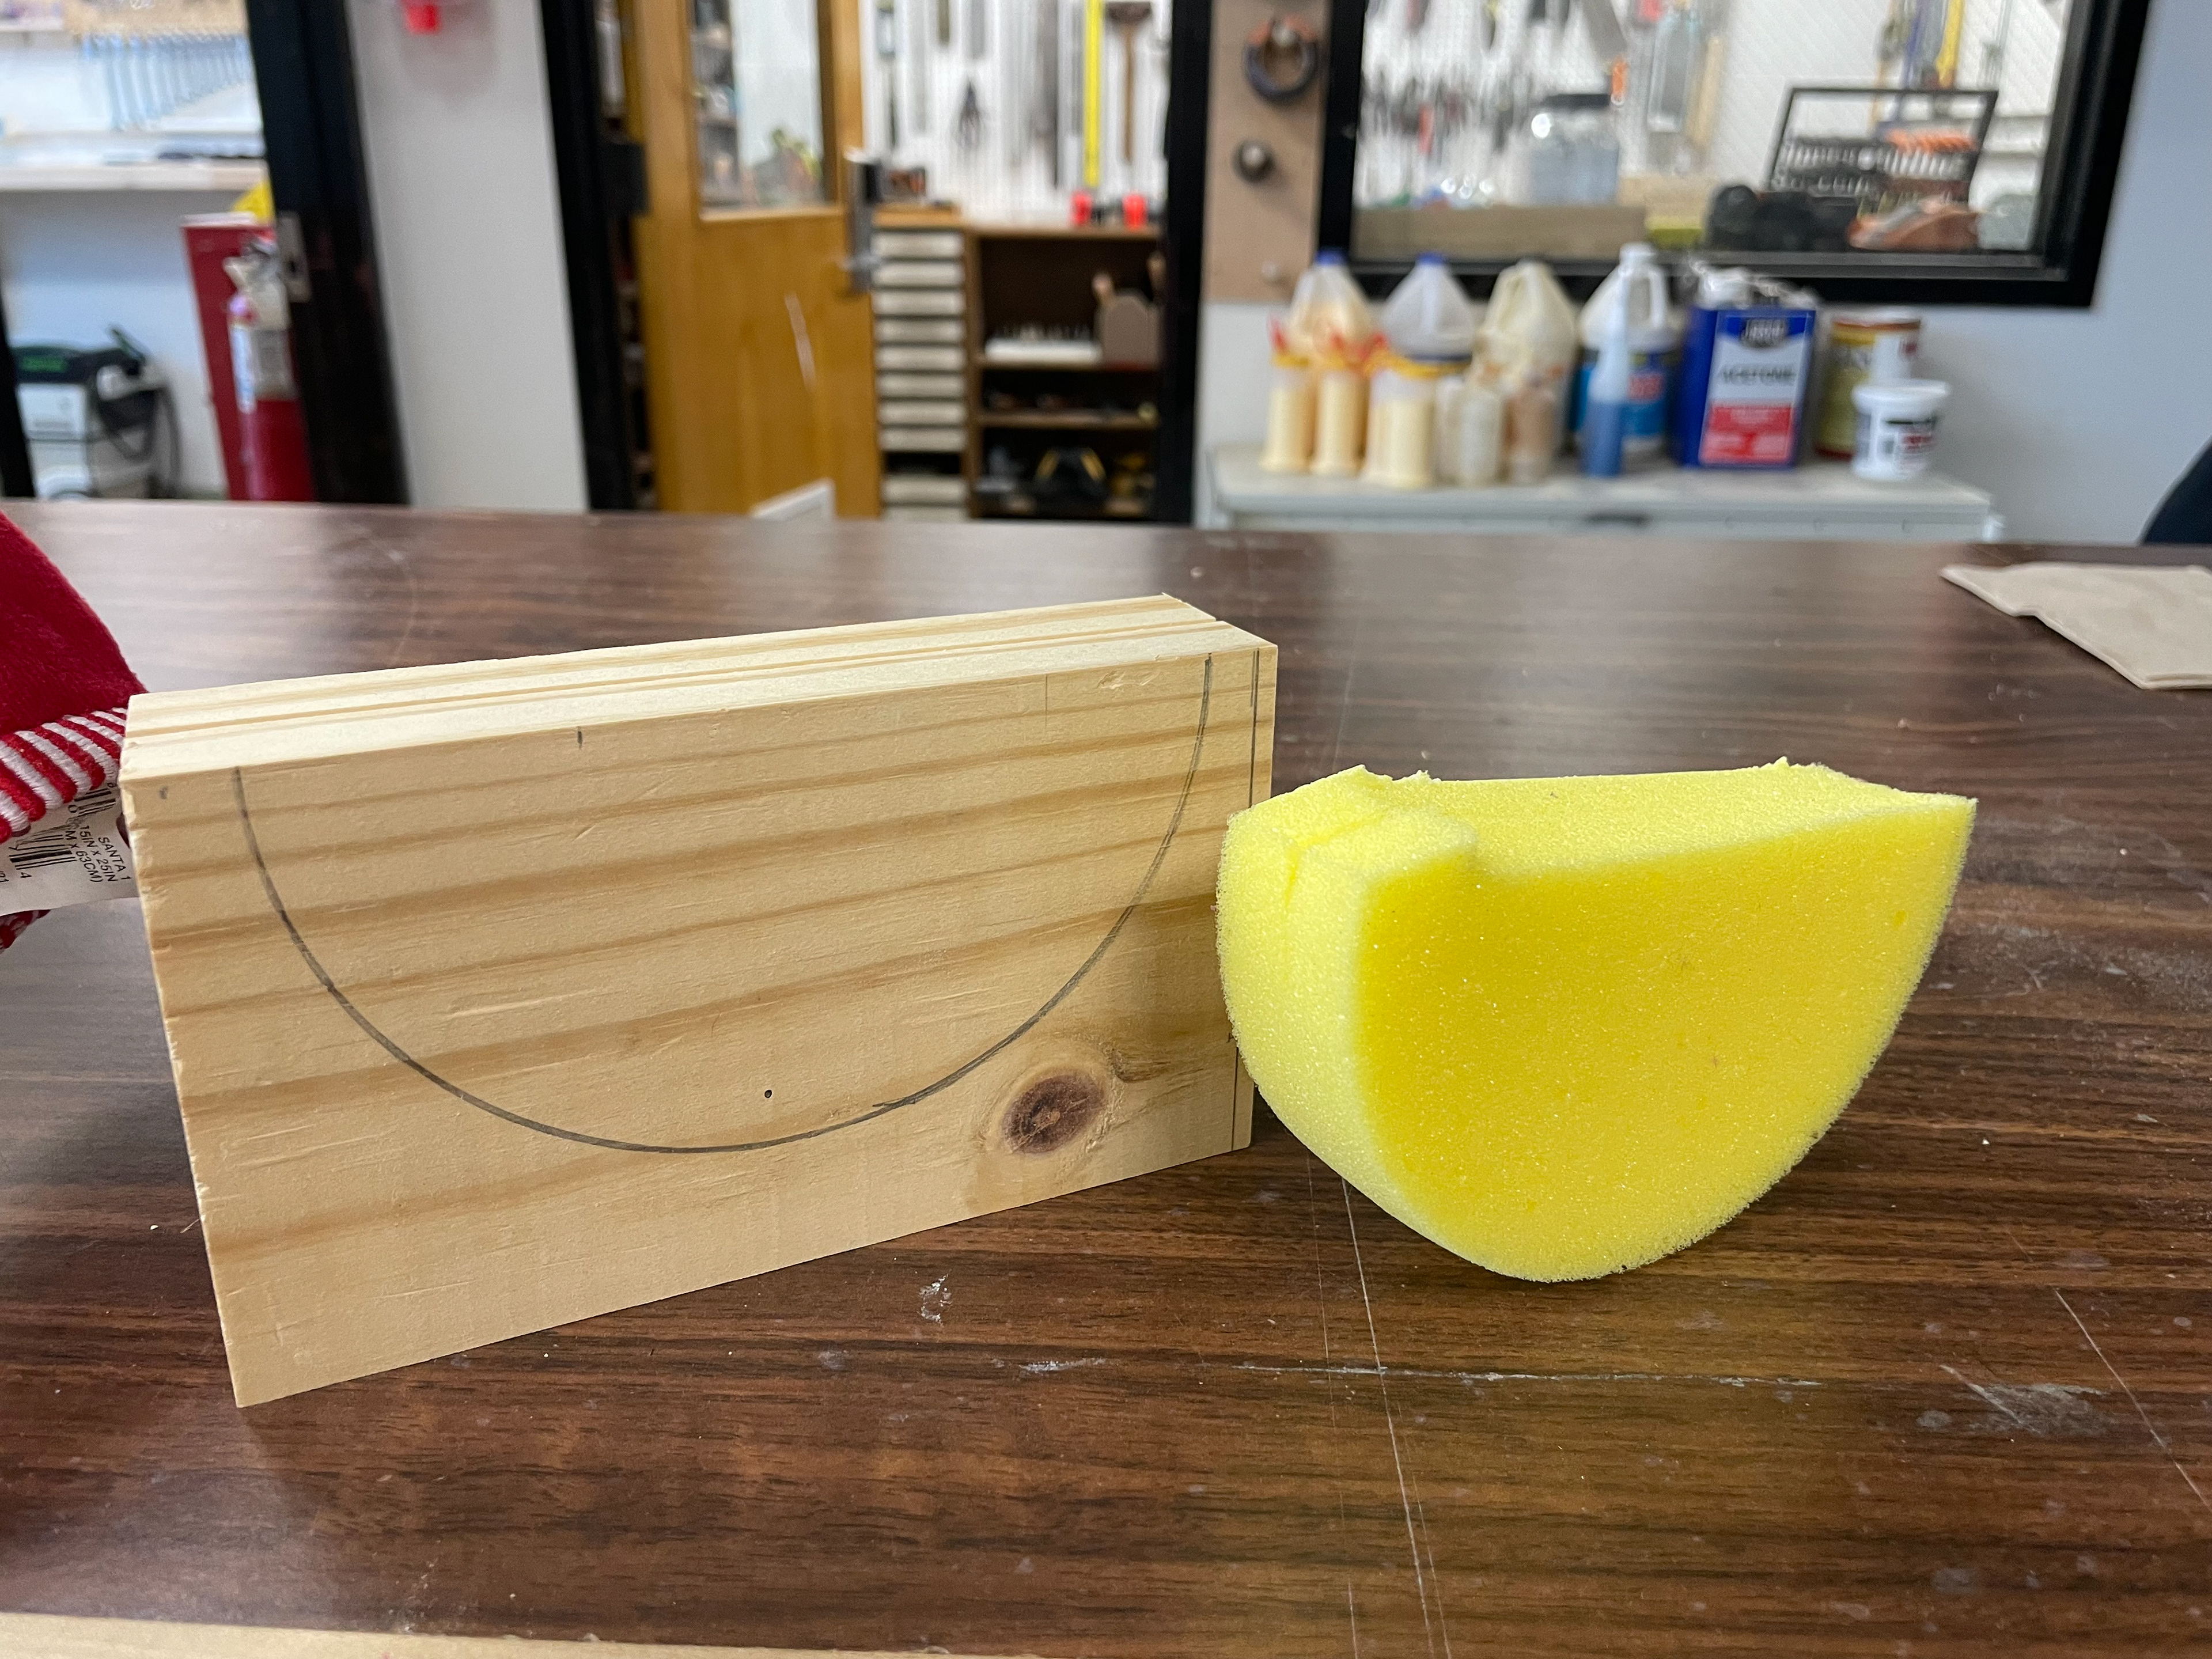
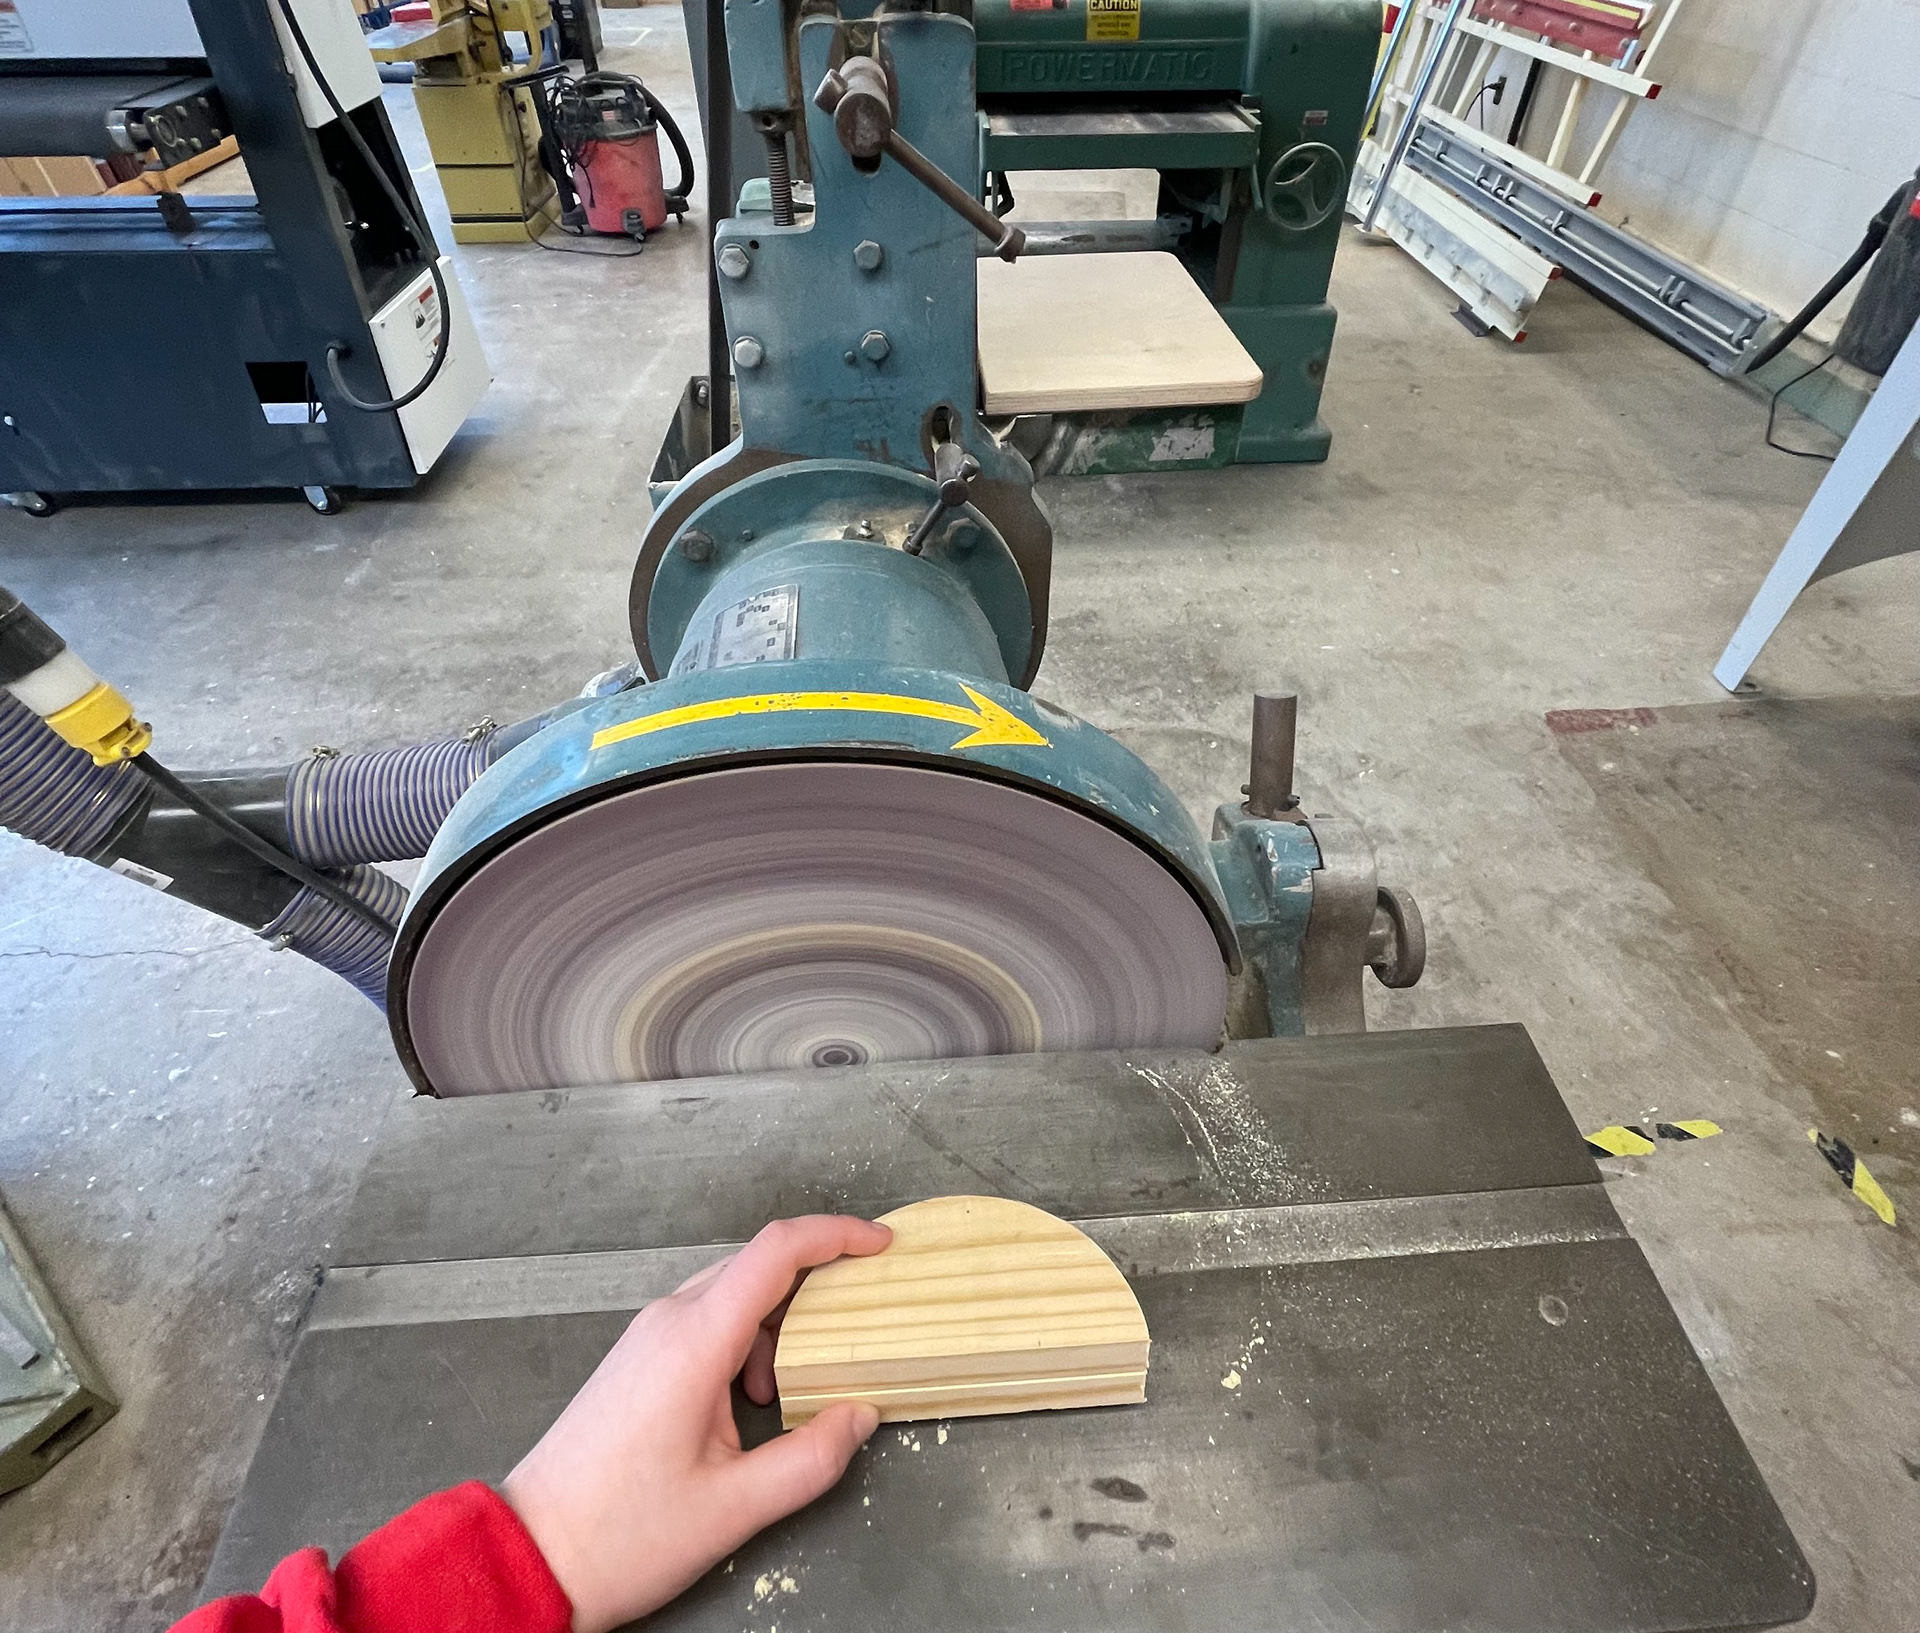
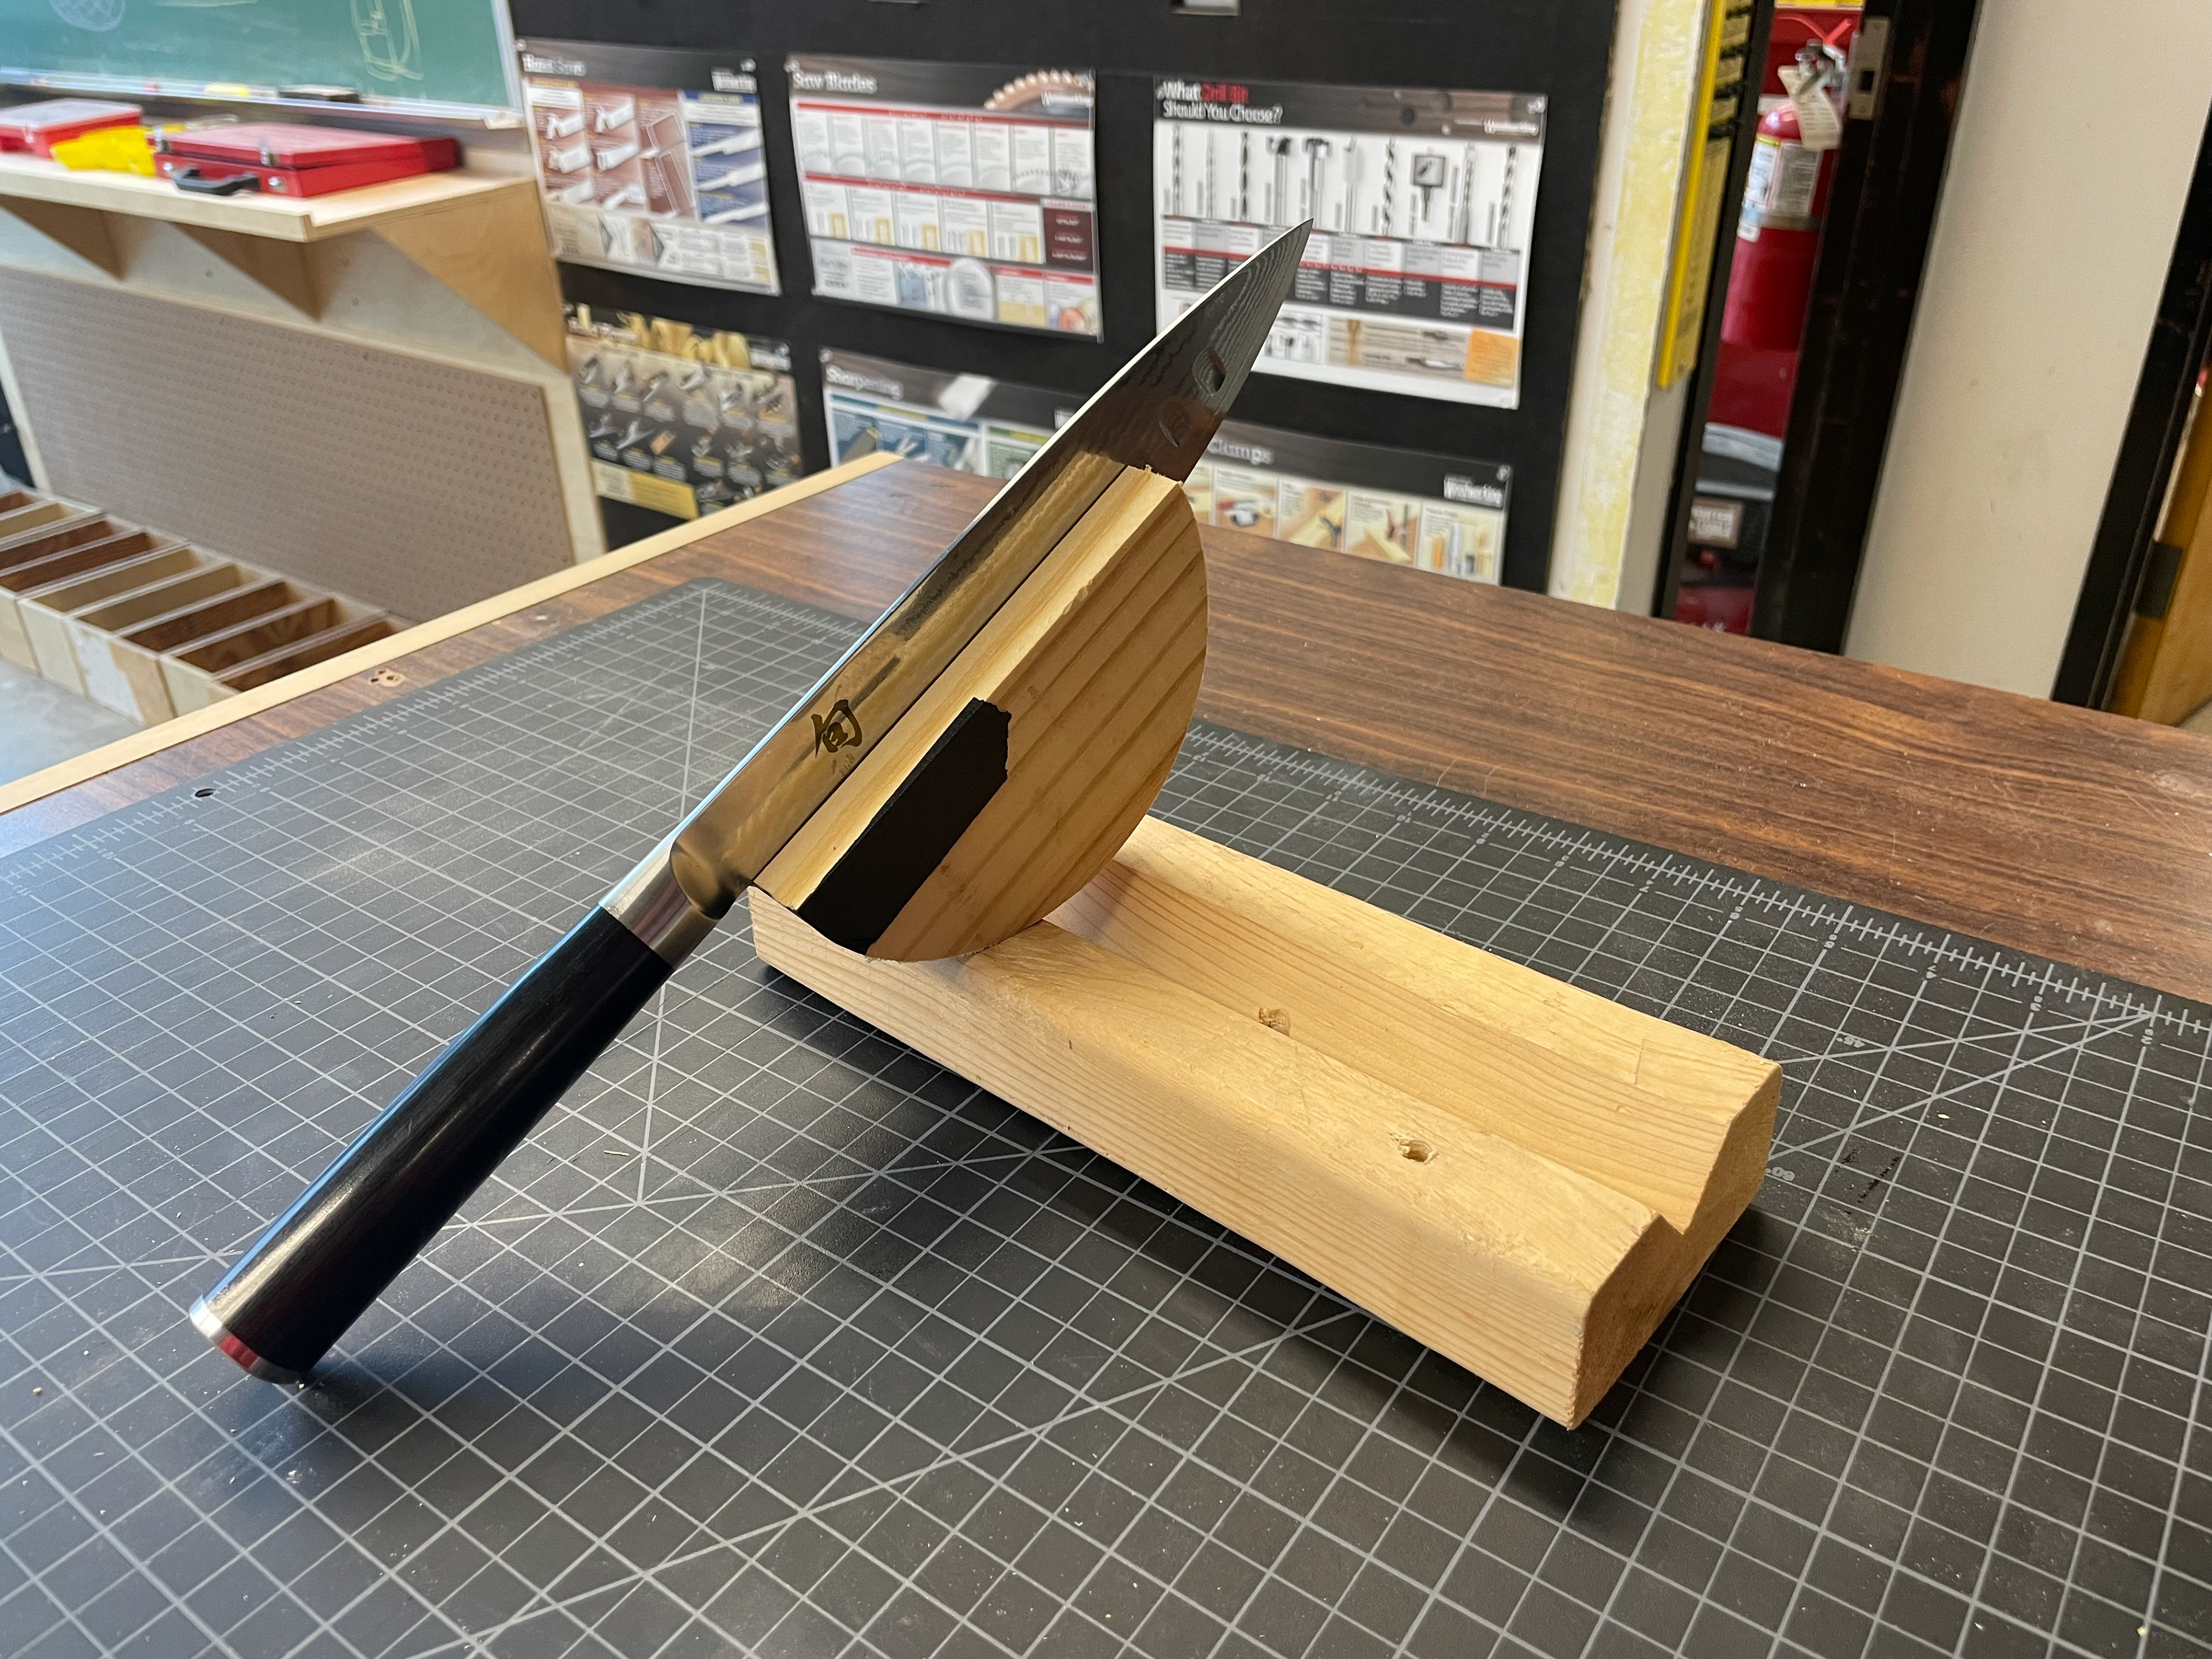
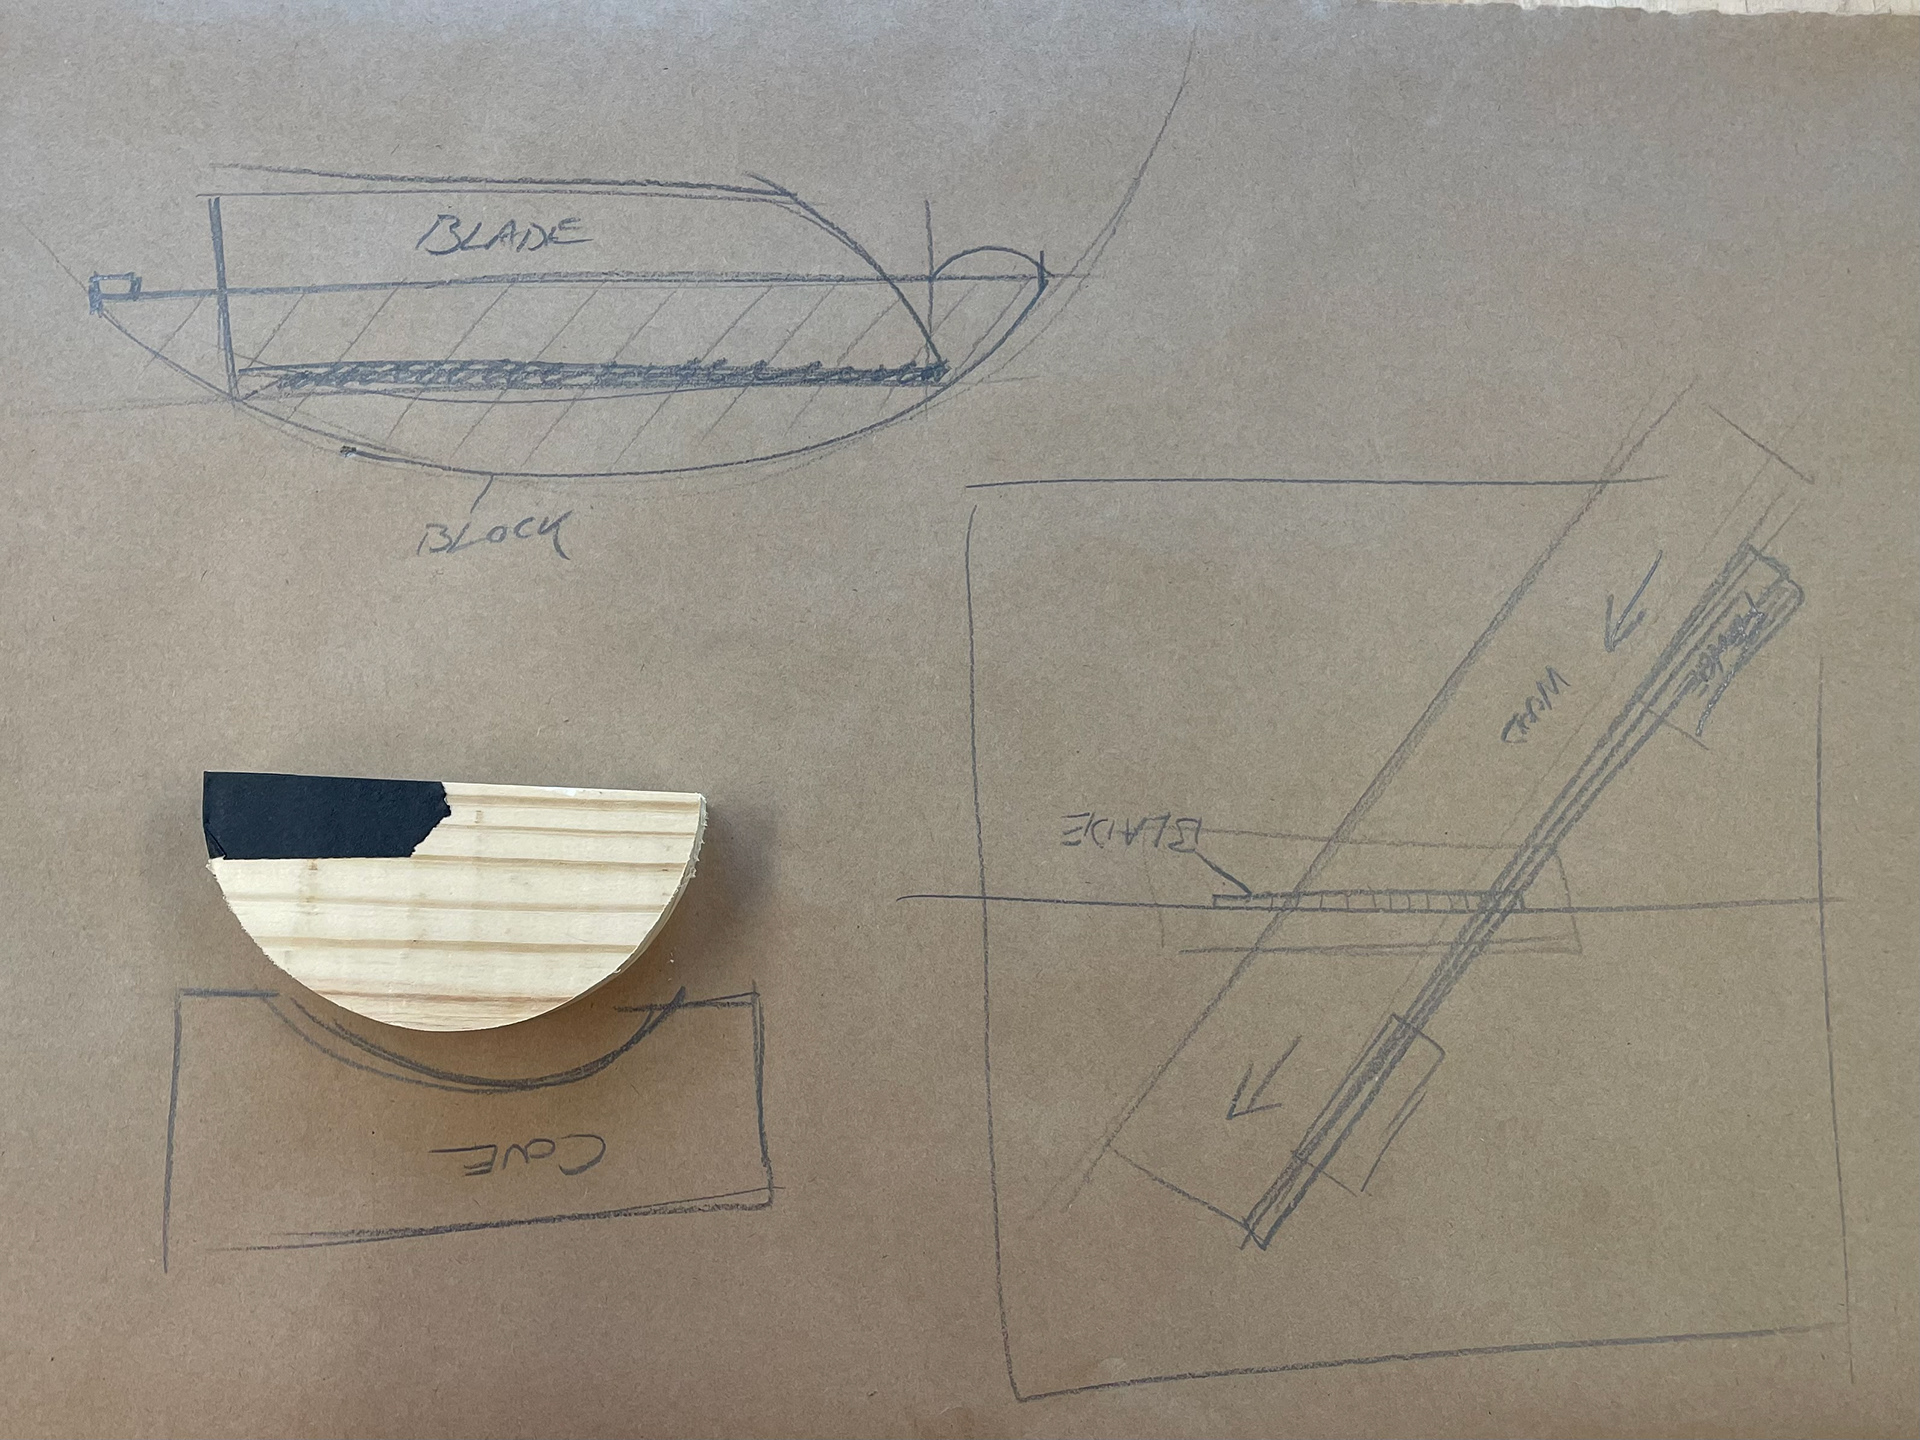
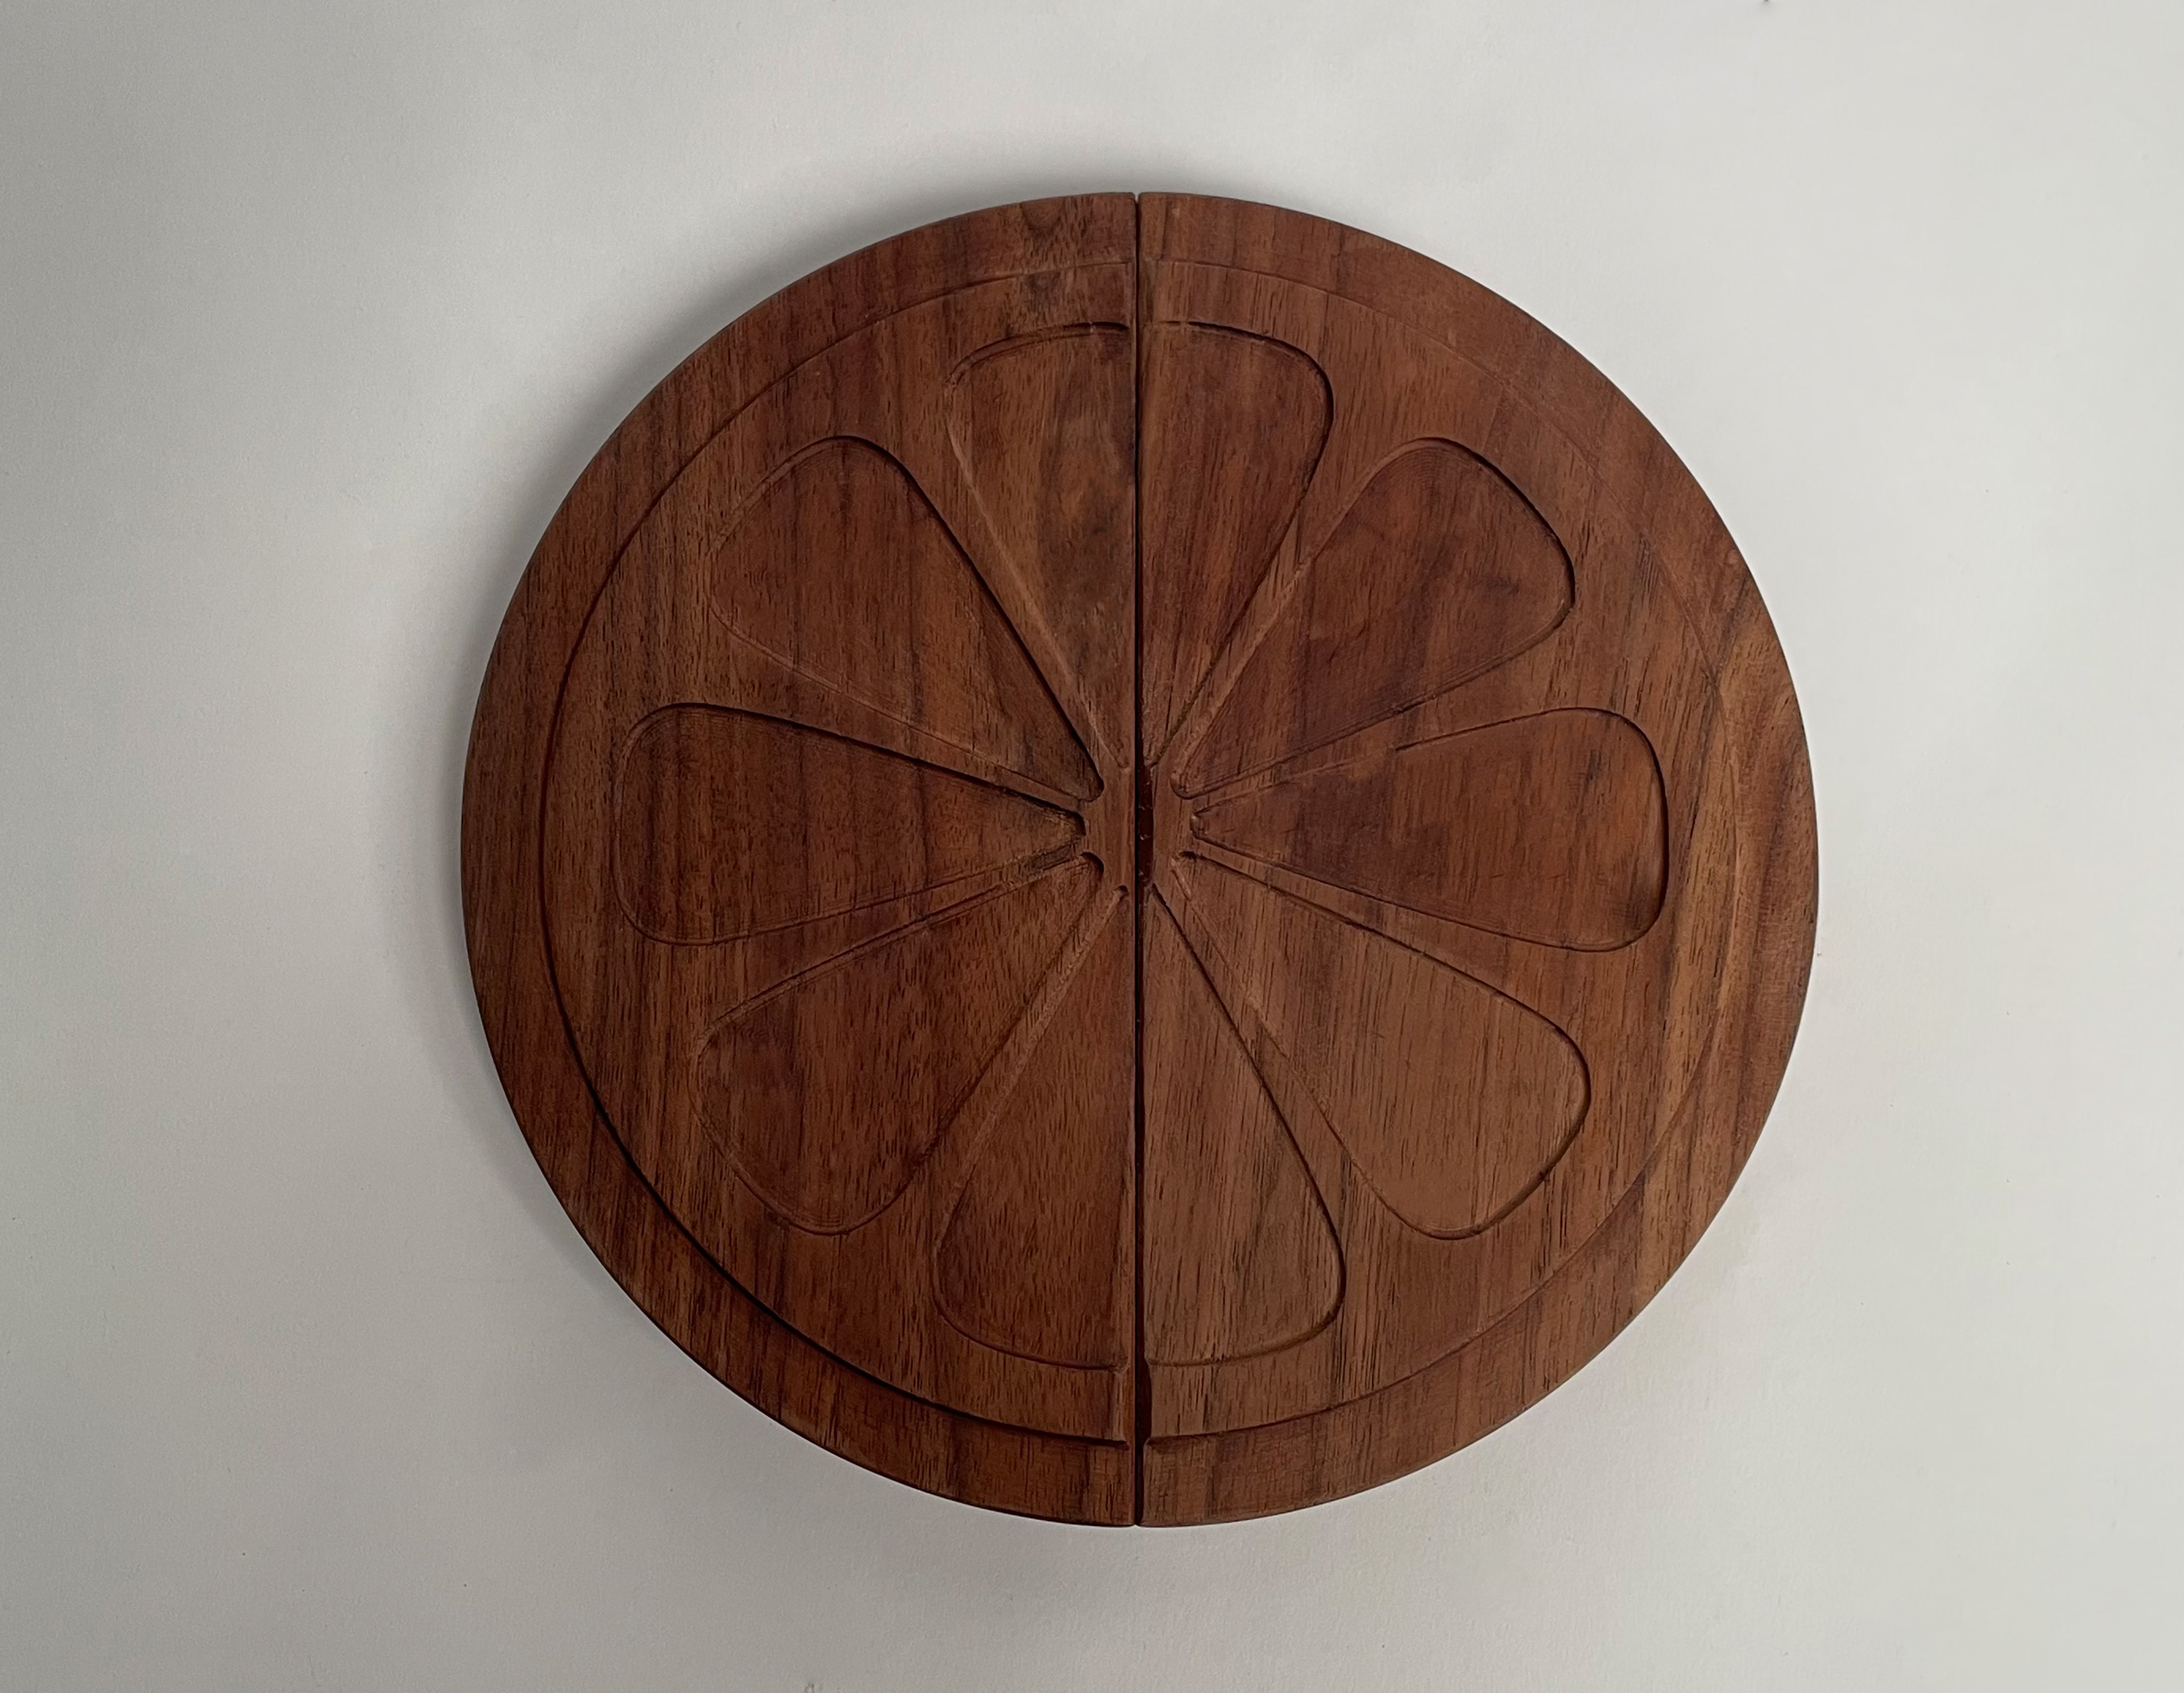
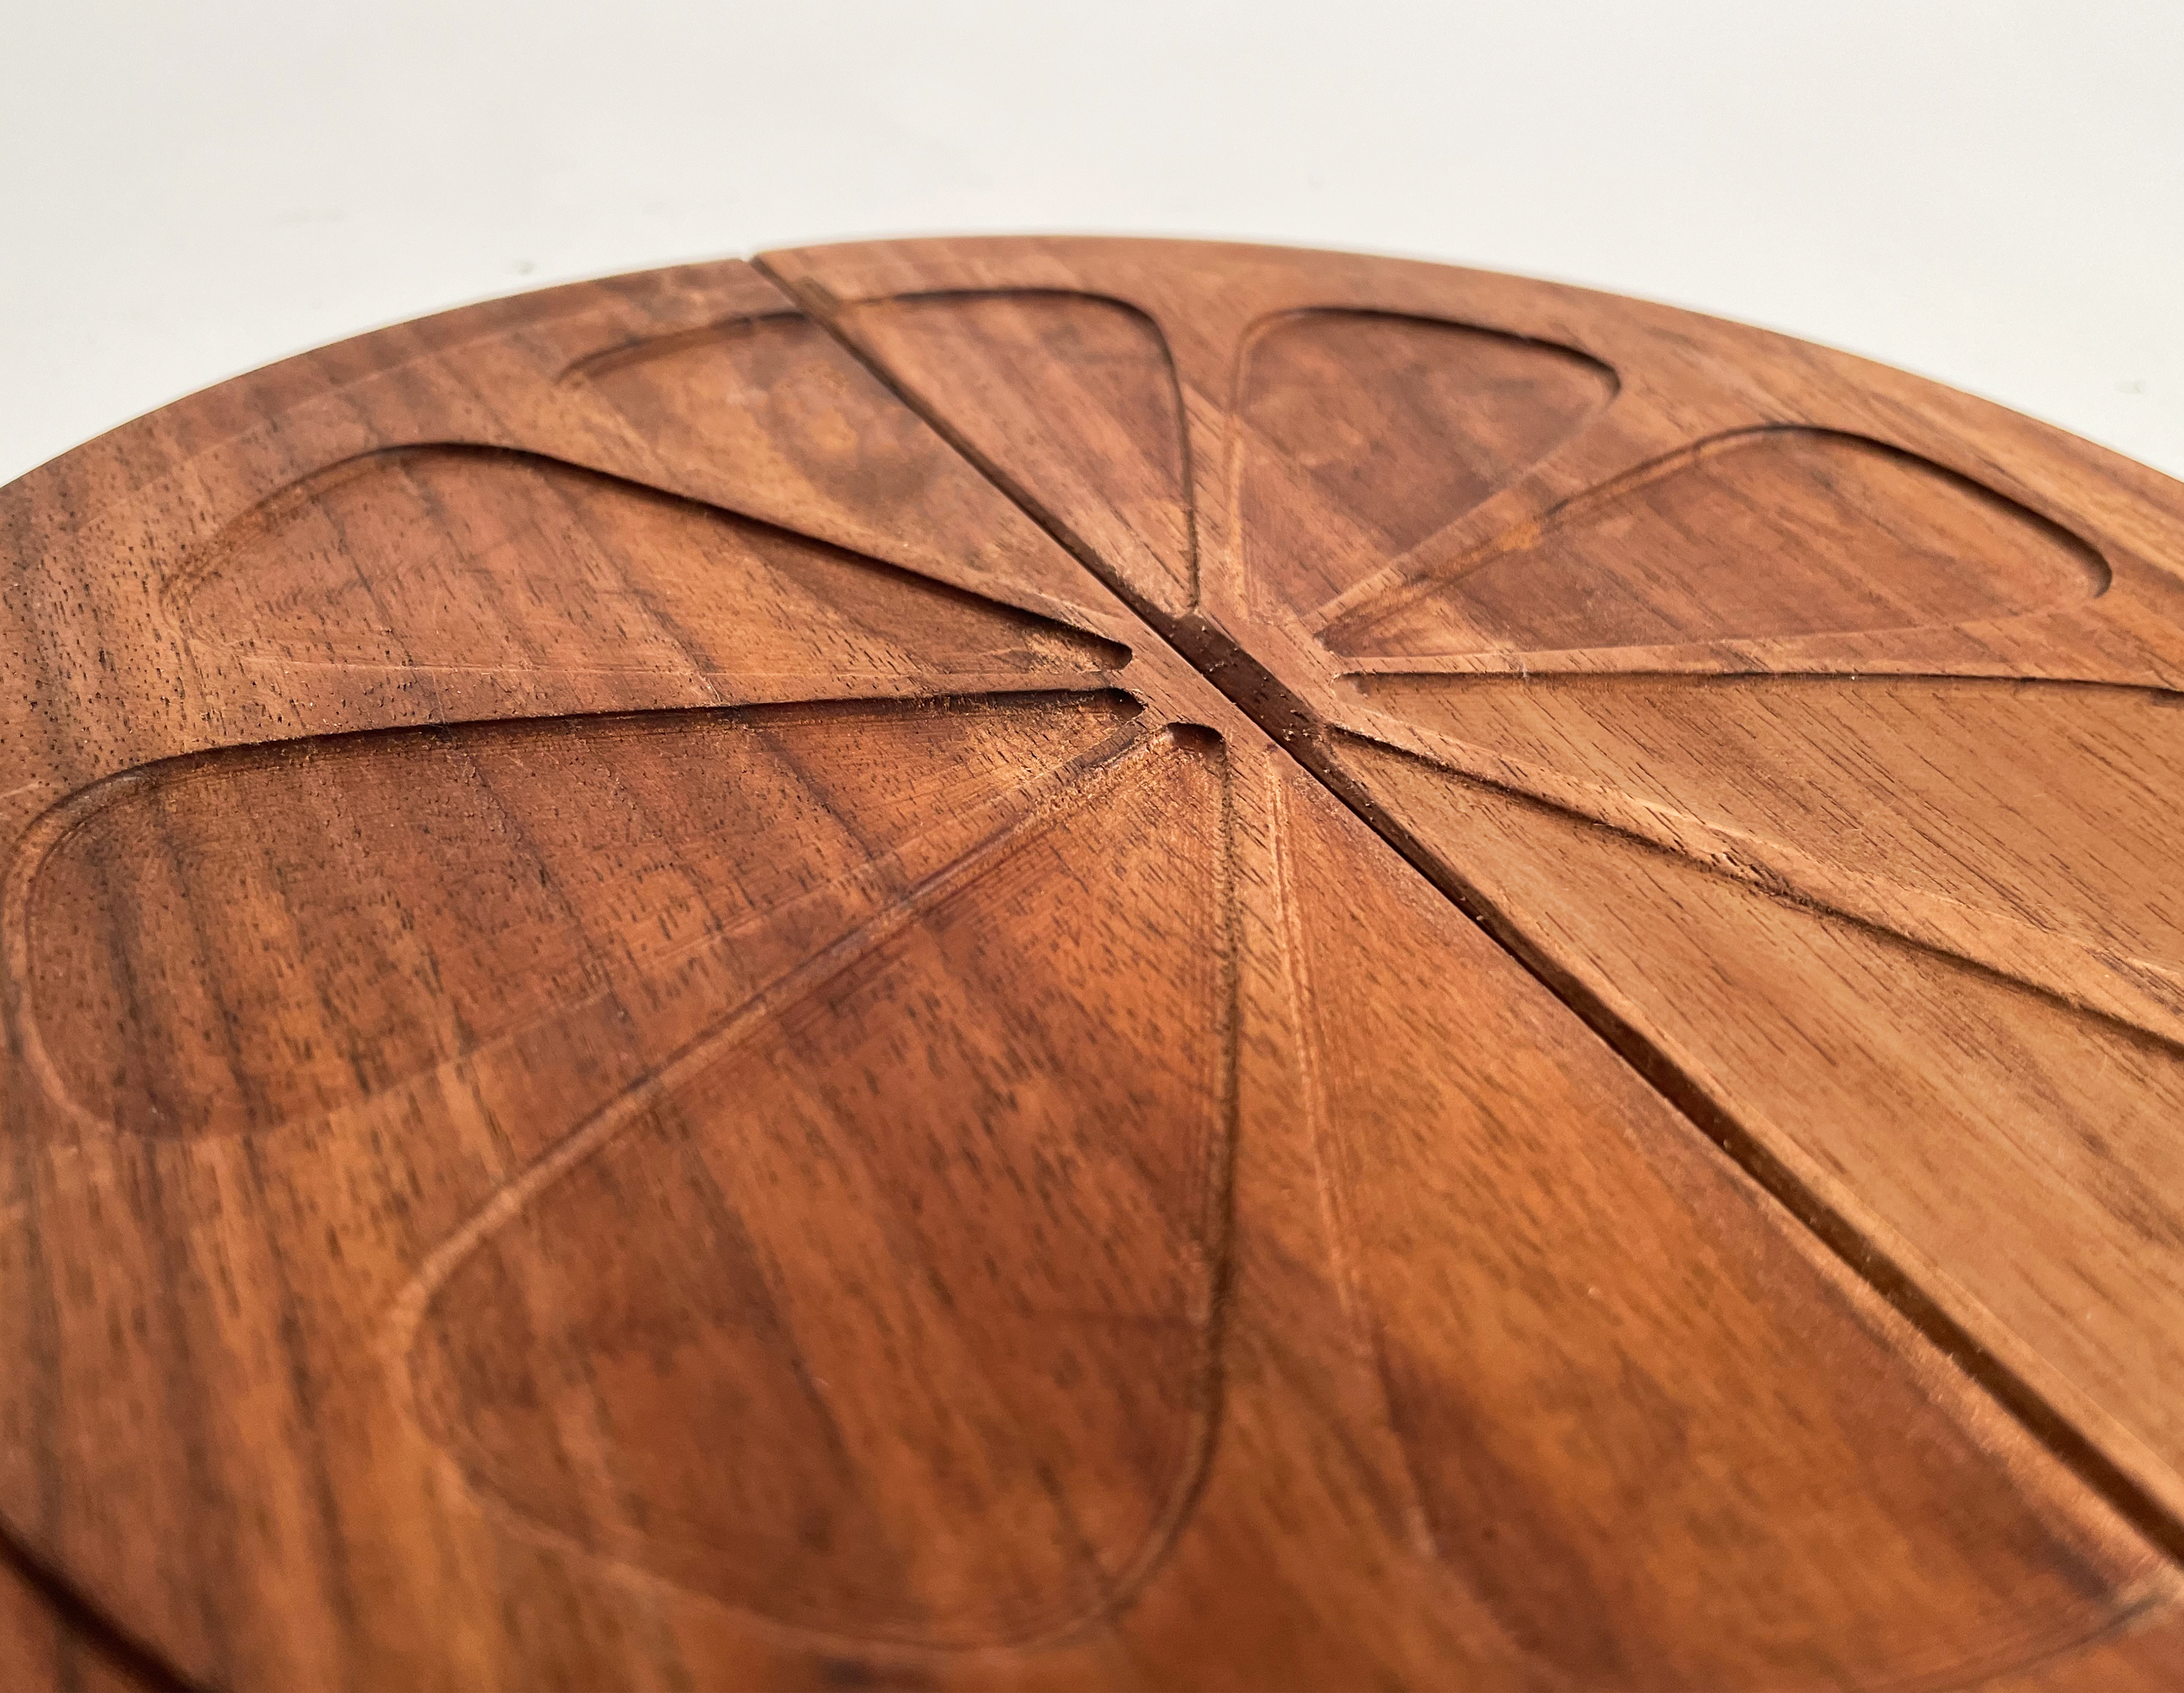
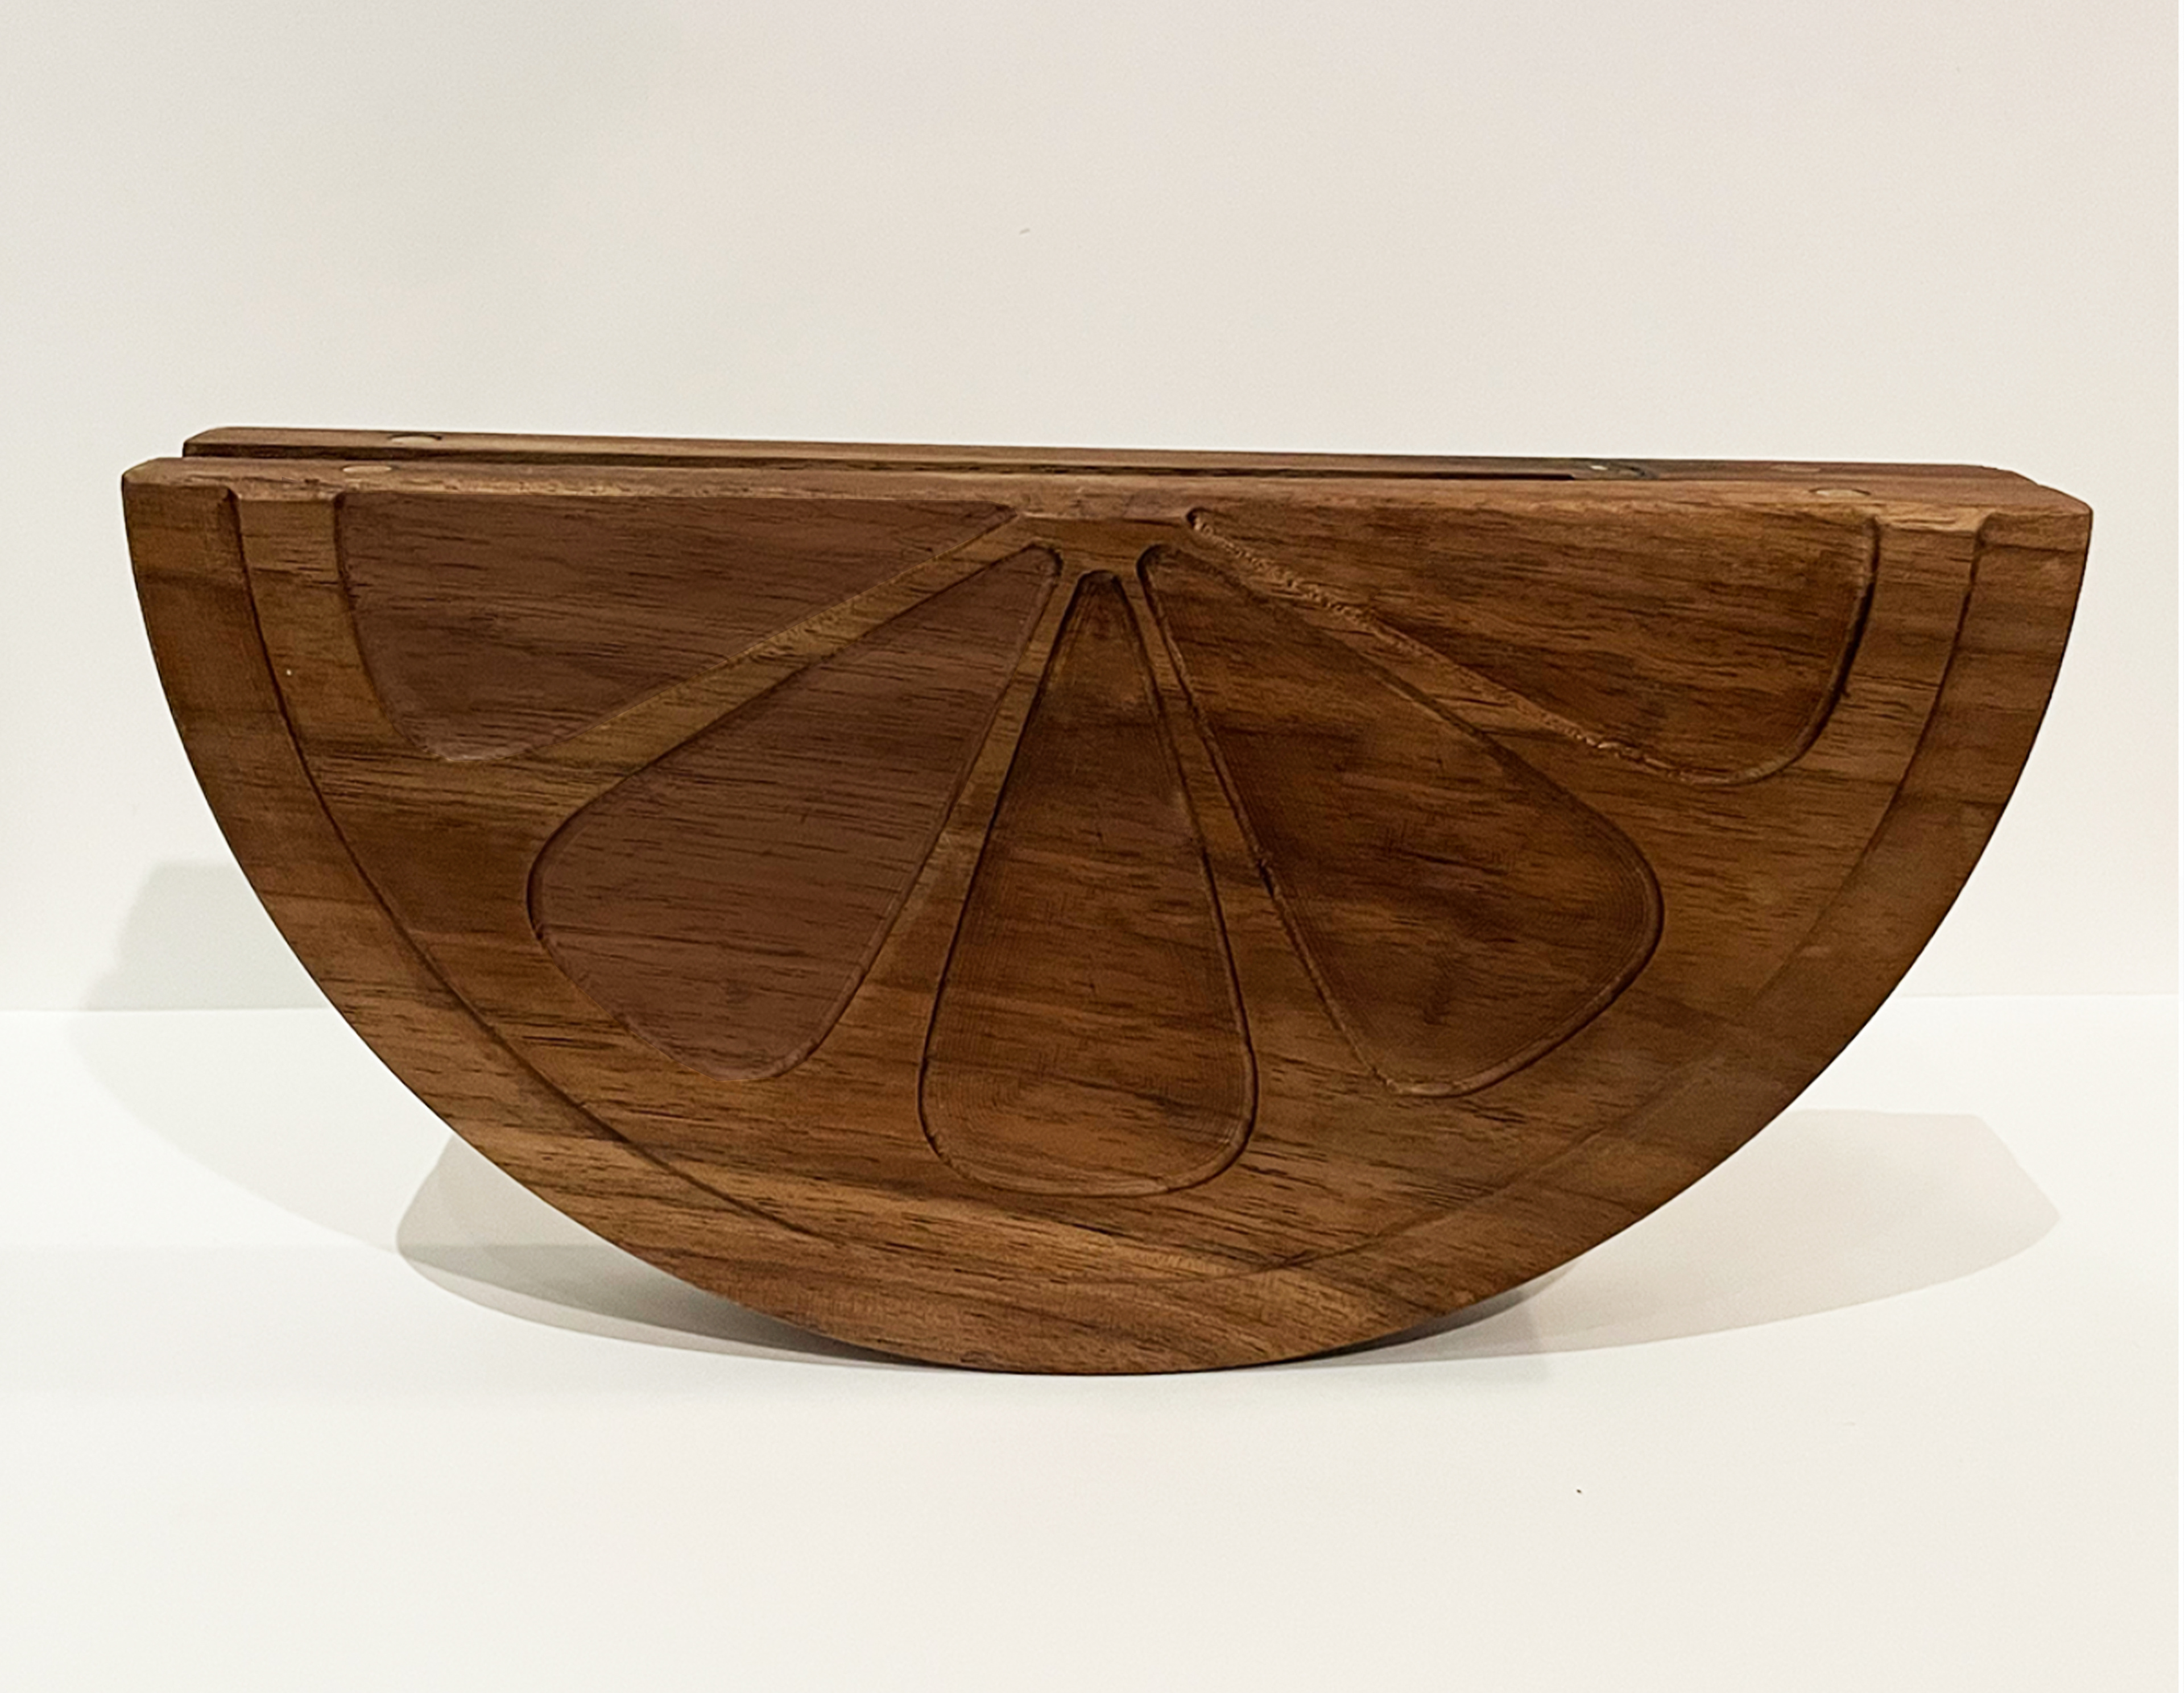
At this point, I am certain I am moving forward with the orange slice concept, which was inspired by both the in-class activity pictured at the top of the page and also was inspired by my great grandma. One my earliest childhood memories was baking with her and my sister, all drinking orange juice in her kitchen - that quickly became something I wanted to honor within this project.
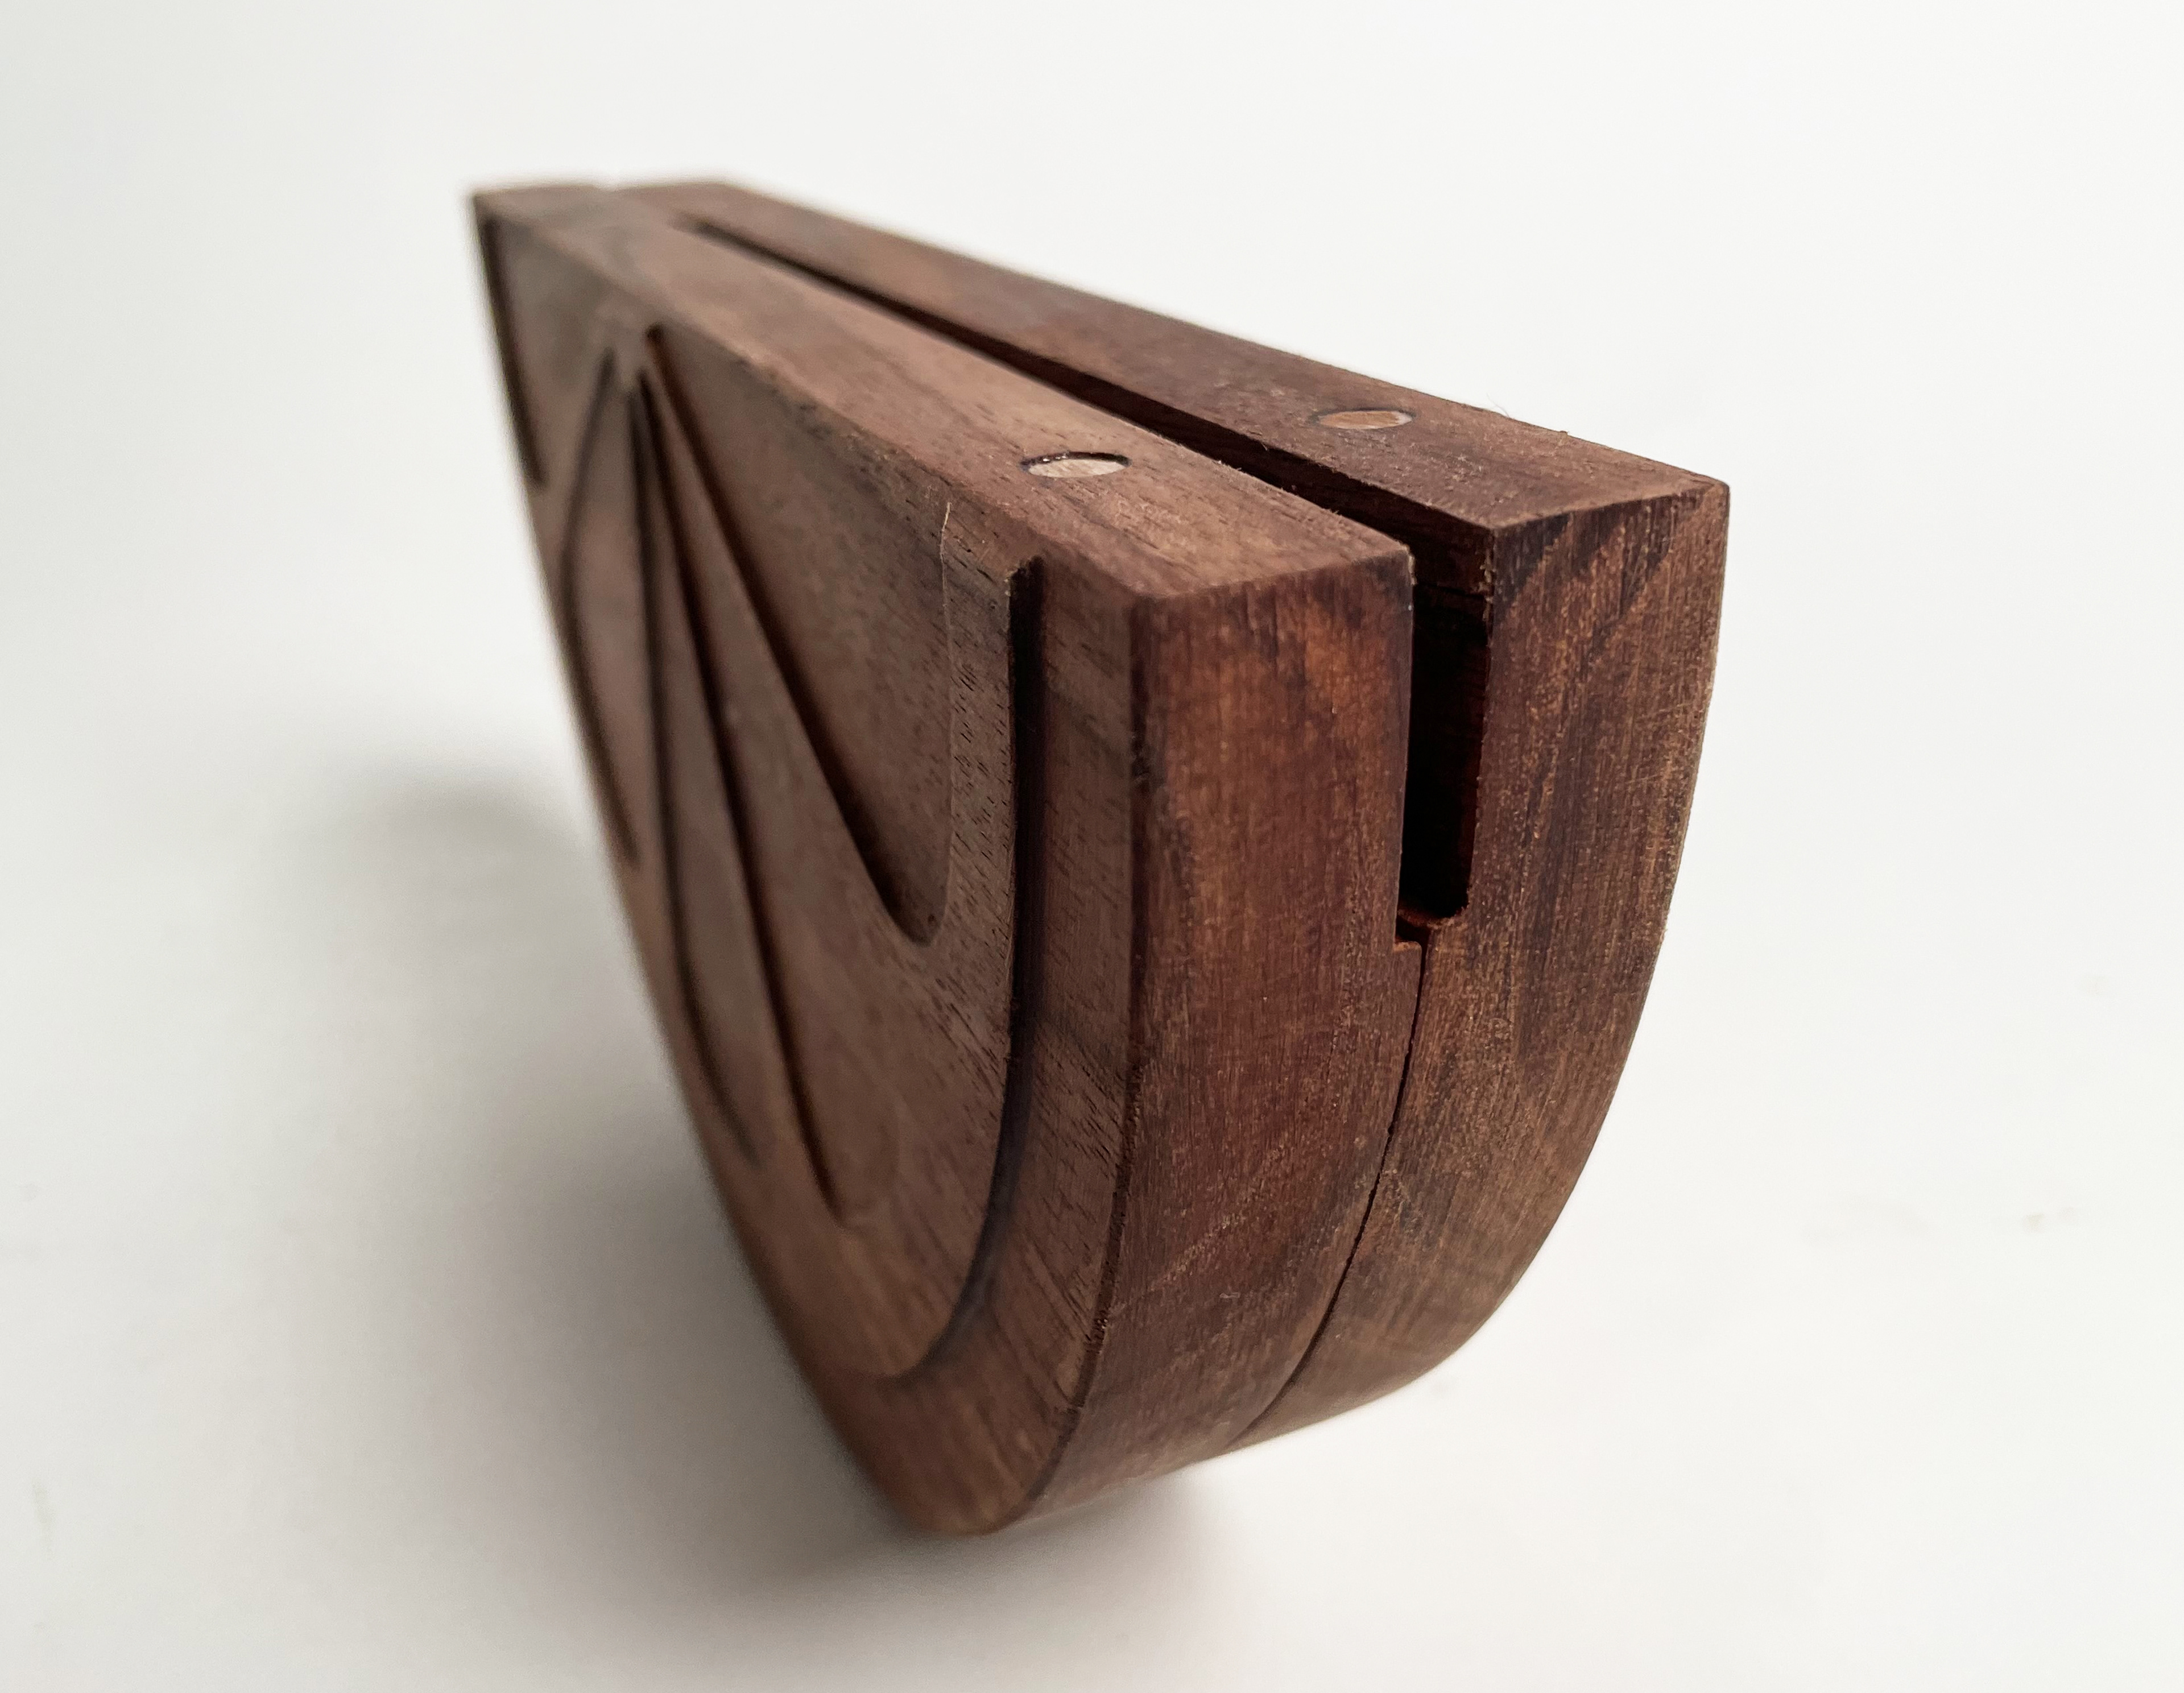
The beauty of this design is the curved base, allowing for the knife to rock back and forth, as if it was cutting. This creates a visual of the anticipation the knife hold to create in the kitchen. More of the building process and prototypes are below.
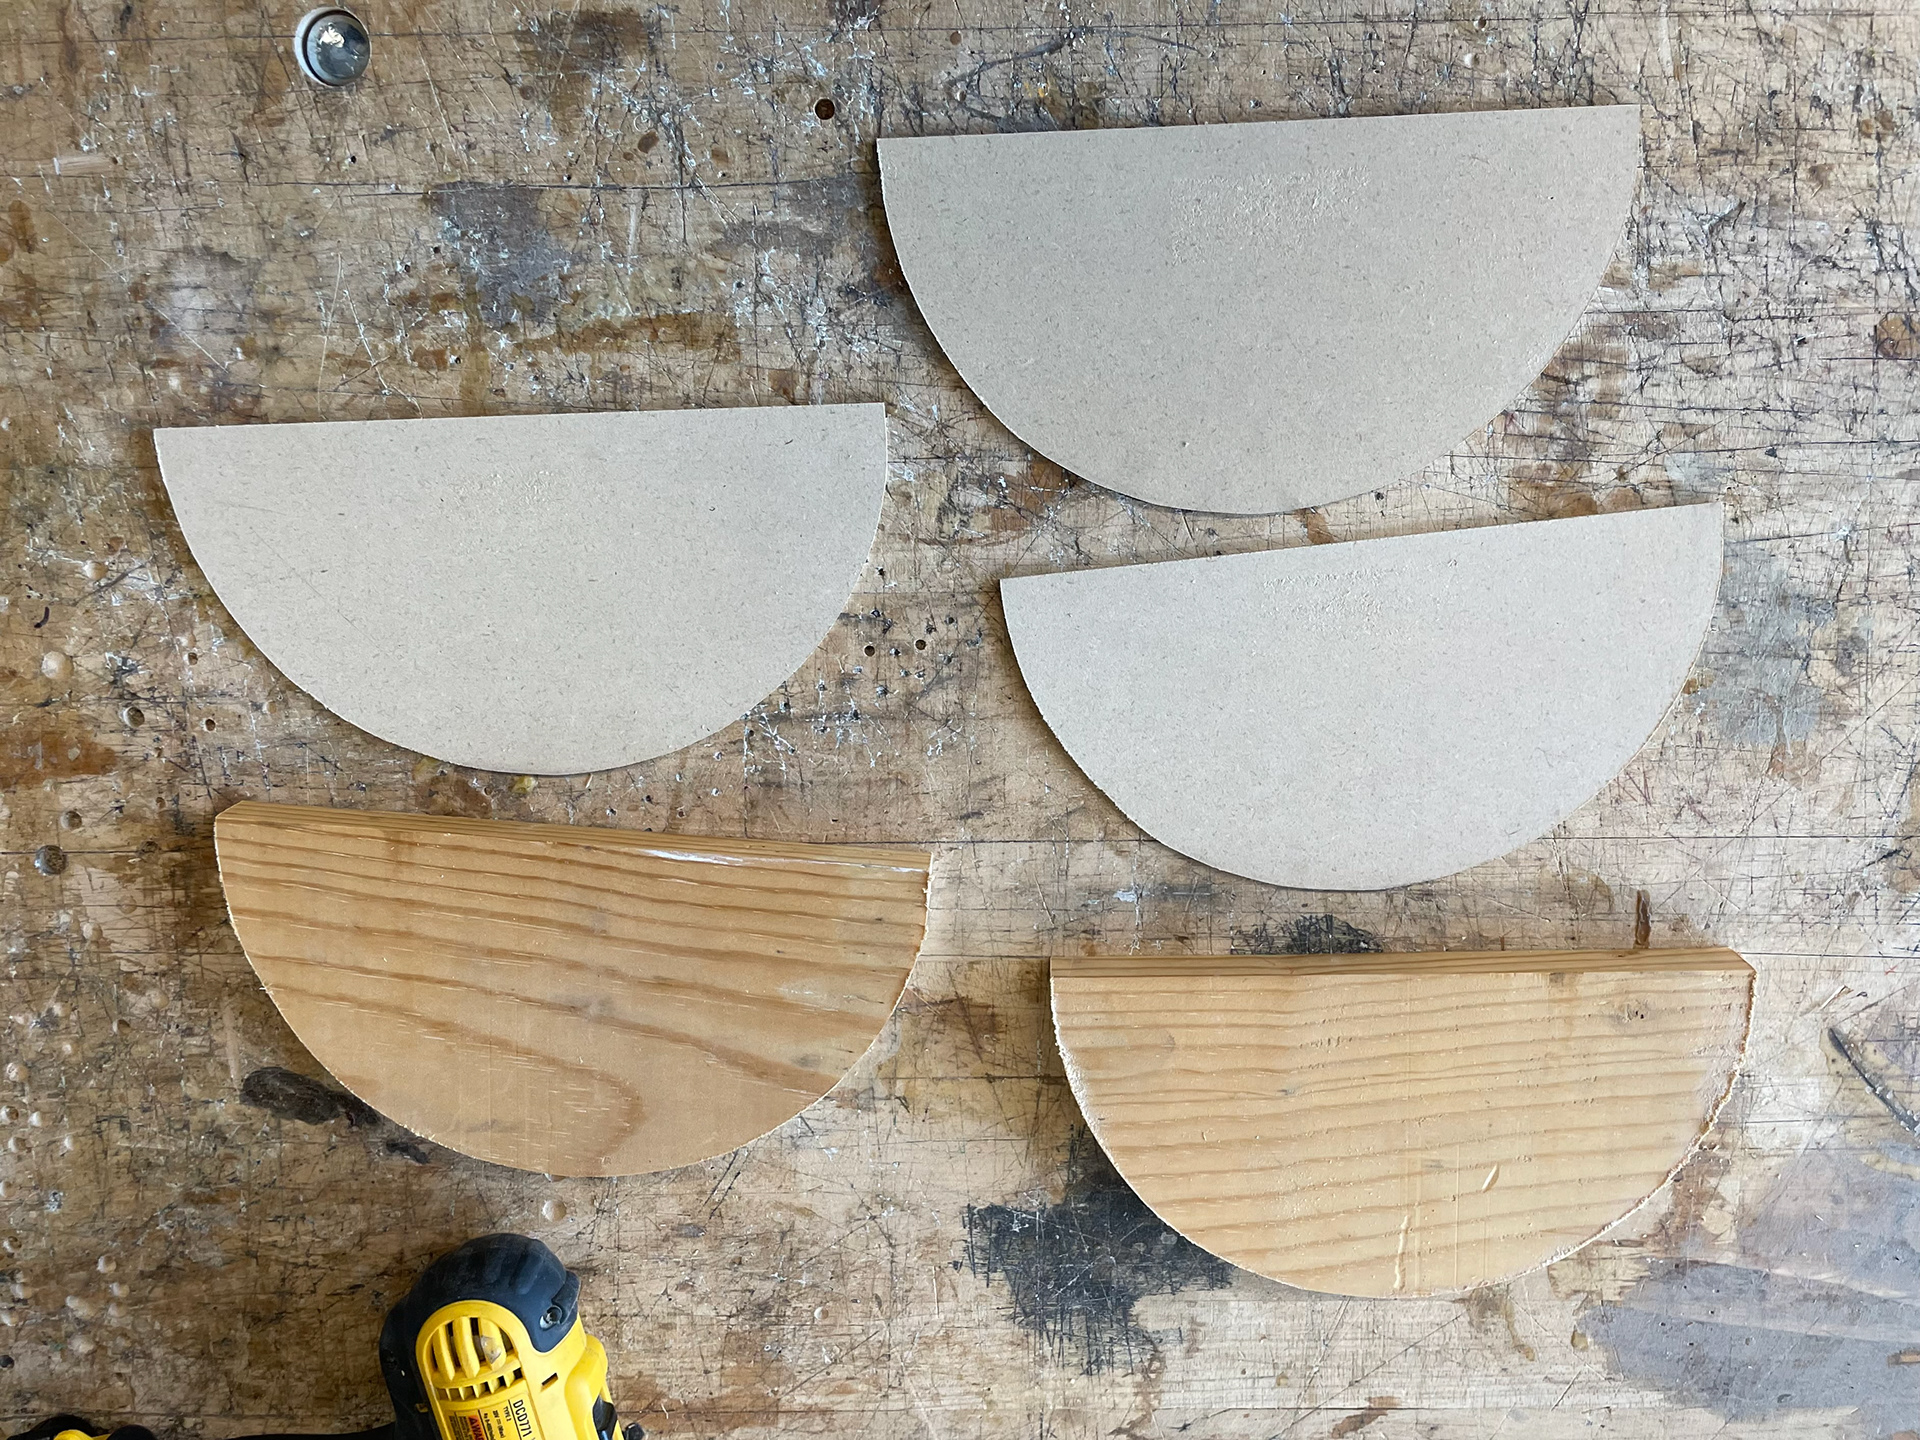
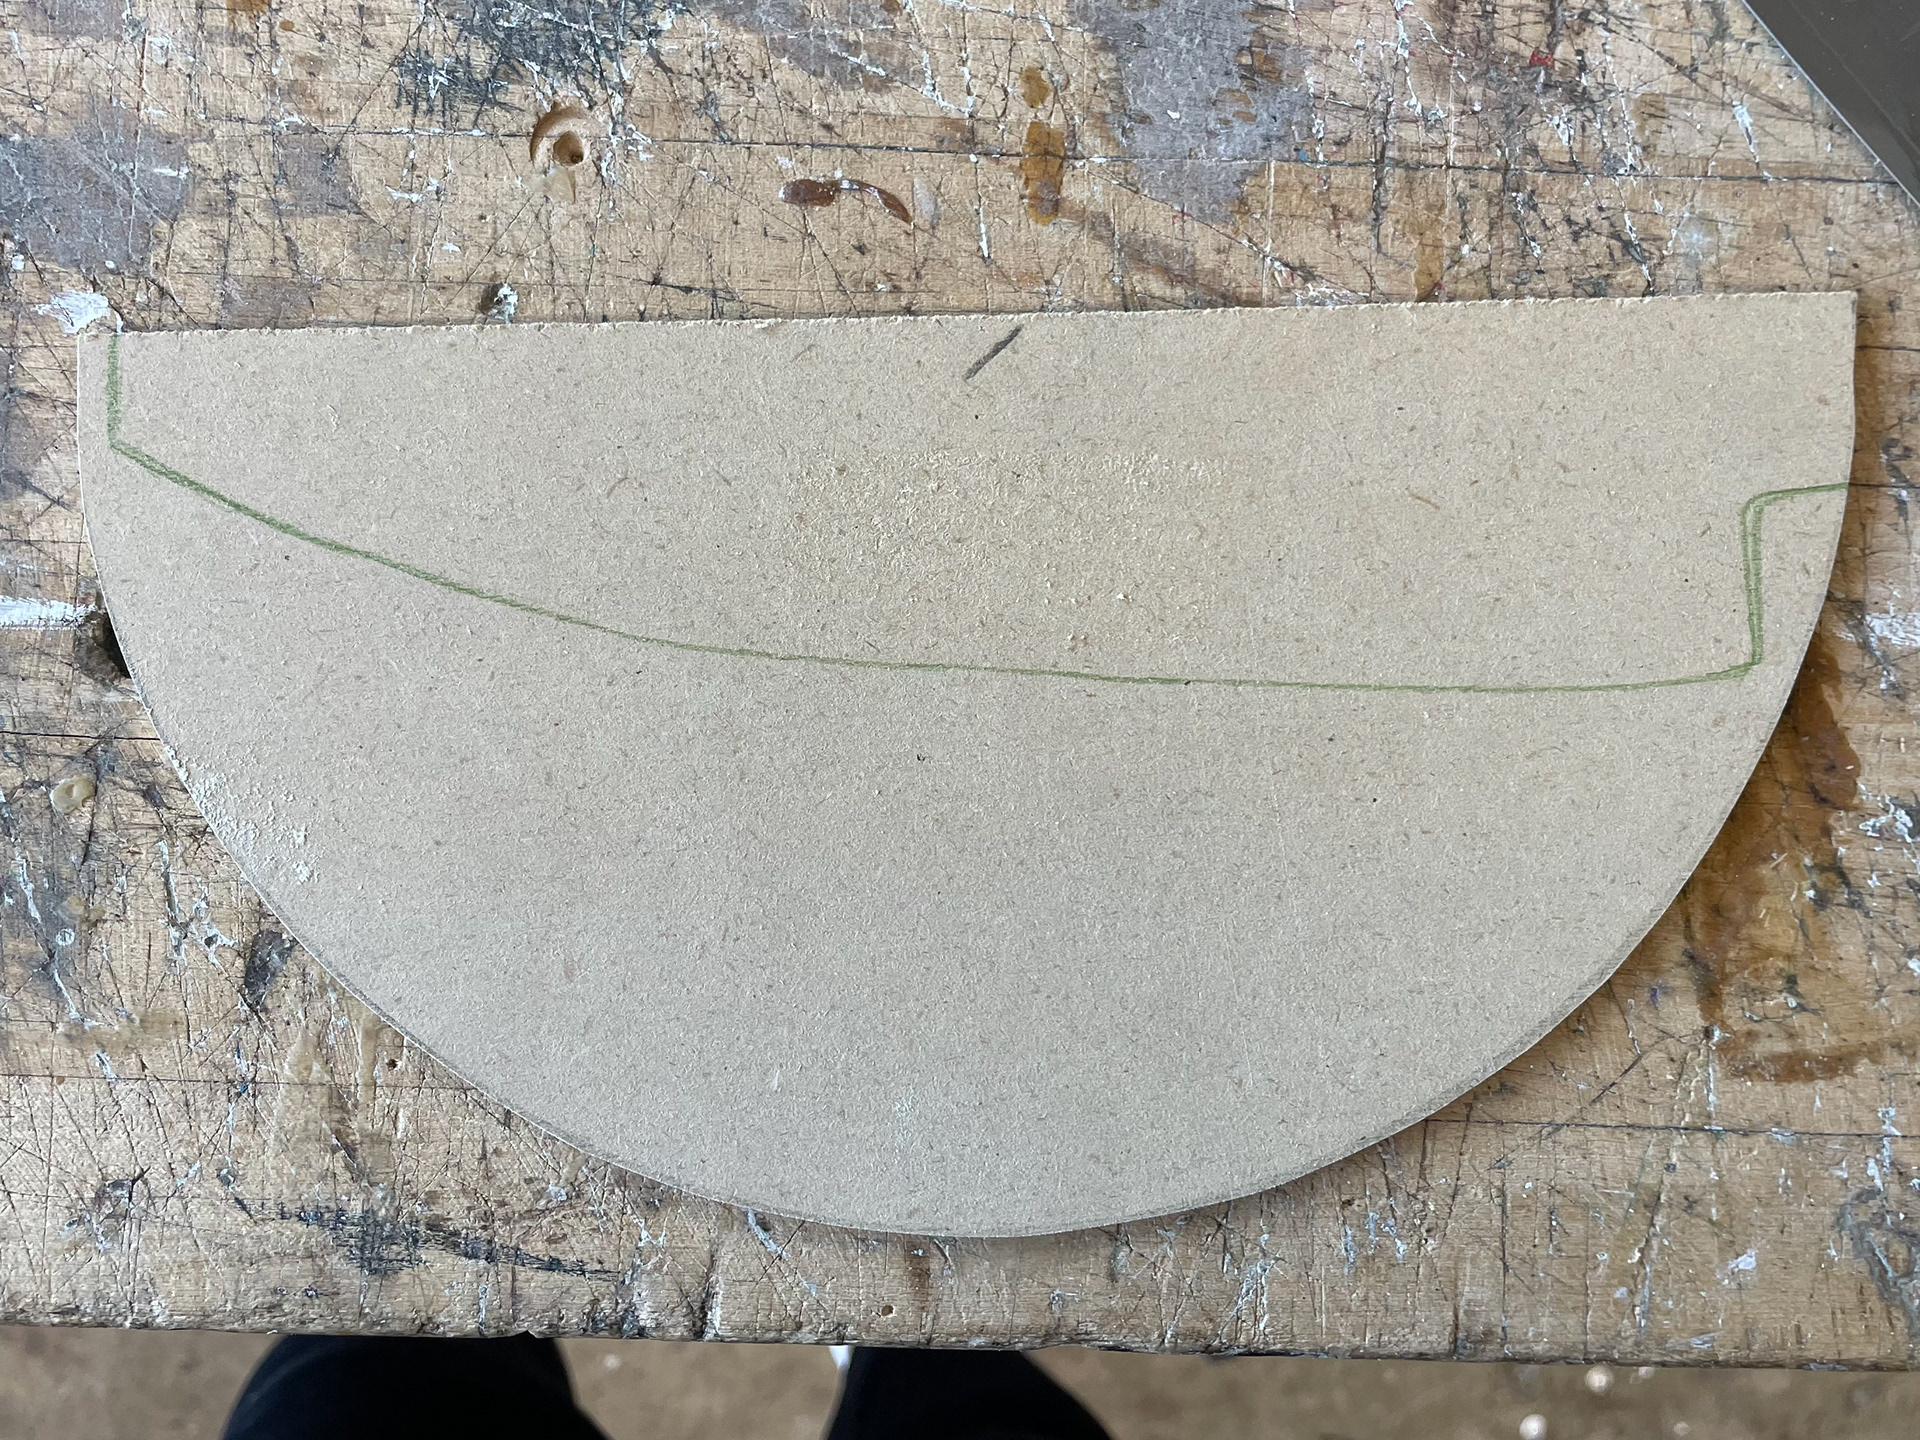
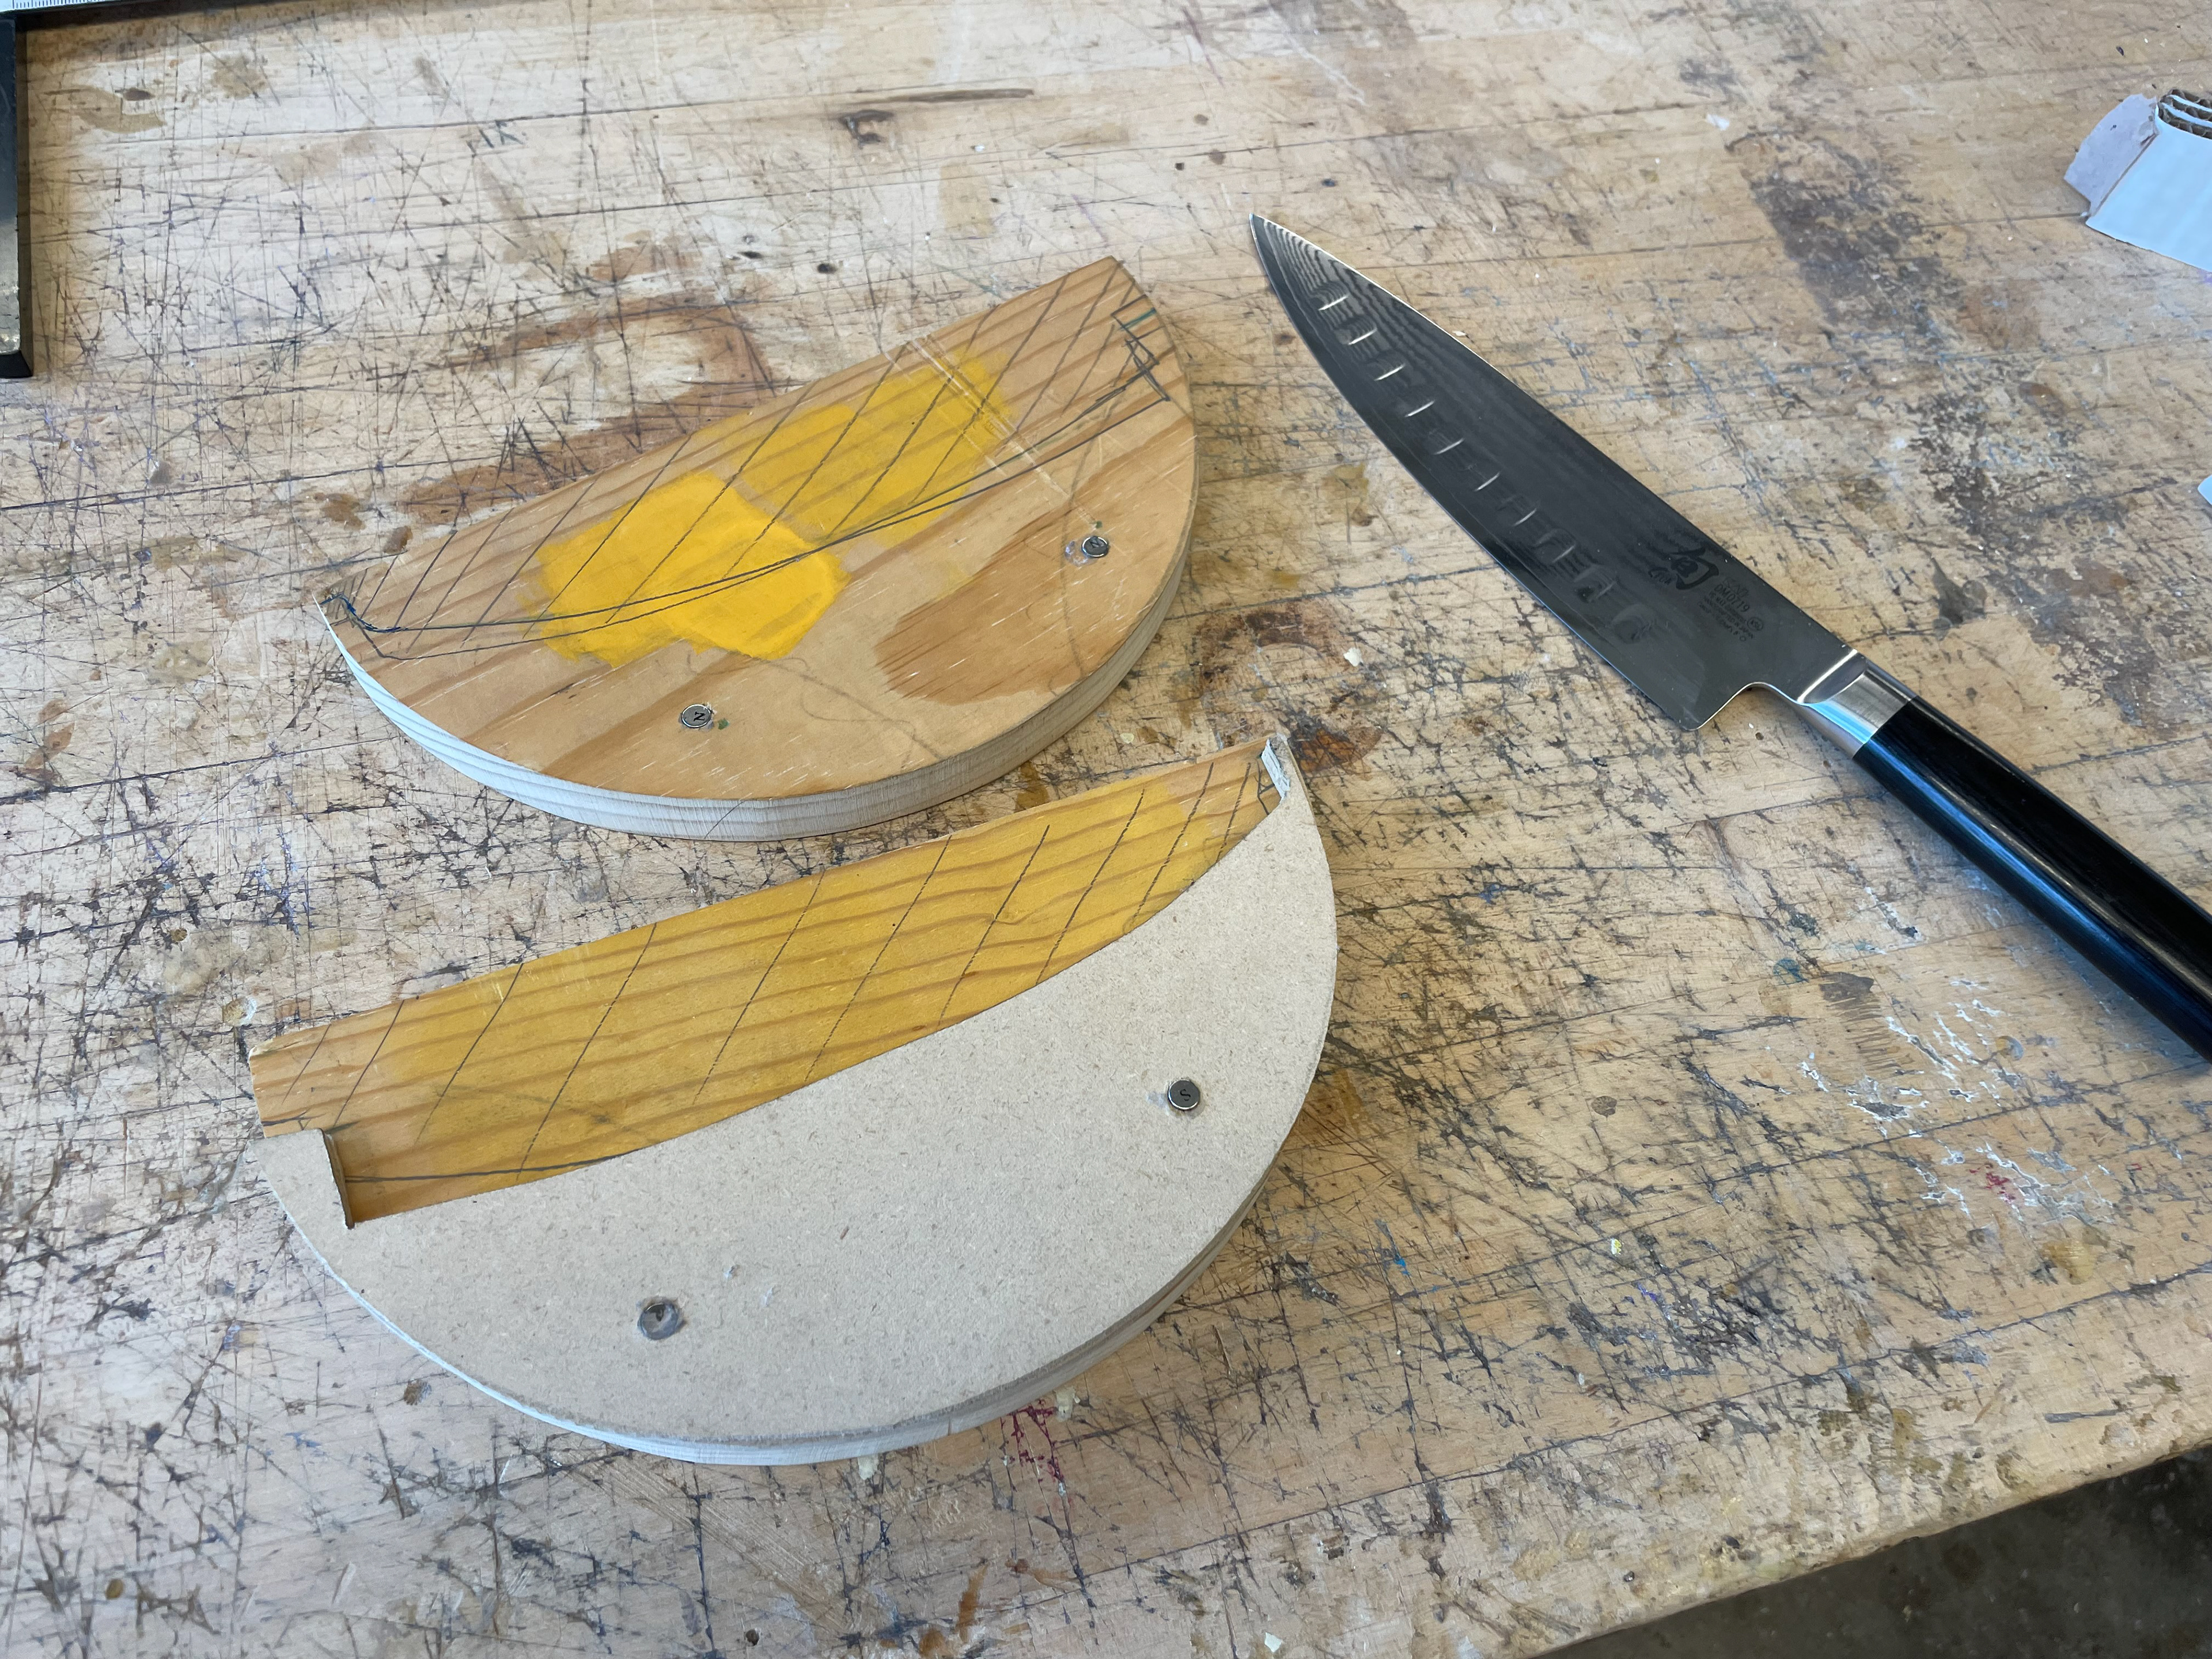
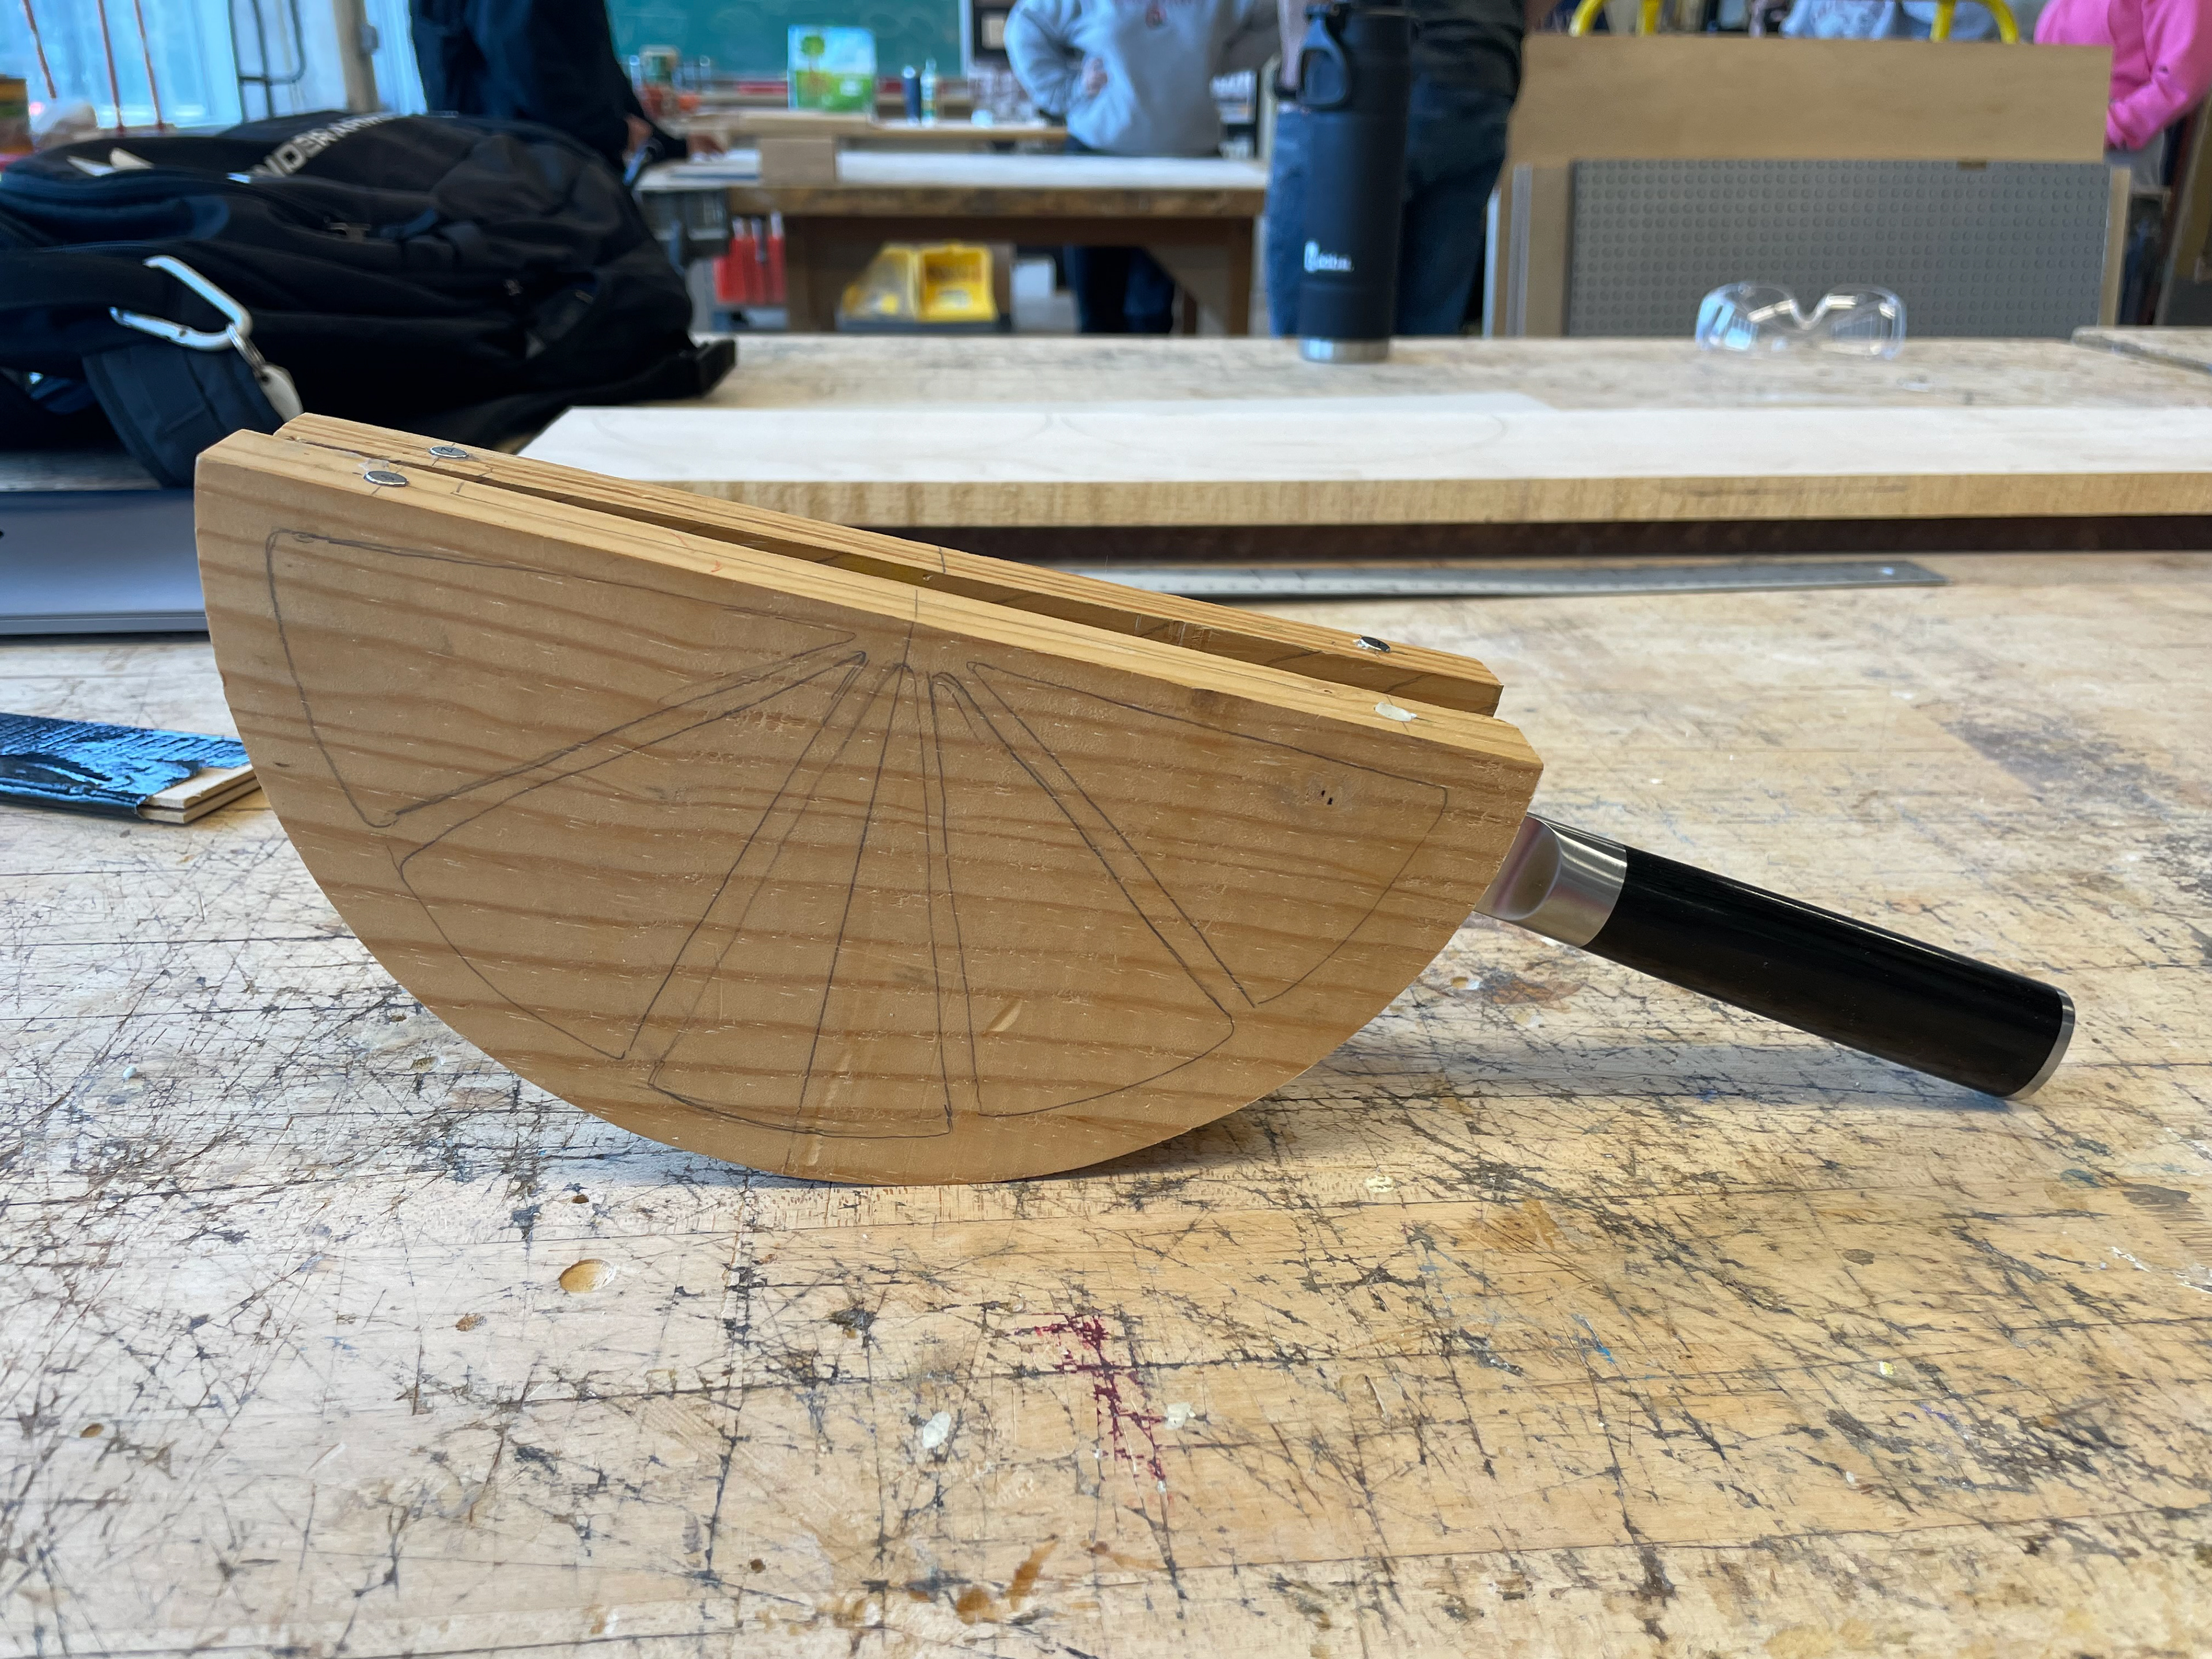
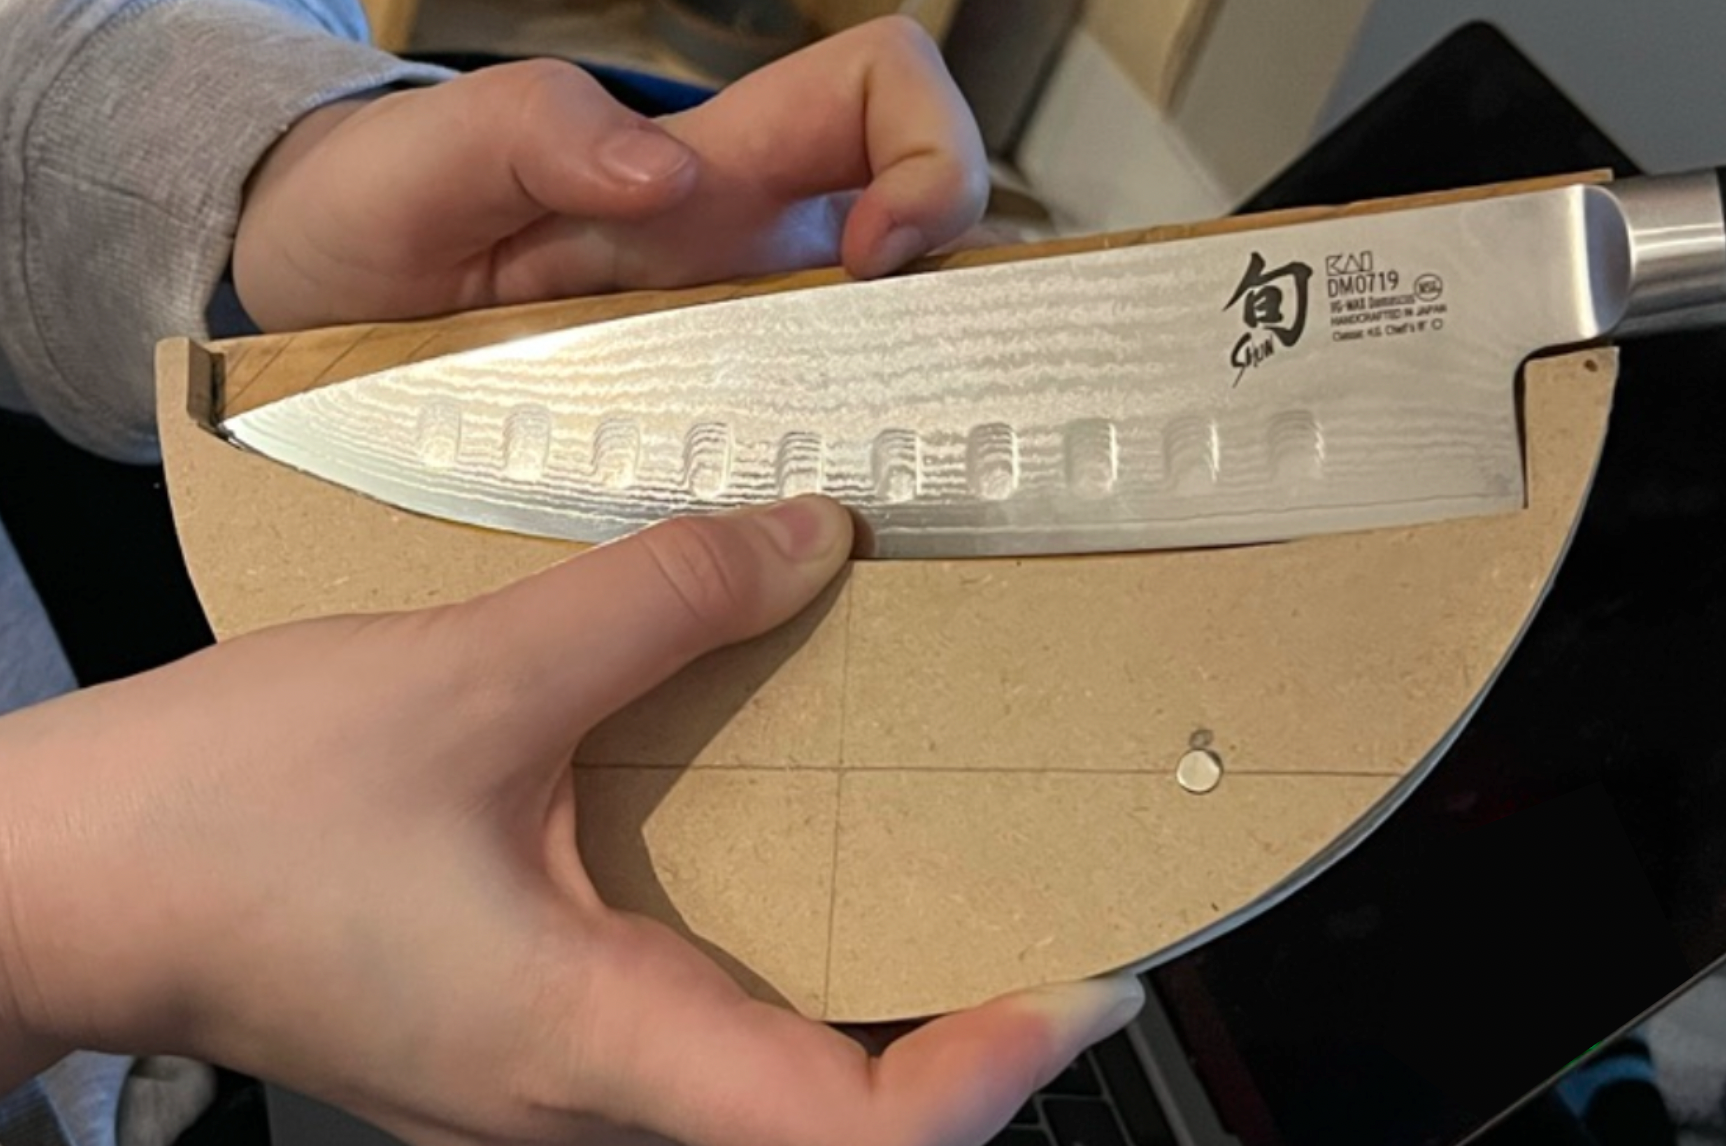
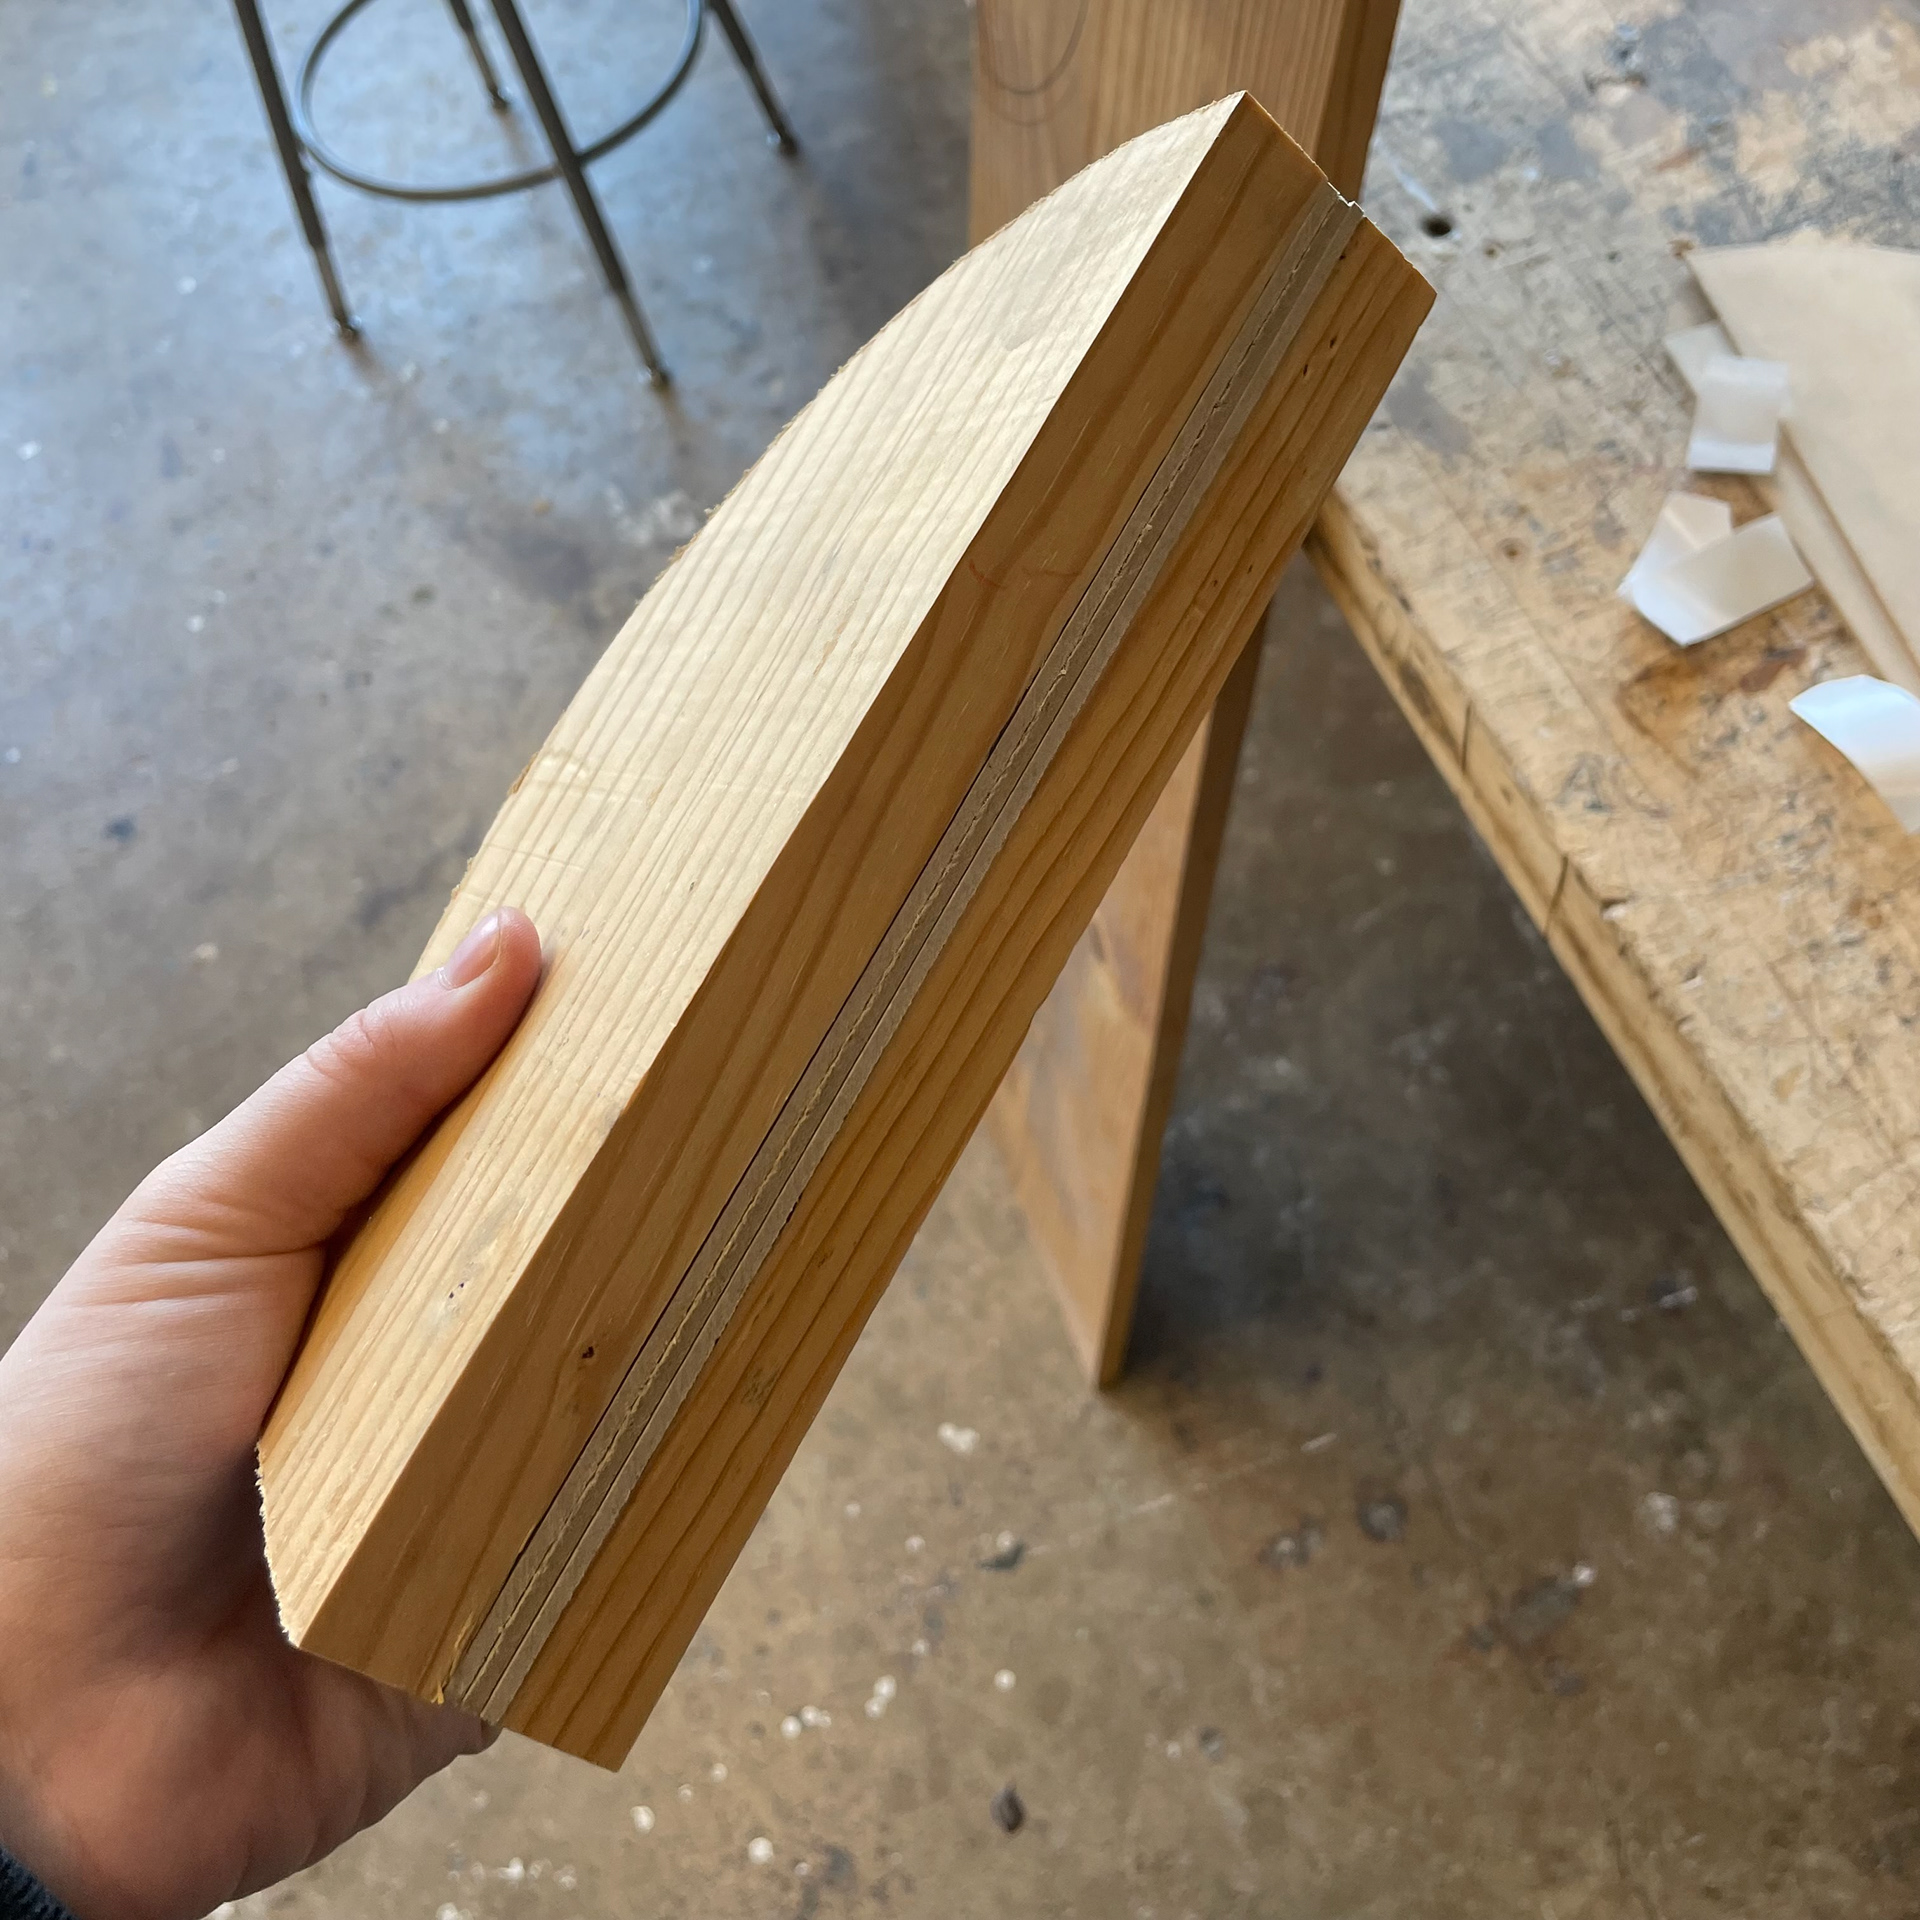
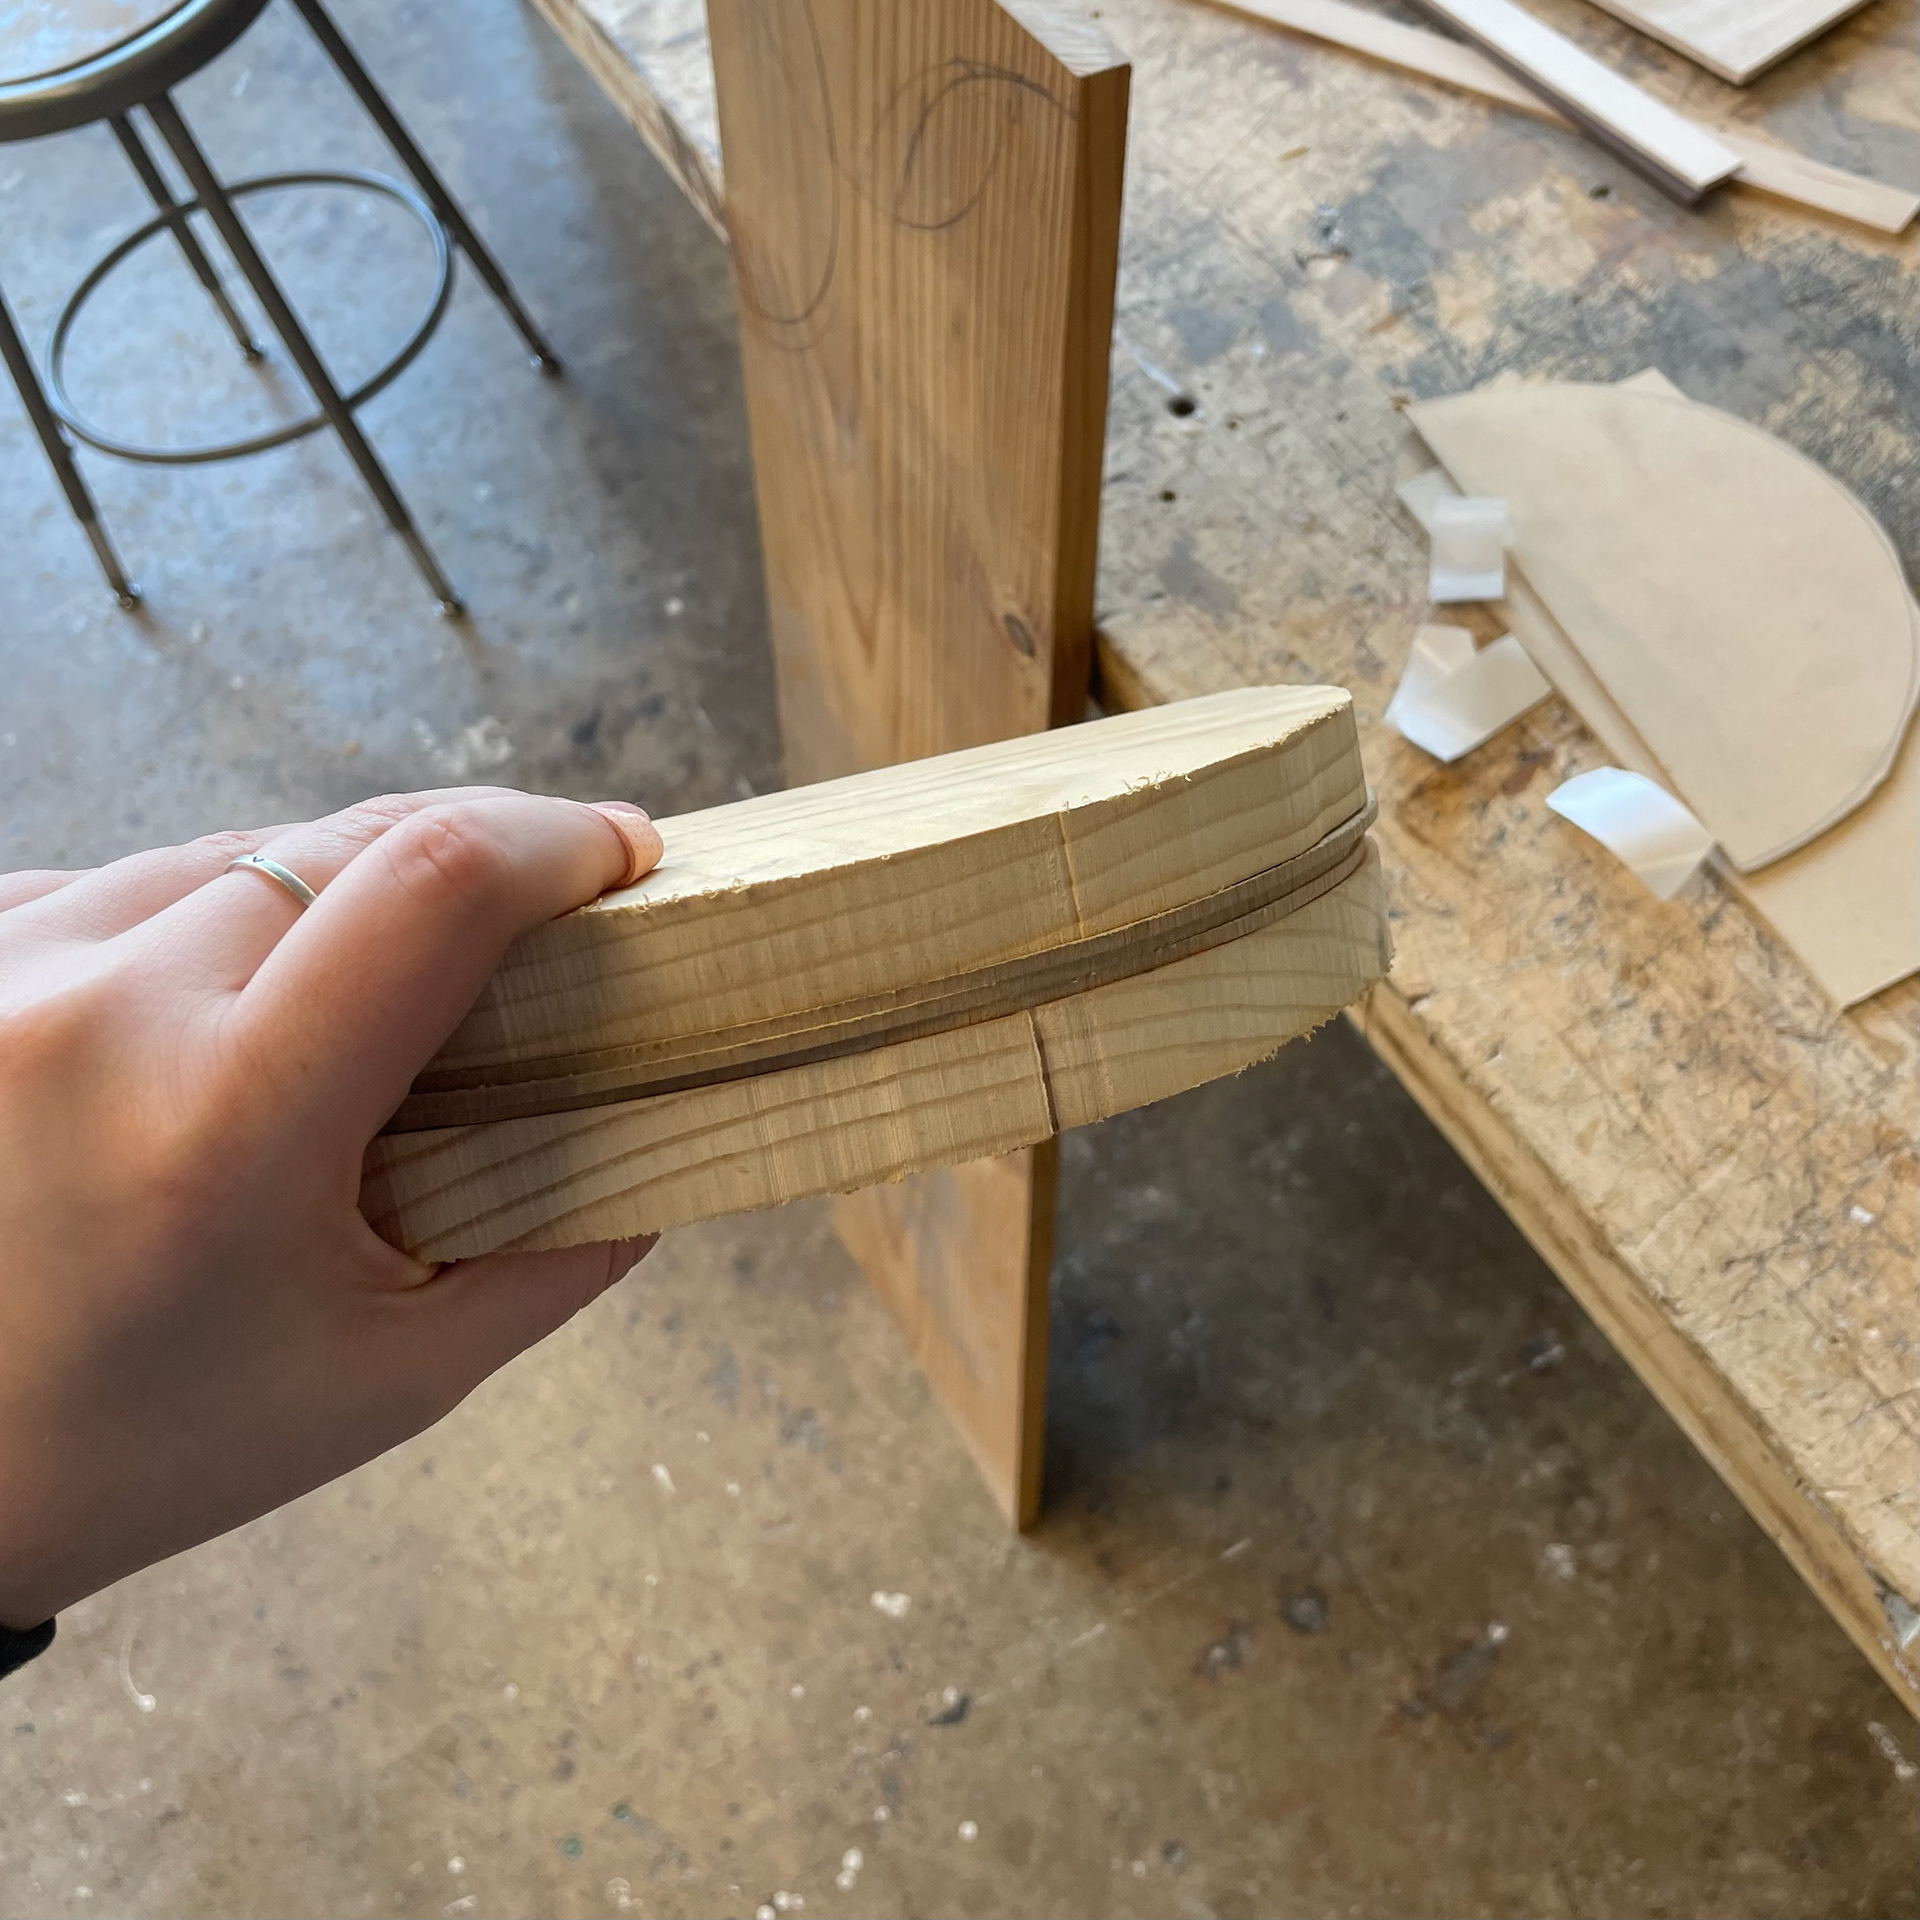
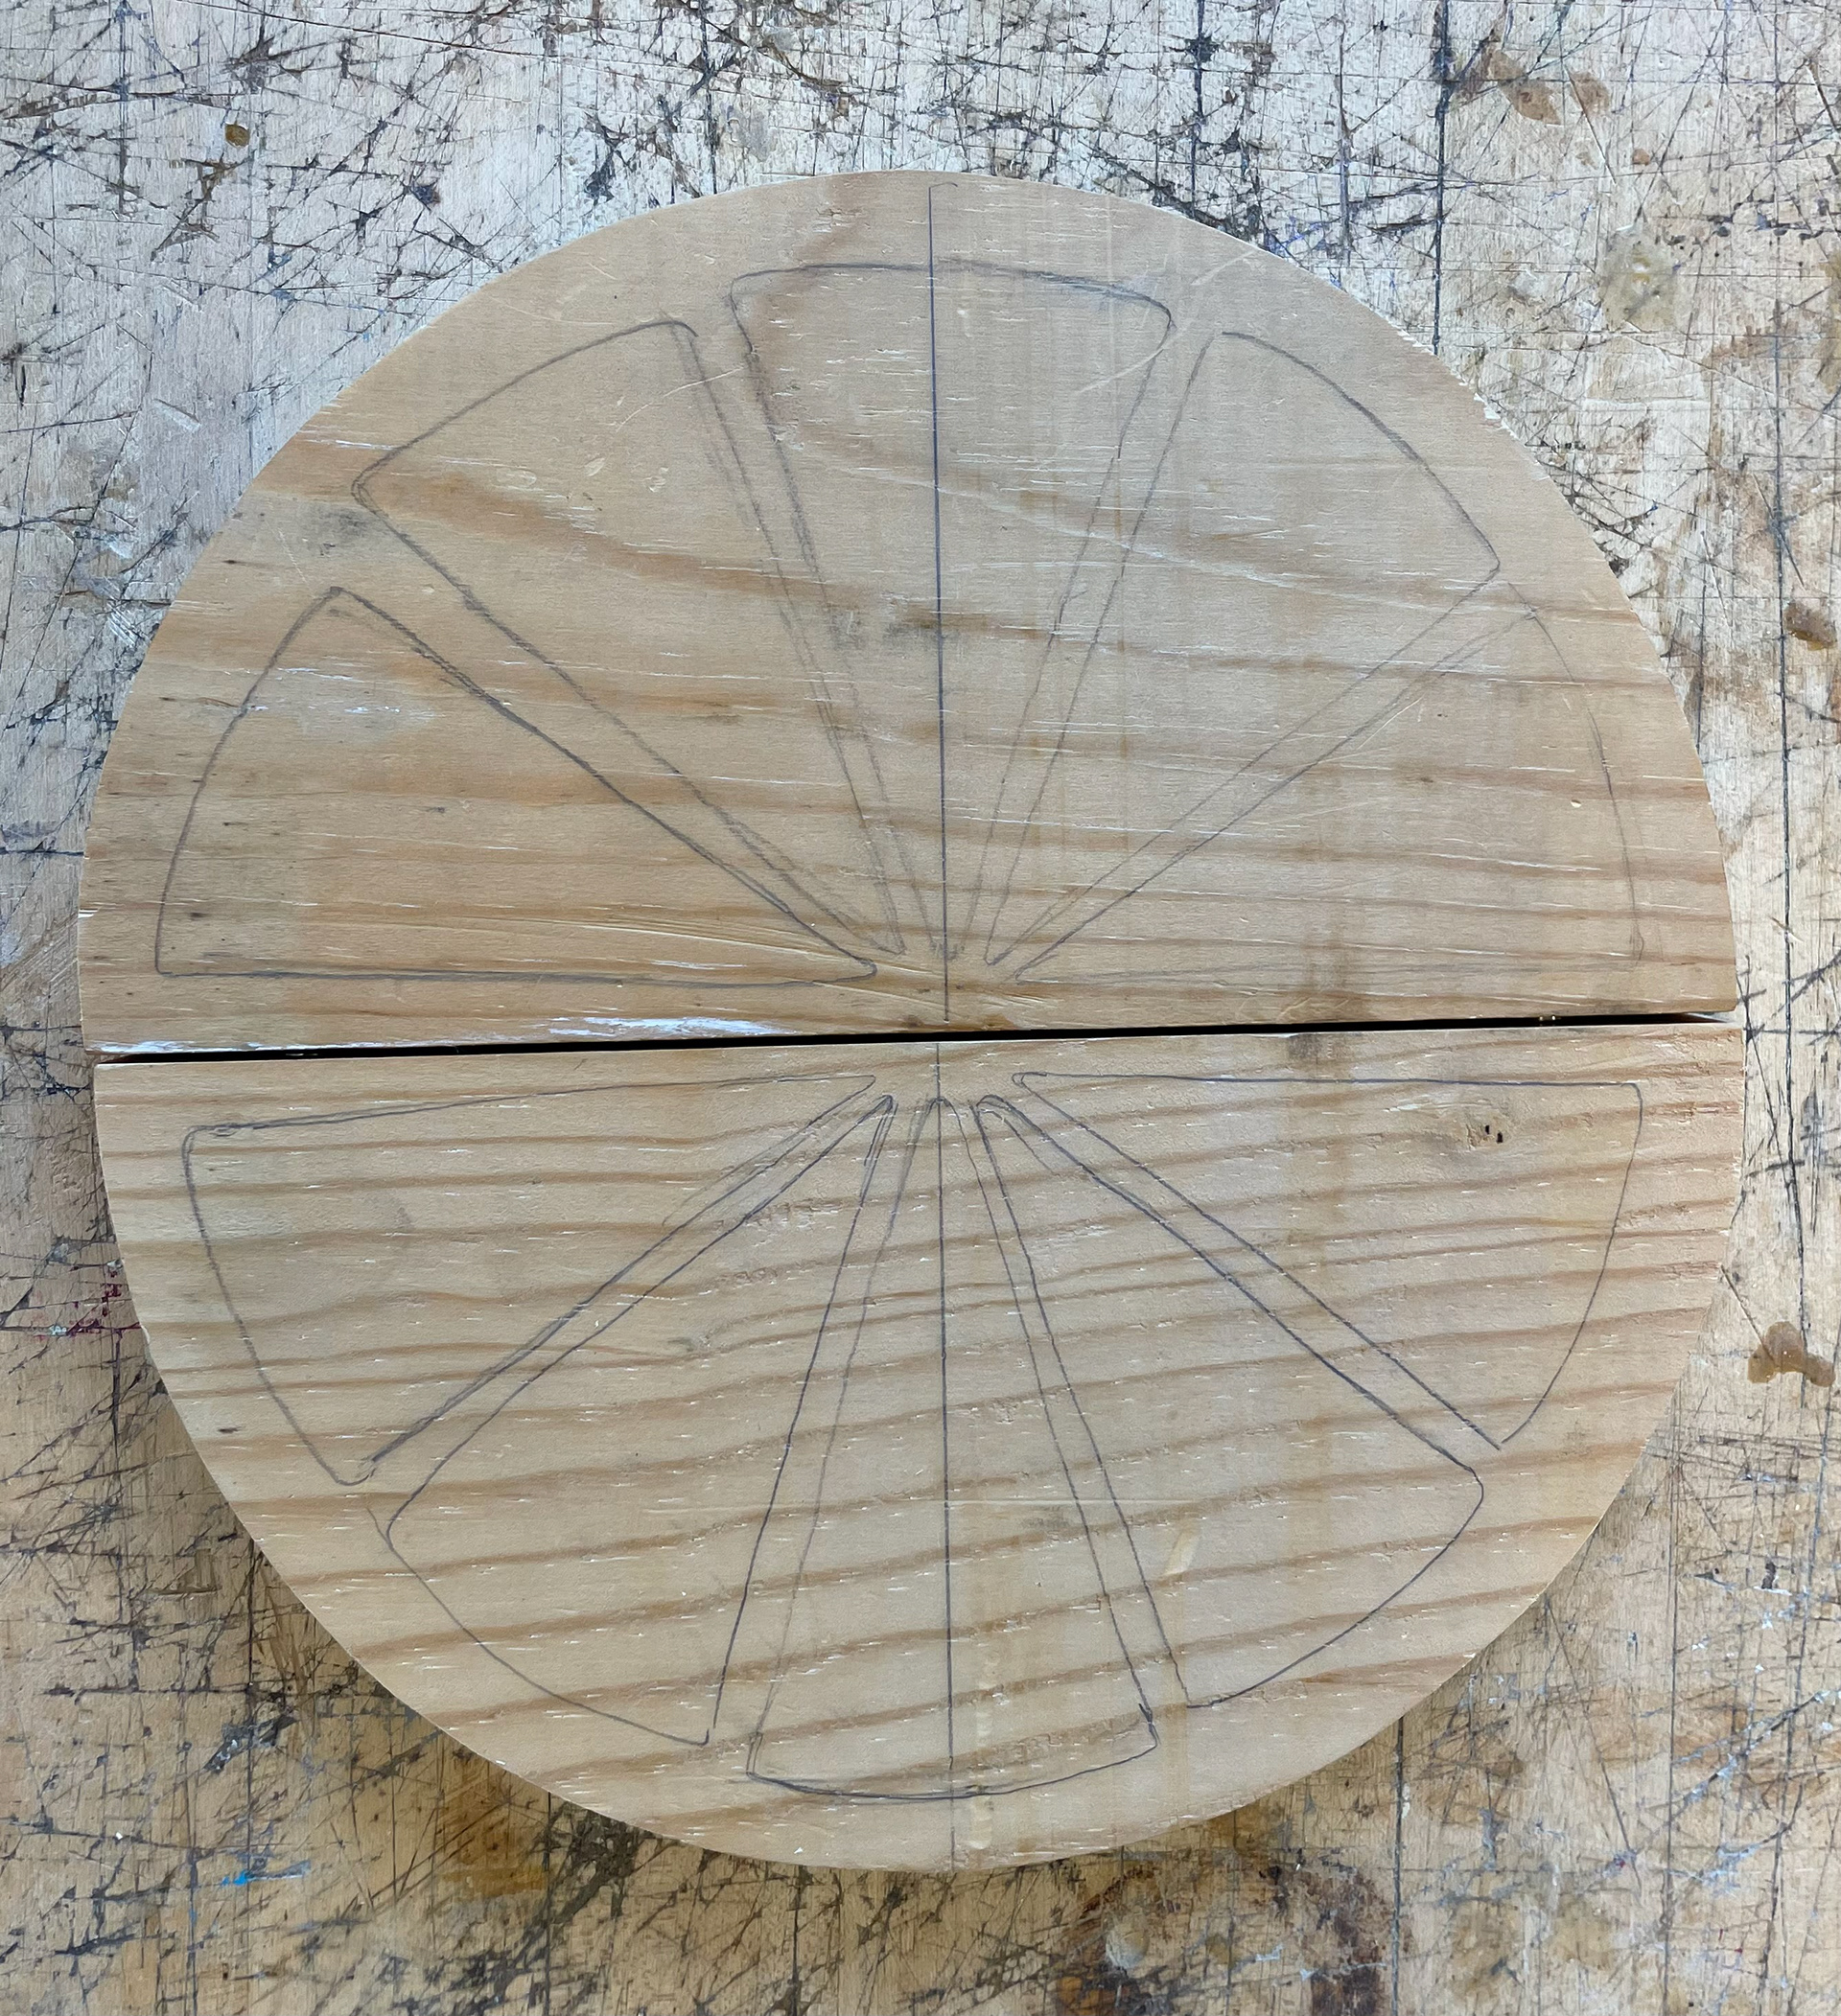
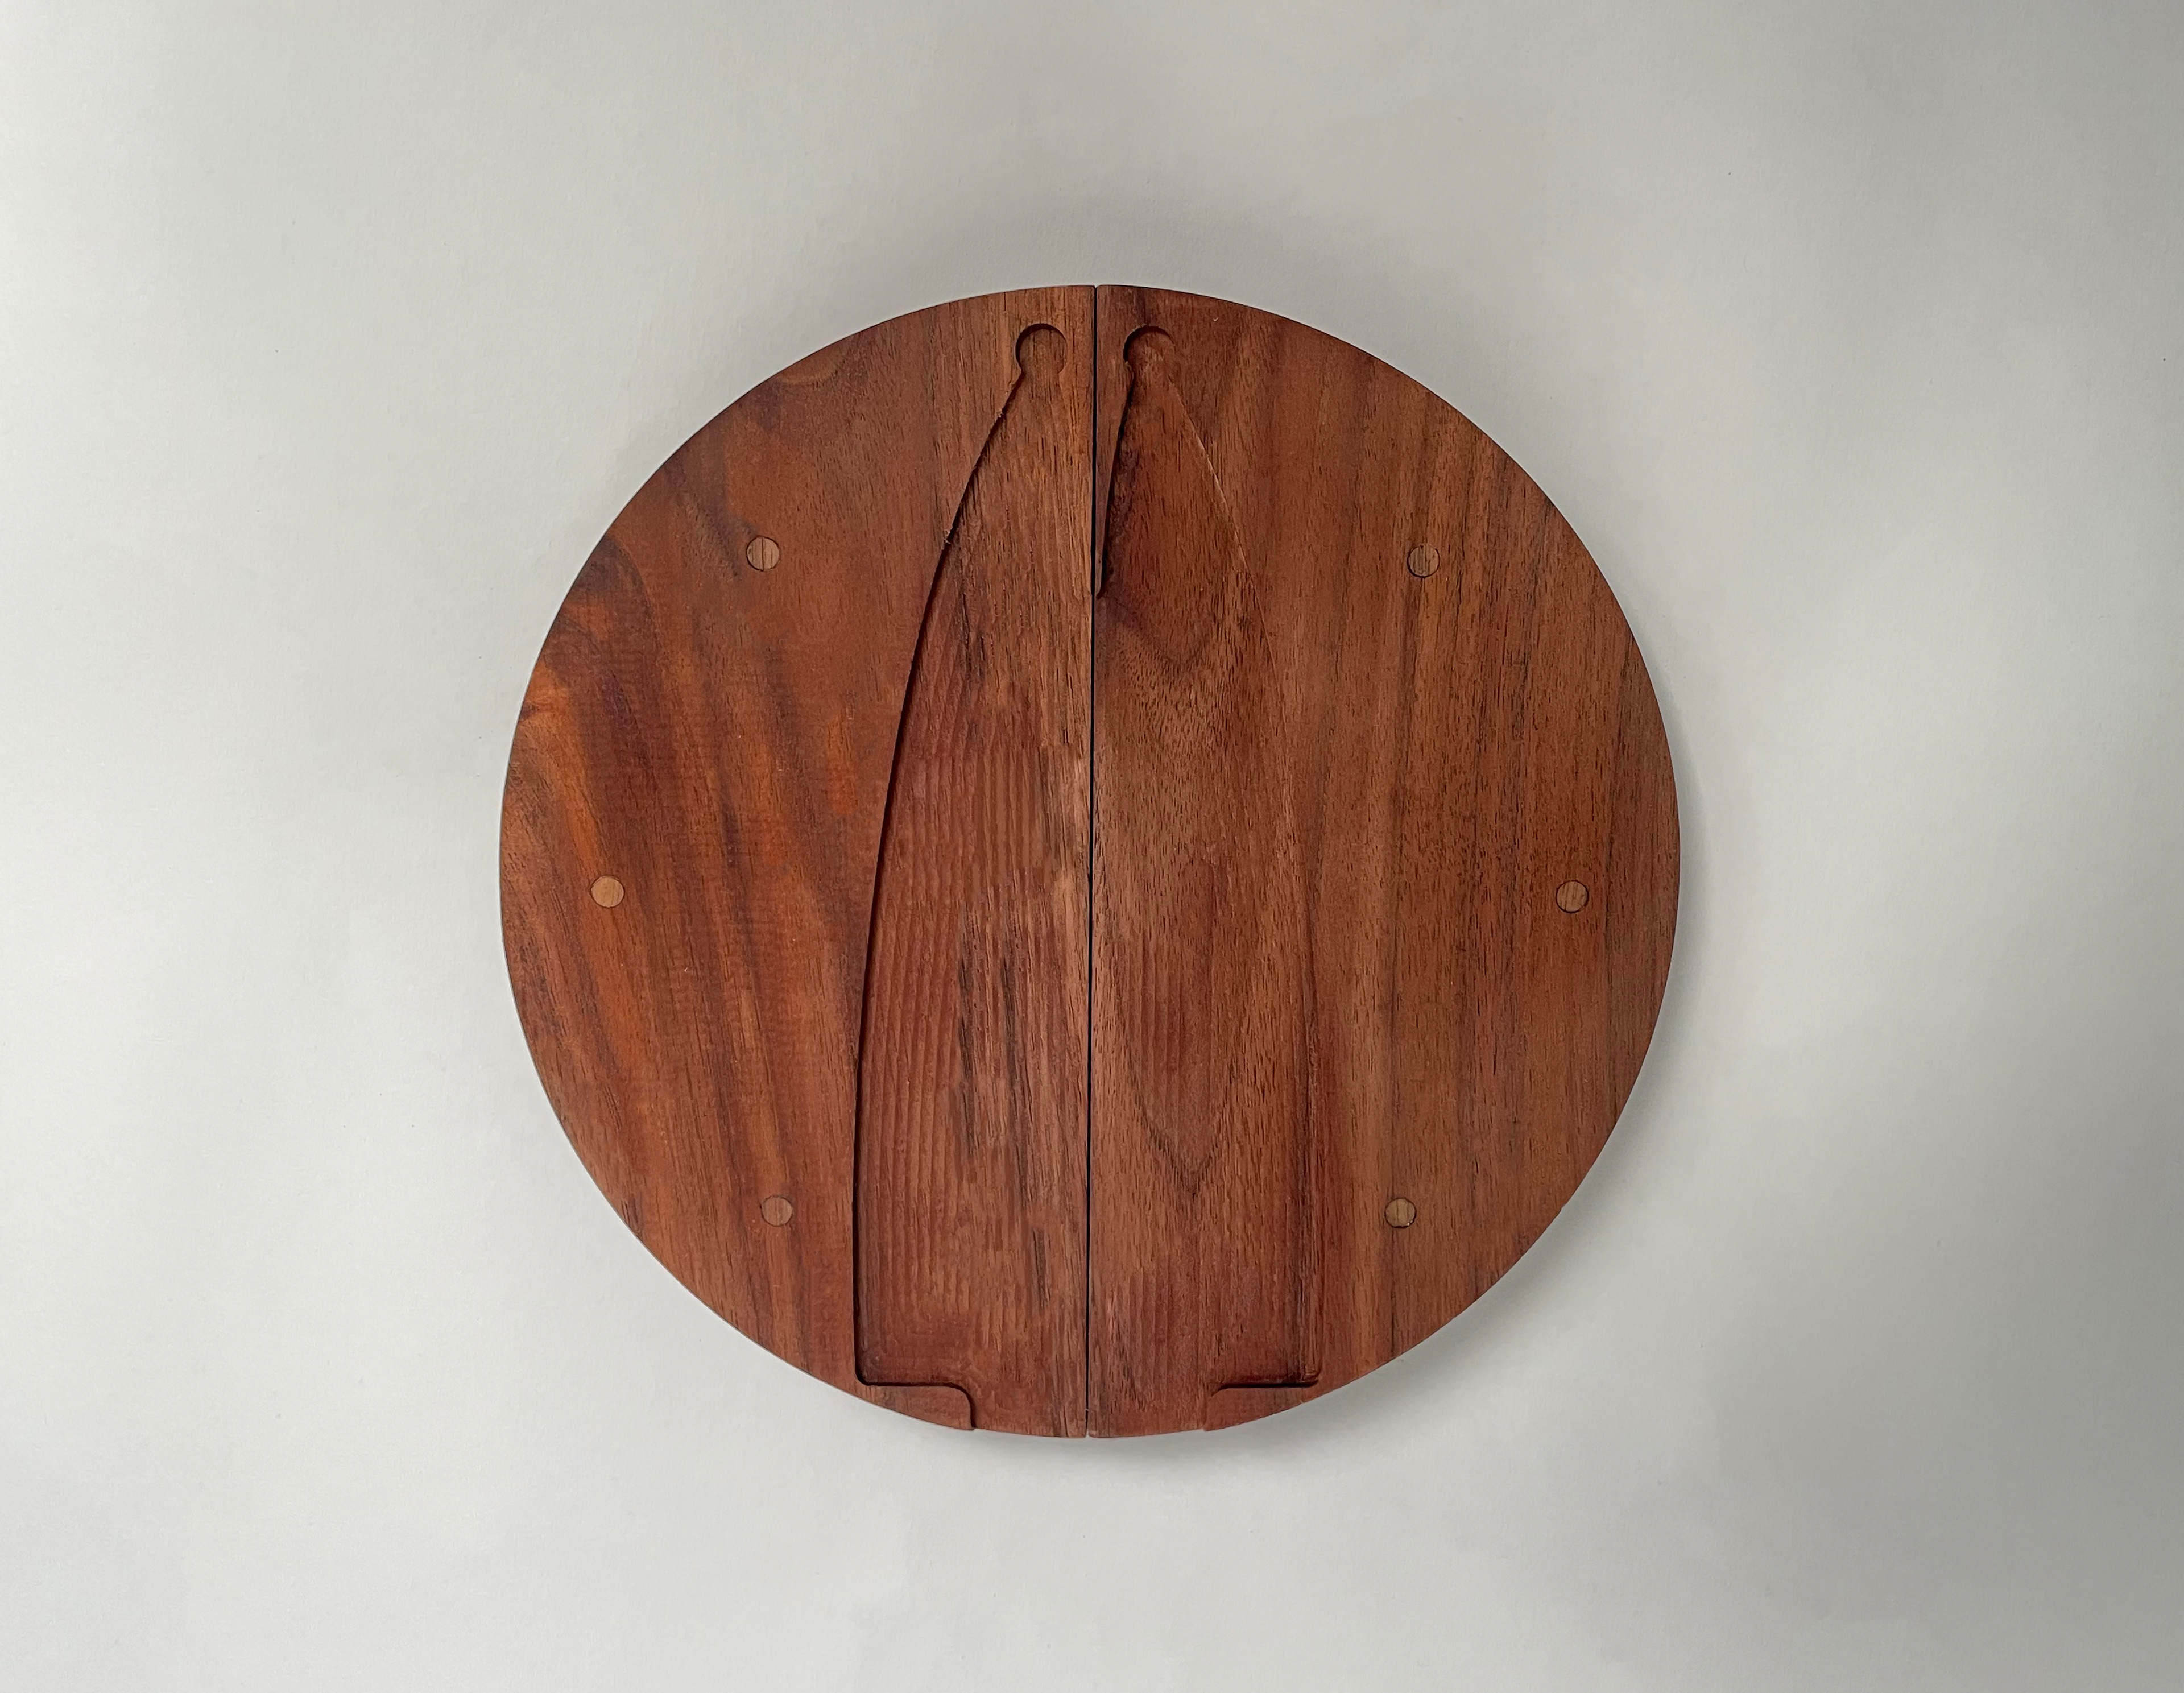
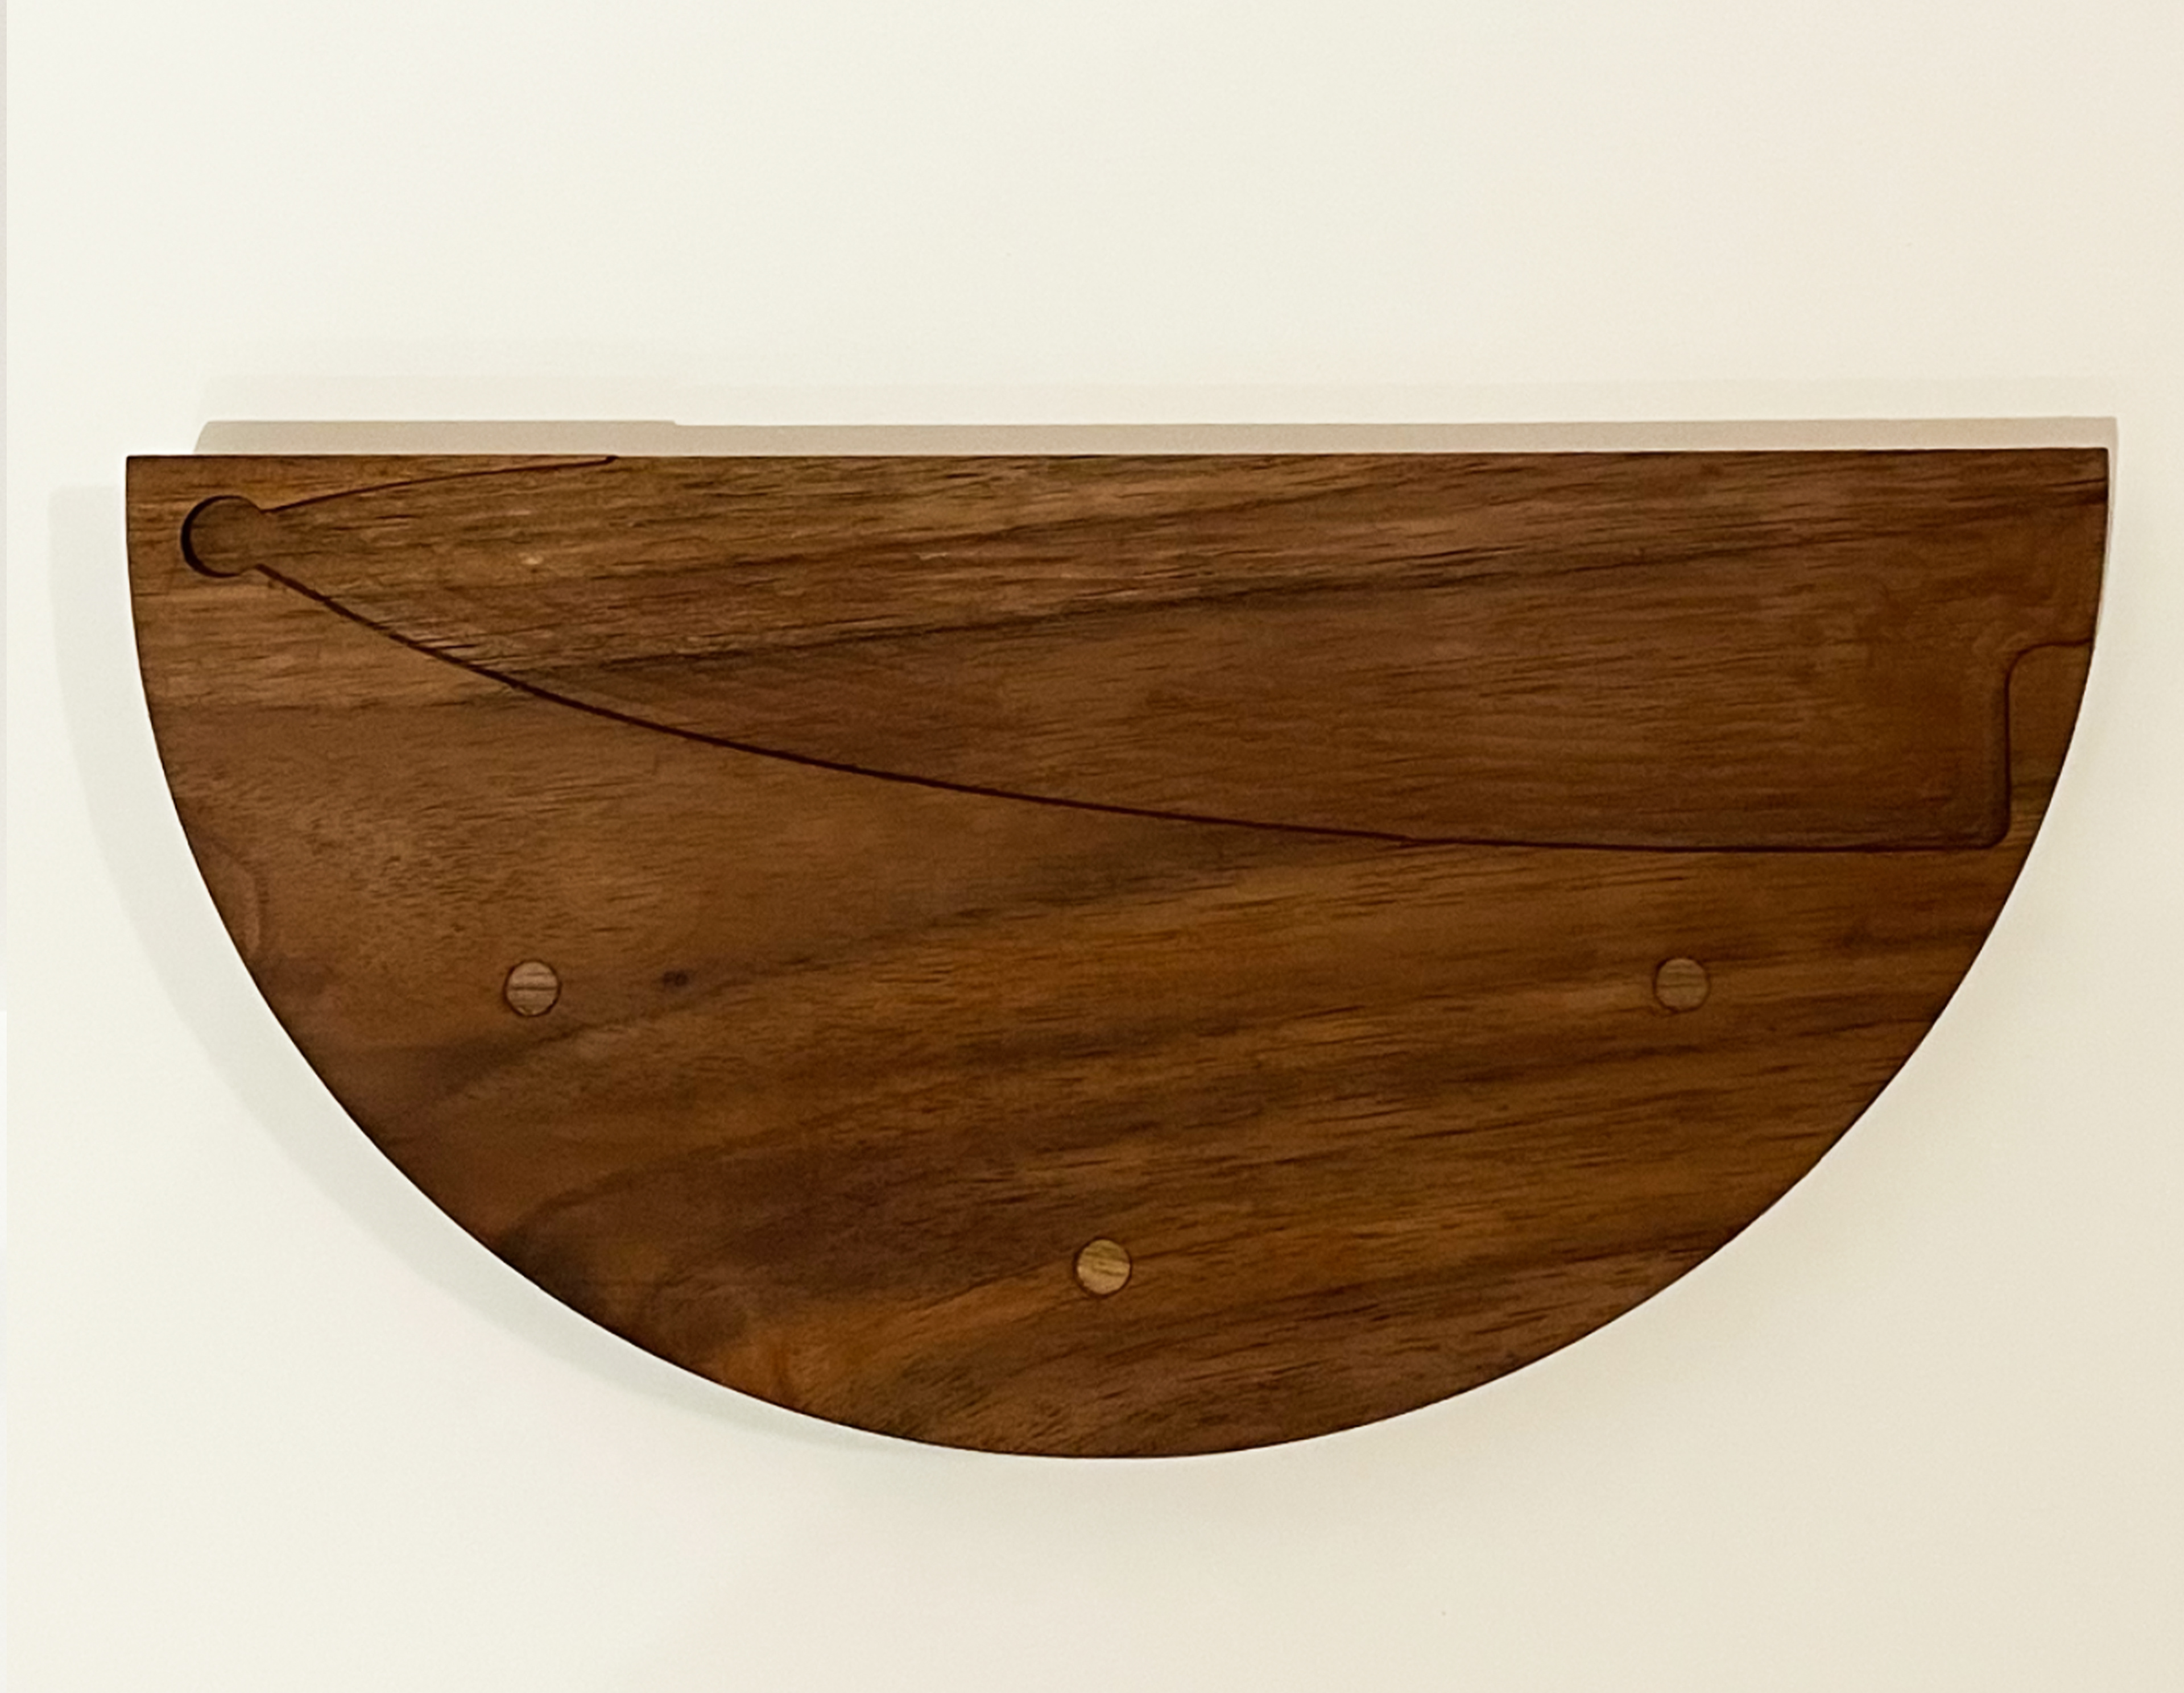
At this point, I decided to build these pieces using the CNC machine so that I could get a clean cutout on the inside that would perfectly fit the knife, rather than multiple parts. This solution would only have two total pieces, also magnetically held together. The difference between those two builds are shown below. CNC on bottom.
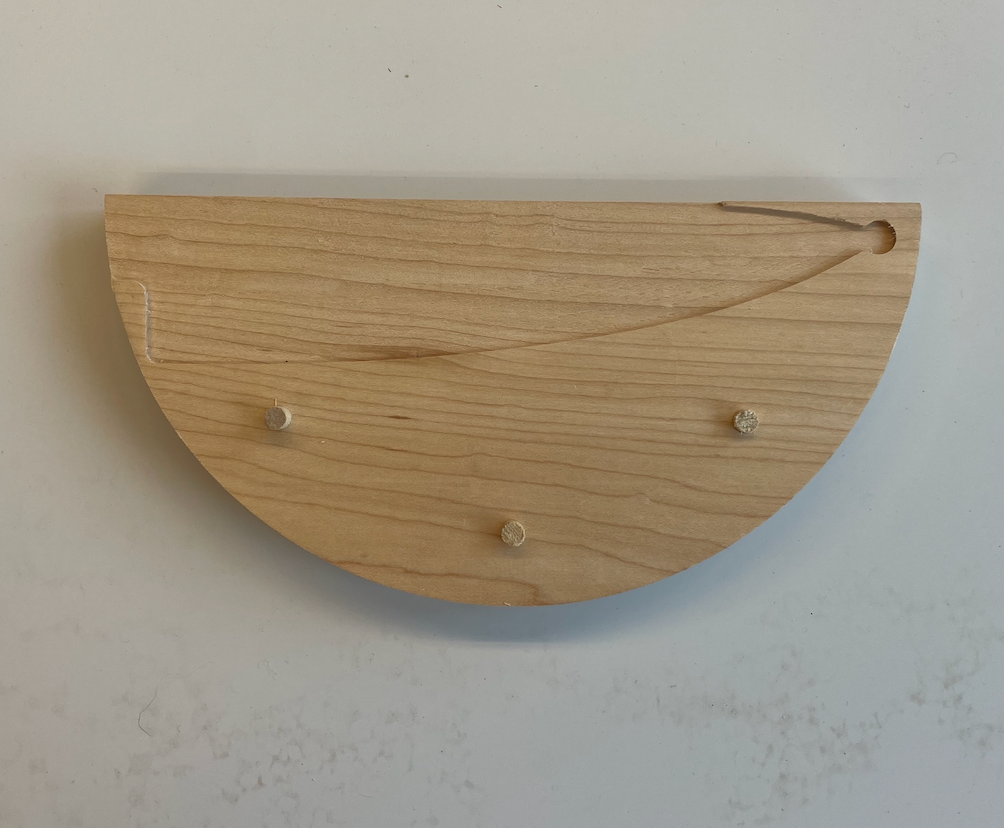
I ran into a few issues with the CNC machine. Because I had an engraving on both sides, and then an outside cut, I had to flip the piece of wood after the machine completed one side and before it started the second. This lead to a lot of misalignments due to an inaccurate registration of the wood. Misalignment shown below.
To fix this, the solution was to create a piece of hardware that held the wood in place, and allowed it to be perfectly lined up once flipped to the other side. CNC prototyping is shown below. This phase also included magnet testing.
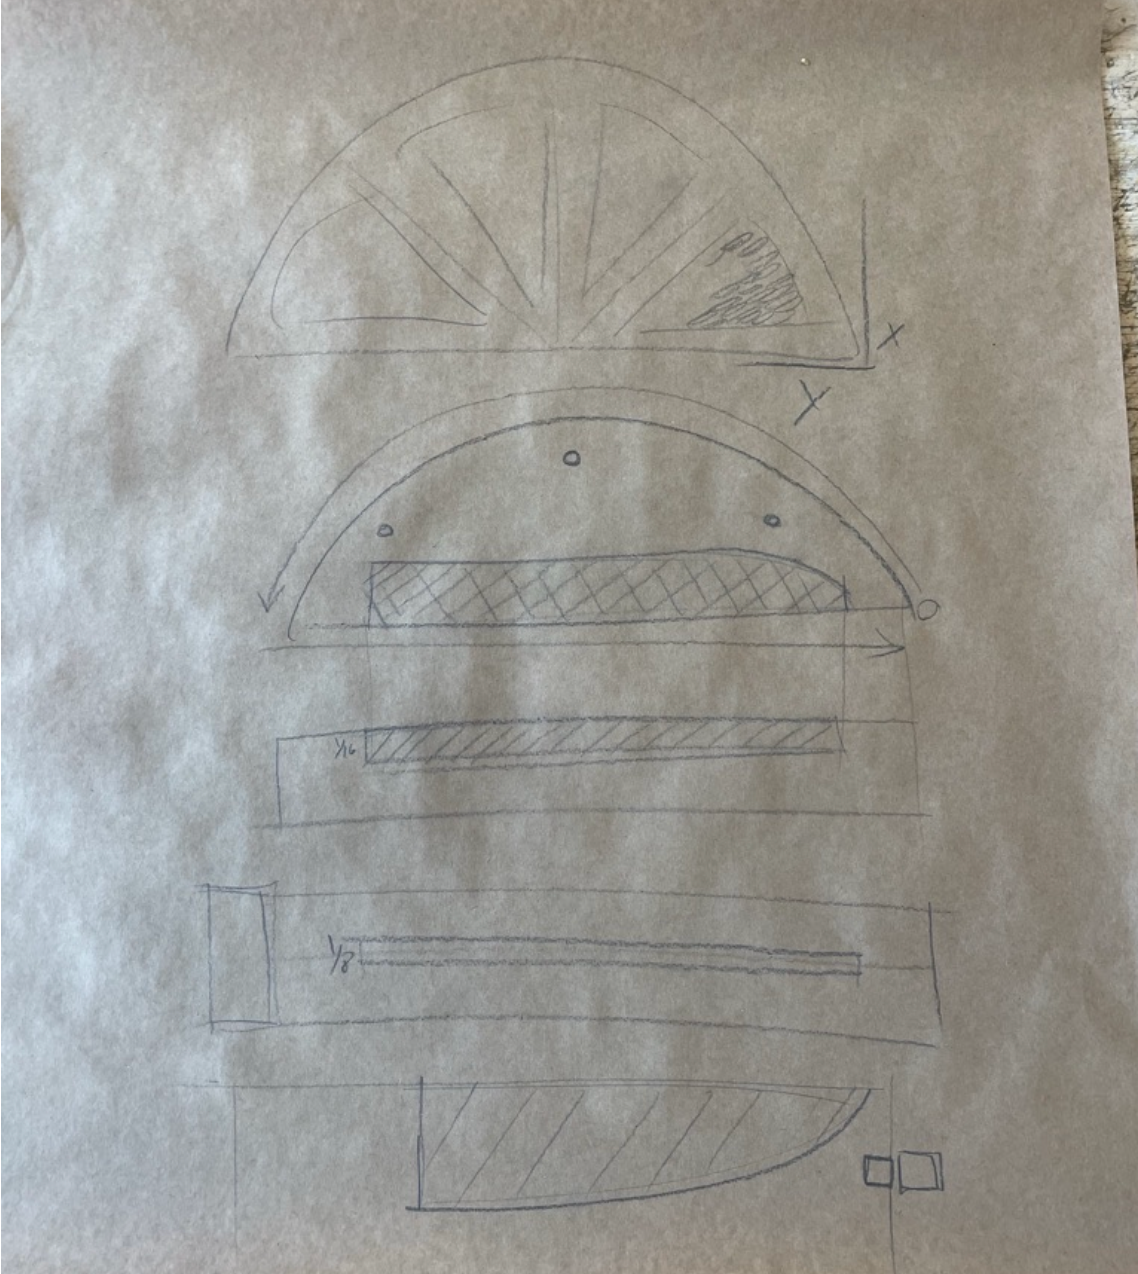
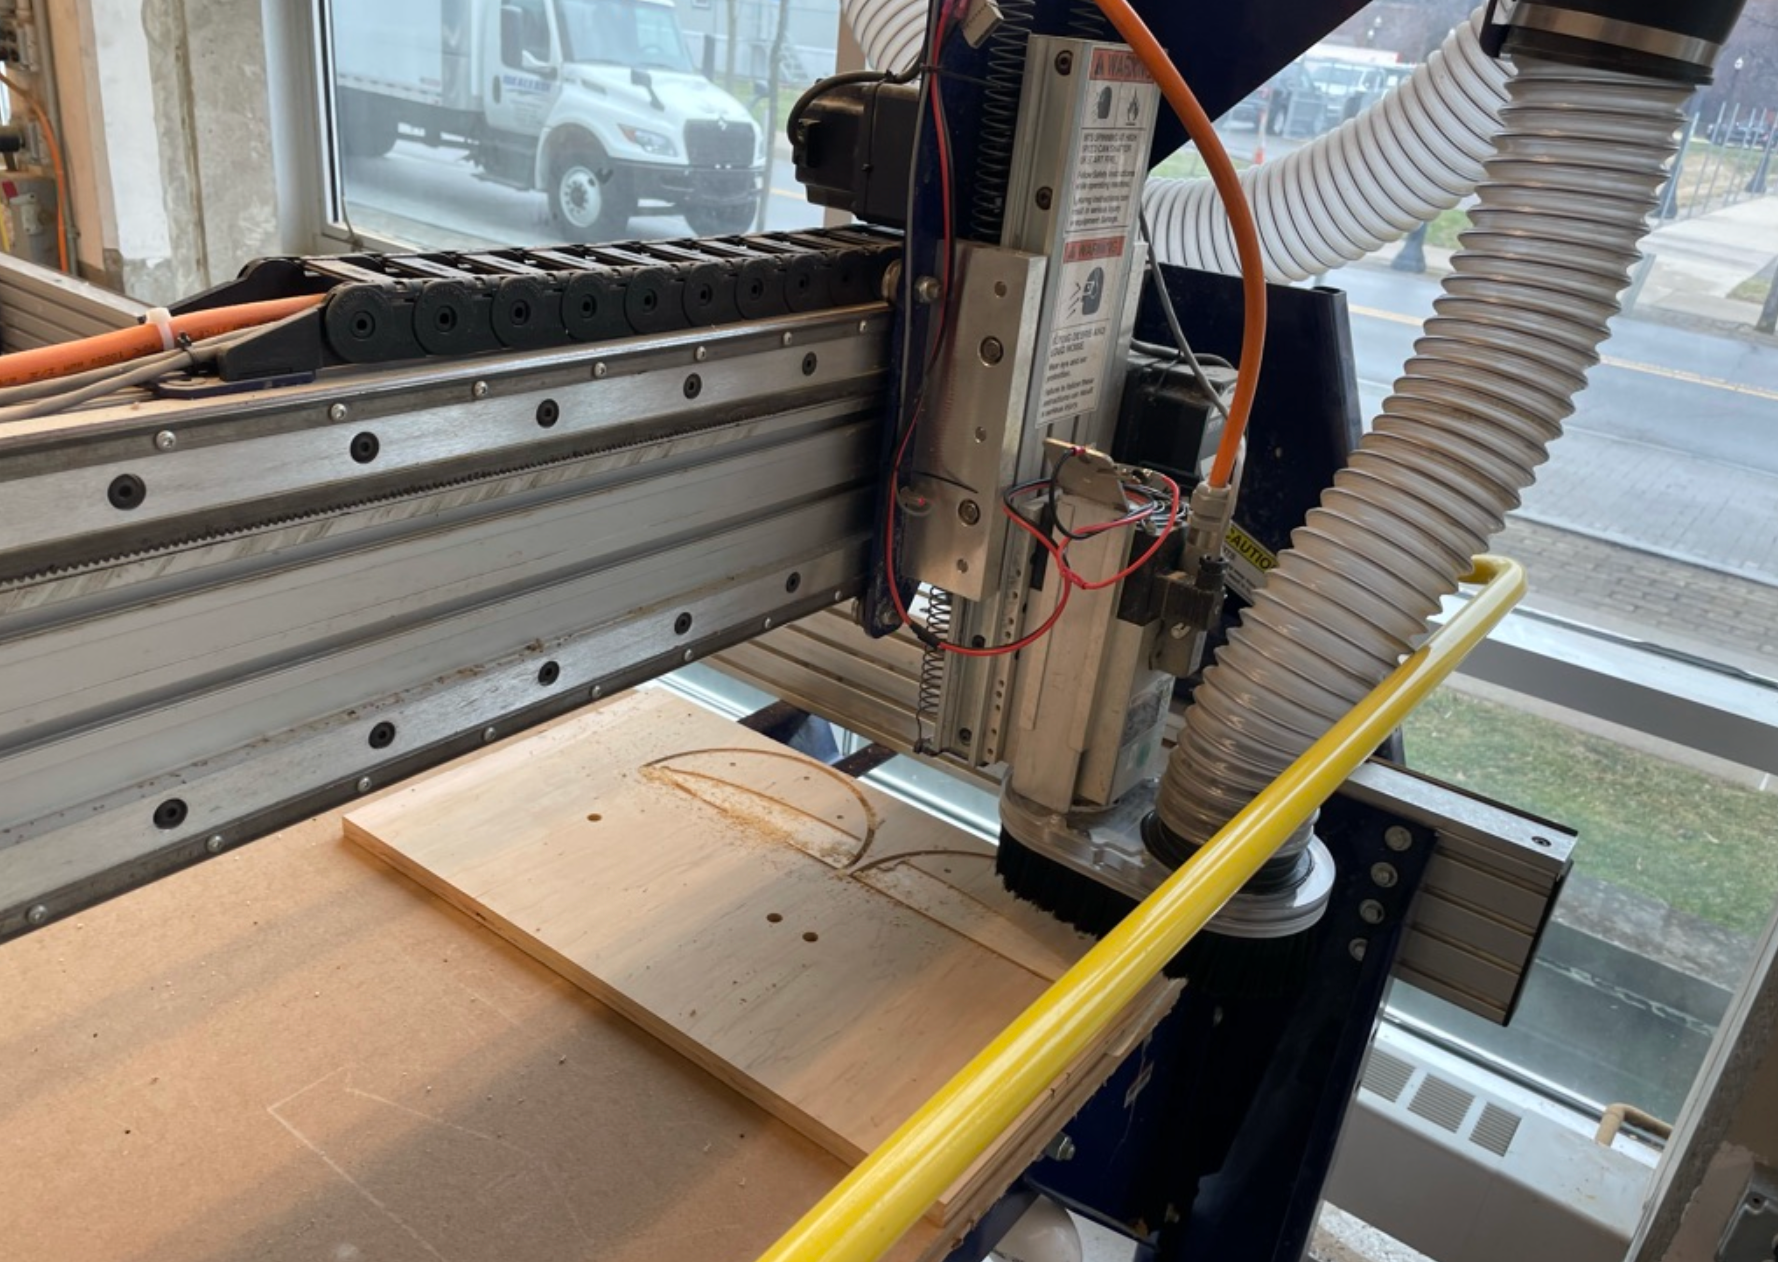
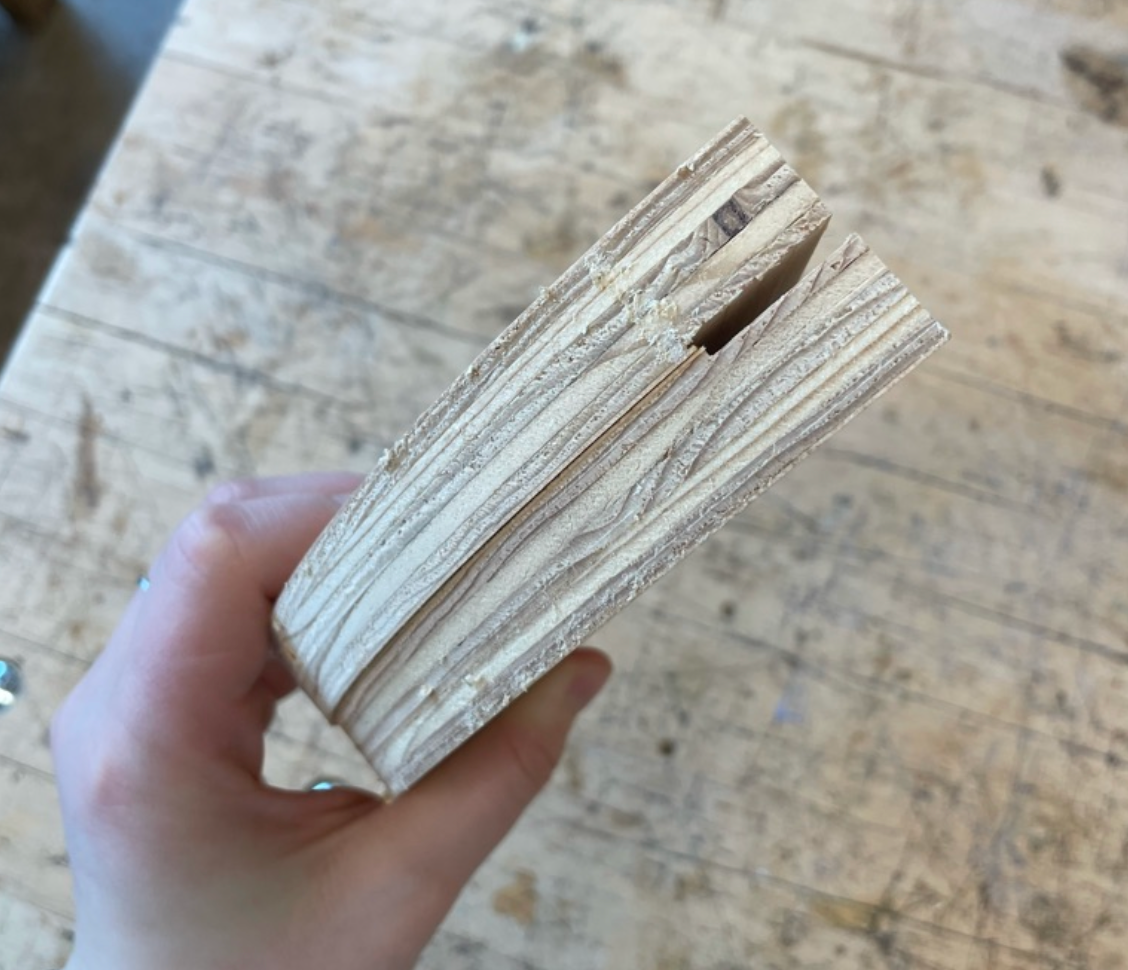
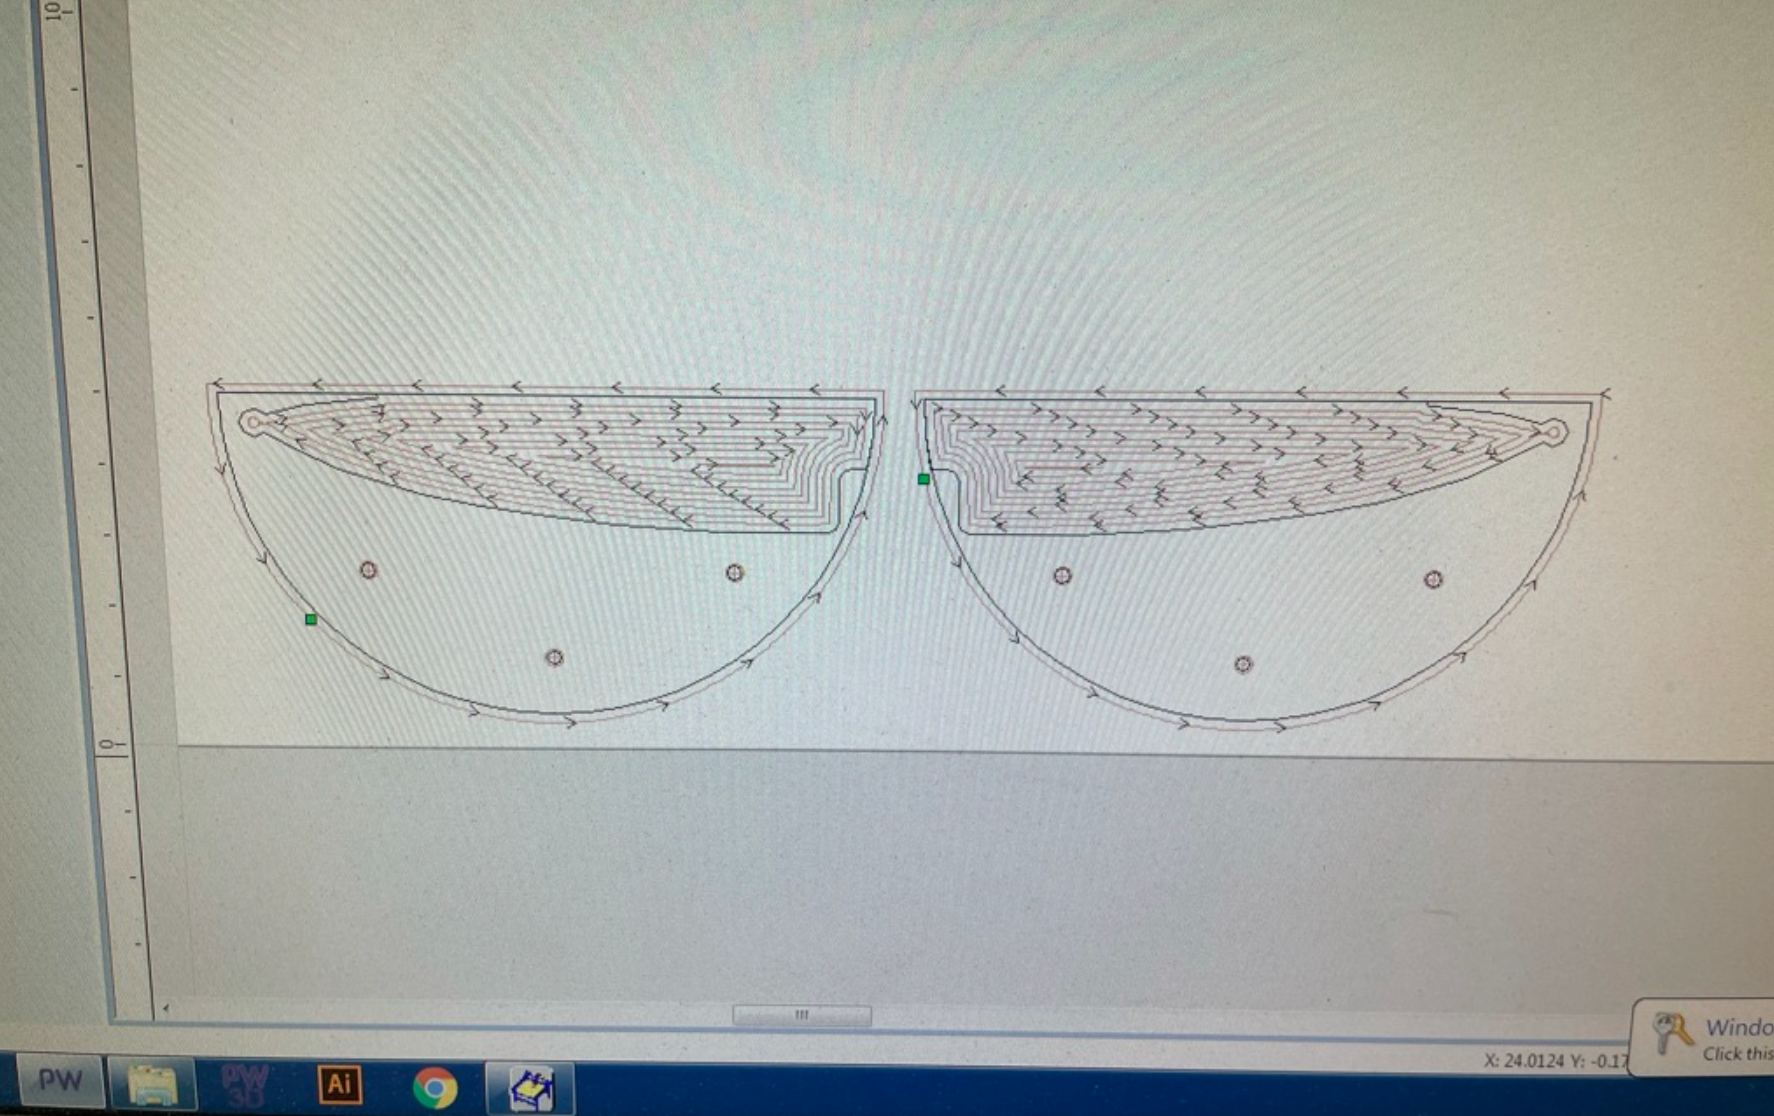
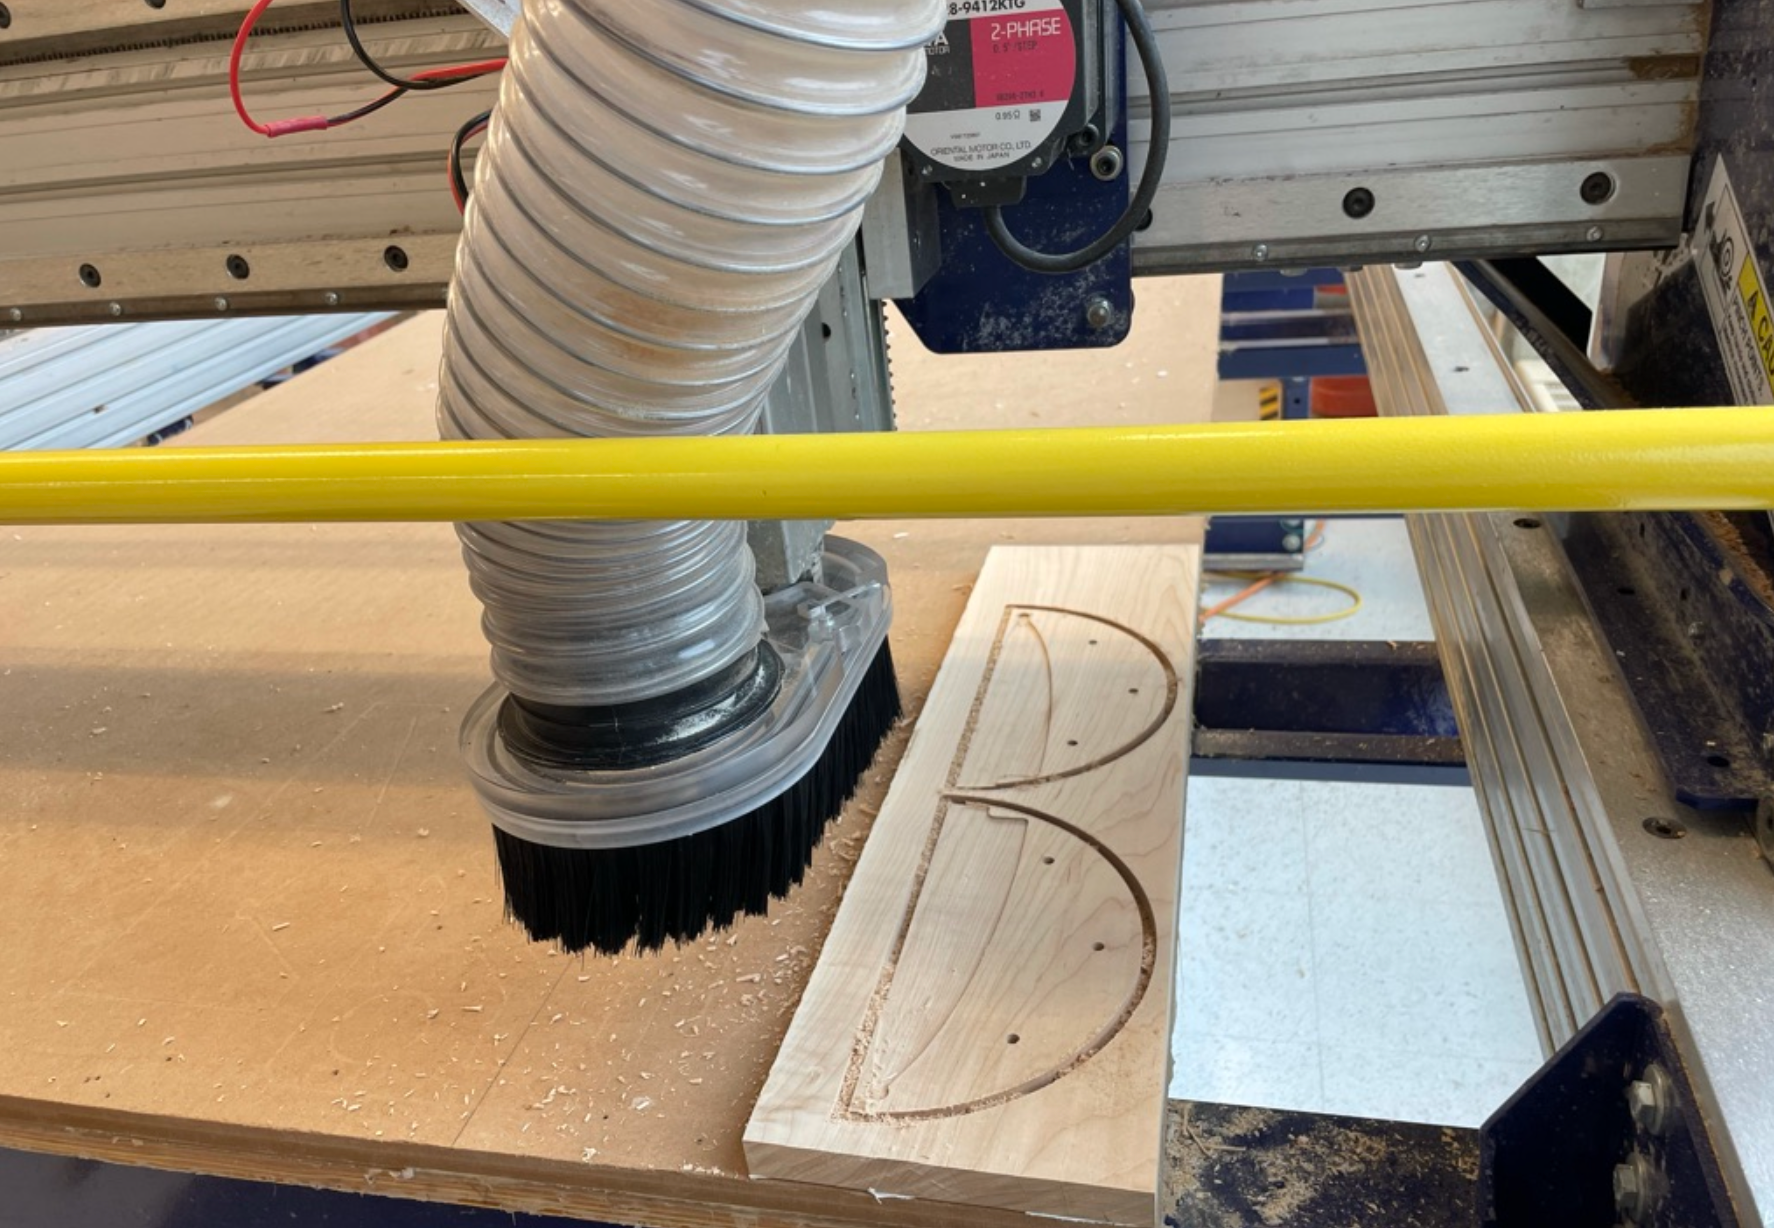
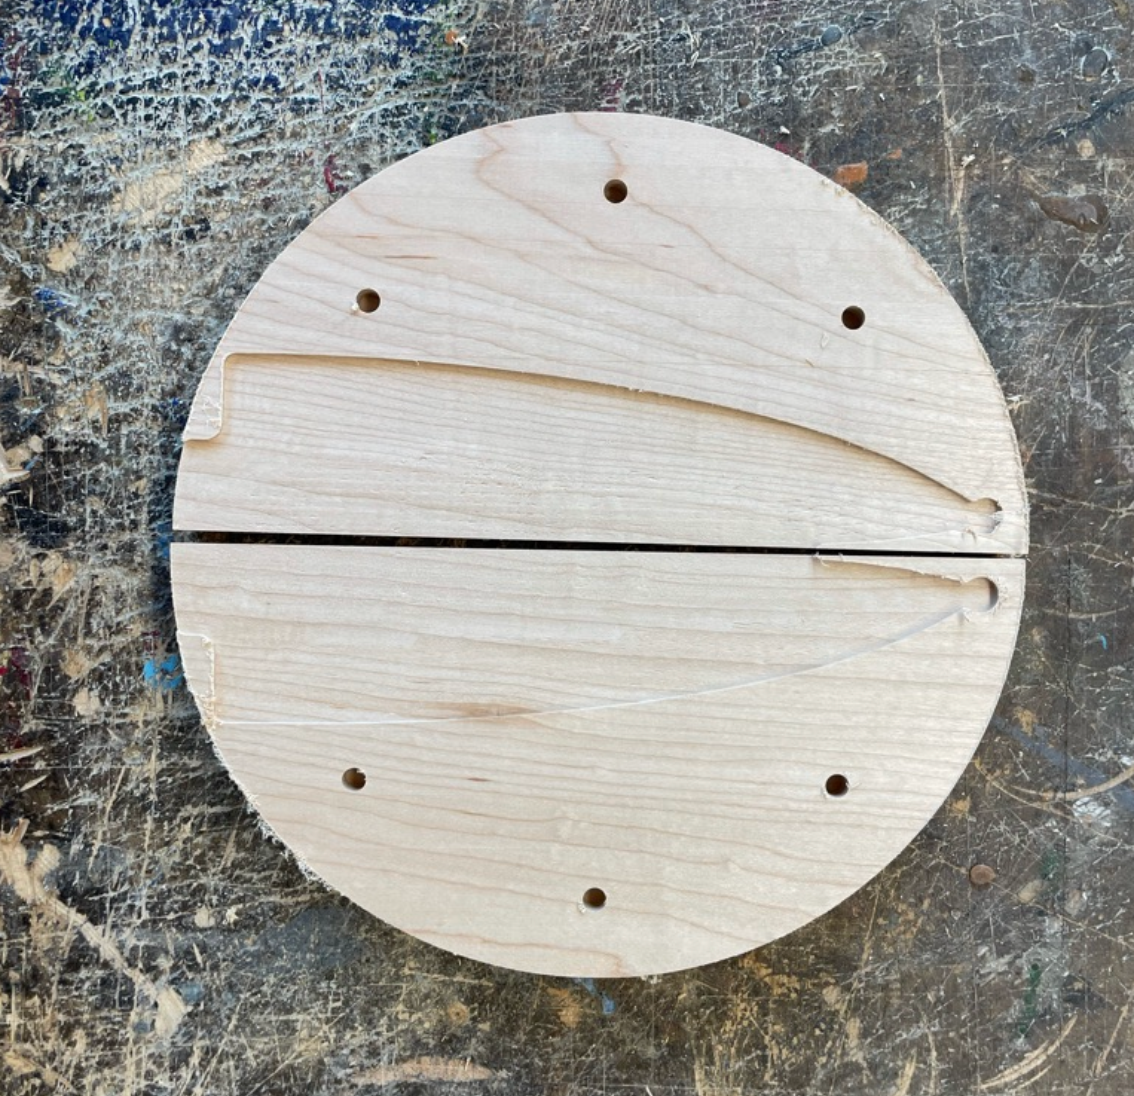


Shown below is my best prototype before my final cut which includes another misalignment.
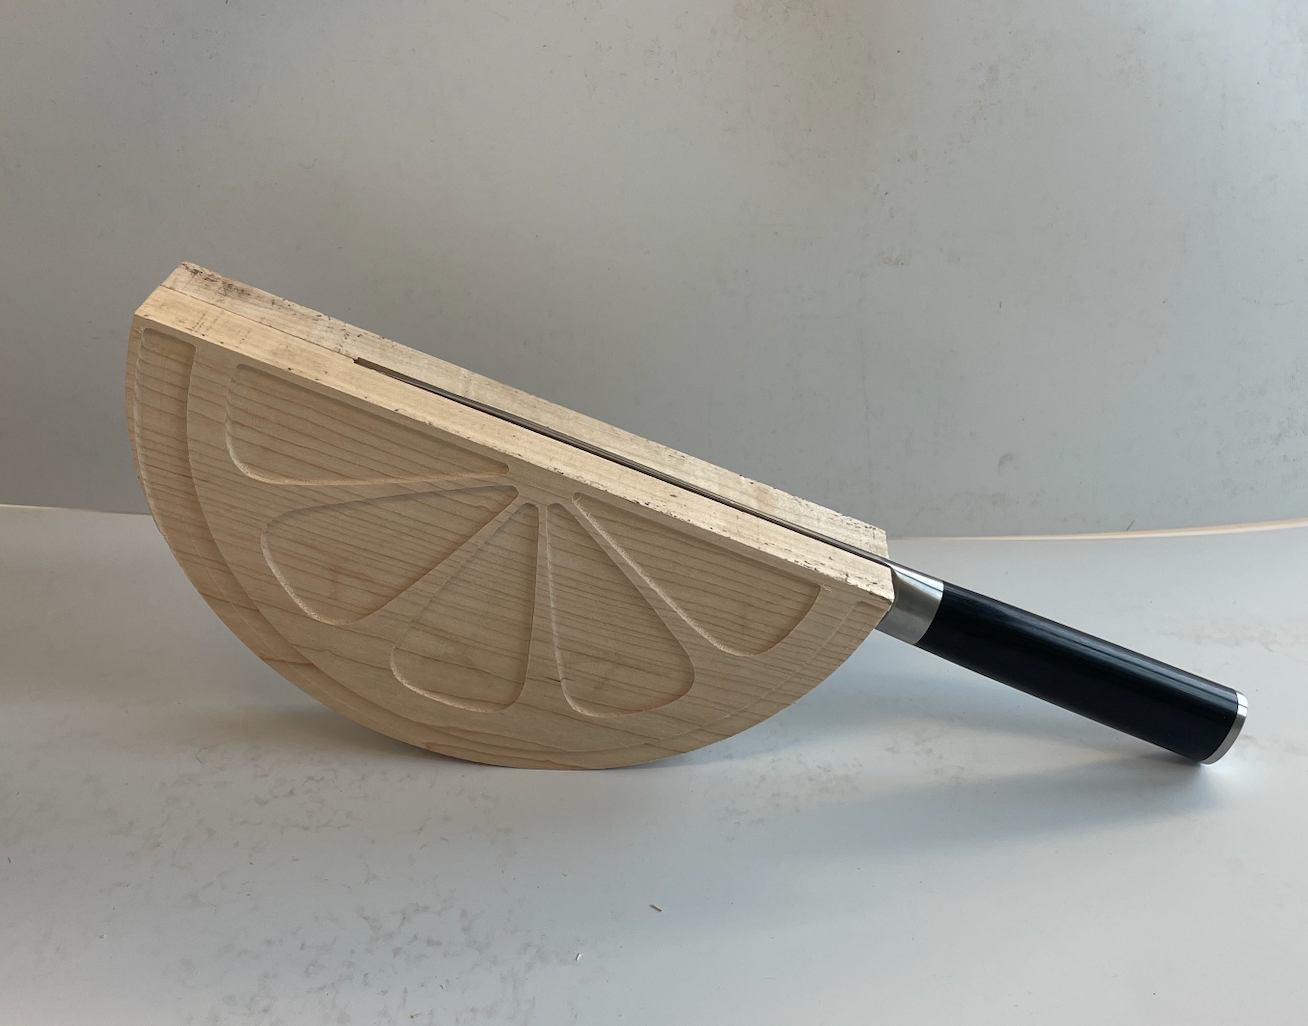
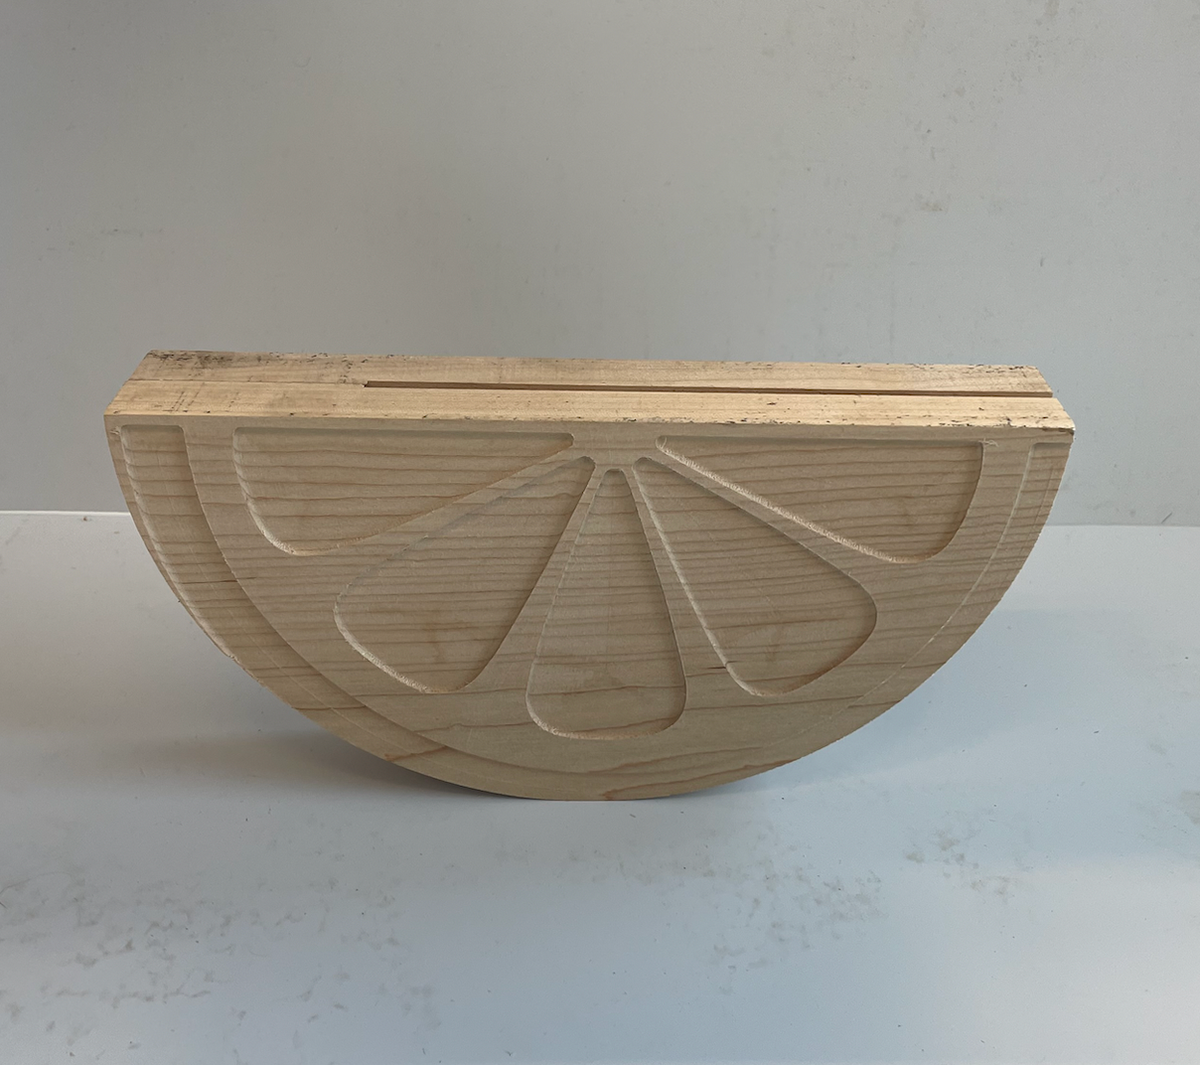
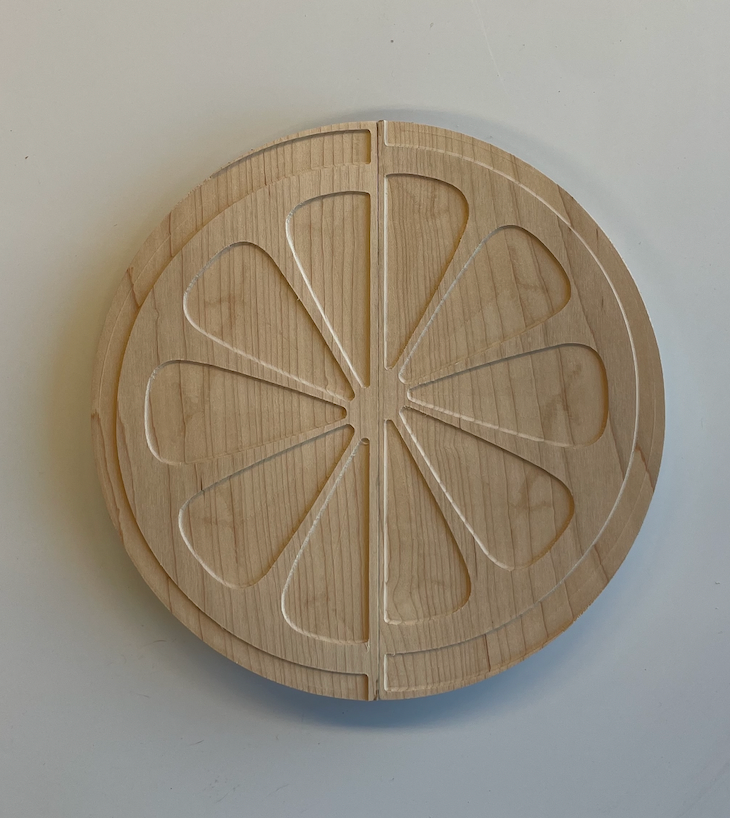
Once the flip was mastered, I then cut the exact same file onto my final wood, walnut. I chose walnut due to its soft nature, aiming to protect the blade and prevent damage or dulling when it comes to making contact with the wood. I then glued in the magnets and finished the piece with a food safe oil finishing oil.
Final Deliverable:
